Snowflake
Snowflake is a cloud-based data warehouse platform that enables organizations to store, process, and analyze large volumes of structured and semi-structured data with high performance, scalability, and ease of use.

Power end-to-end data operations for your Snowflake database with Nexla. Our bi-directional Snowflake connector makes it easy to ingest, transform, and validate data from Snowflake and to deliver data to any Snowflake location – all with no coding required. Nexla organizes data from raw database queries or tables into ready-to-use data products you can manage and move at scale. With comprehensive monitoring, lineage tracking, and robust access controls, Nexla keeps your Snowflake workflows fast, secure, and fully governed.
Features
Type: Database
- Flexible ETL/ELT/CDC/Replication: Seamlessly read and write data using any integration style that fits your needs
- Real-time data change capture for always up-to-date insights and continuous scalability
- No-code database connectivity as source or destination, with automatic data product creation
- Data as a Service: Instantly deliver secure, high-performance API access to your database data
Nexla's bi-directional connectors can both send data to and receive data from any data system. This means that once a user has created or gained access to a credential for any data system, building any data flow to ingest data from or send data to a location within that data system requires only a few simple steps.
Authenticate
This section provides information about and step-by-step instructions for creating a new Snowflake credential in Nexla.
1.1 Add a New Snowflake Credential
-
After selecting the data source/destination type, in the
 screen, click
  . This will open the Add New Credential window.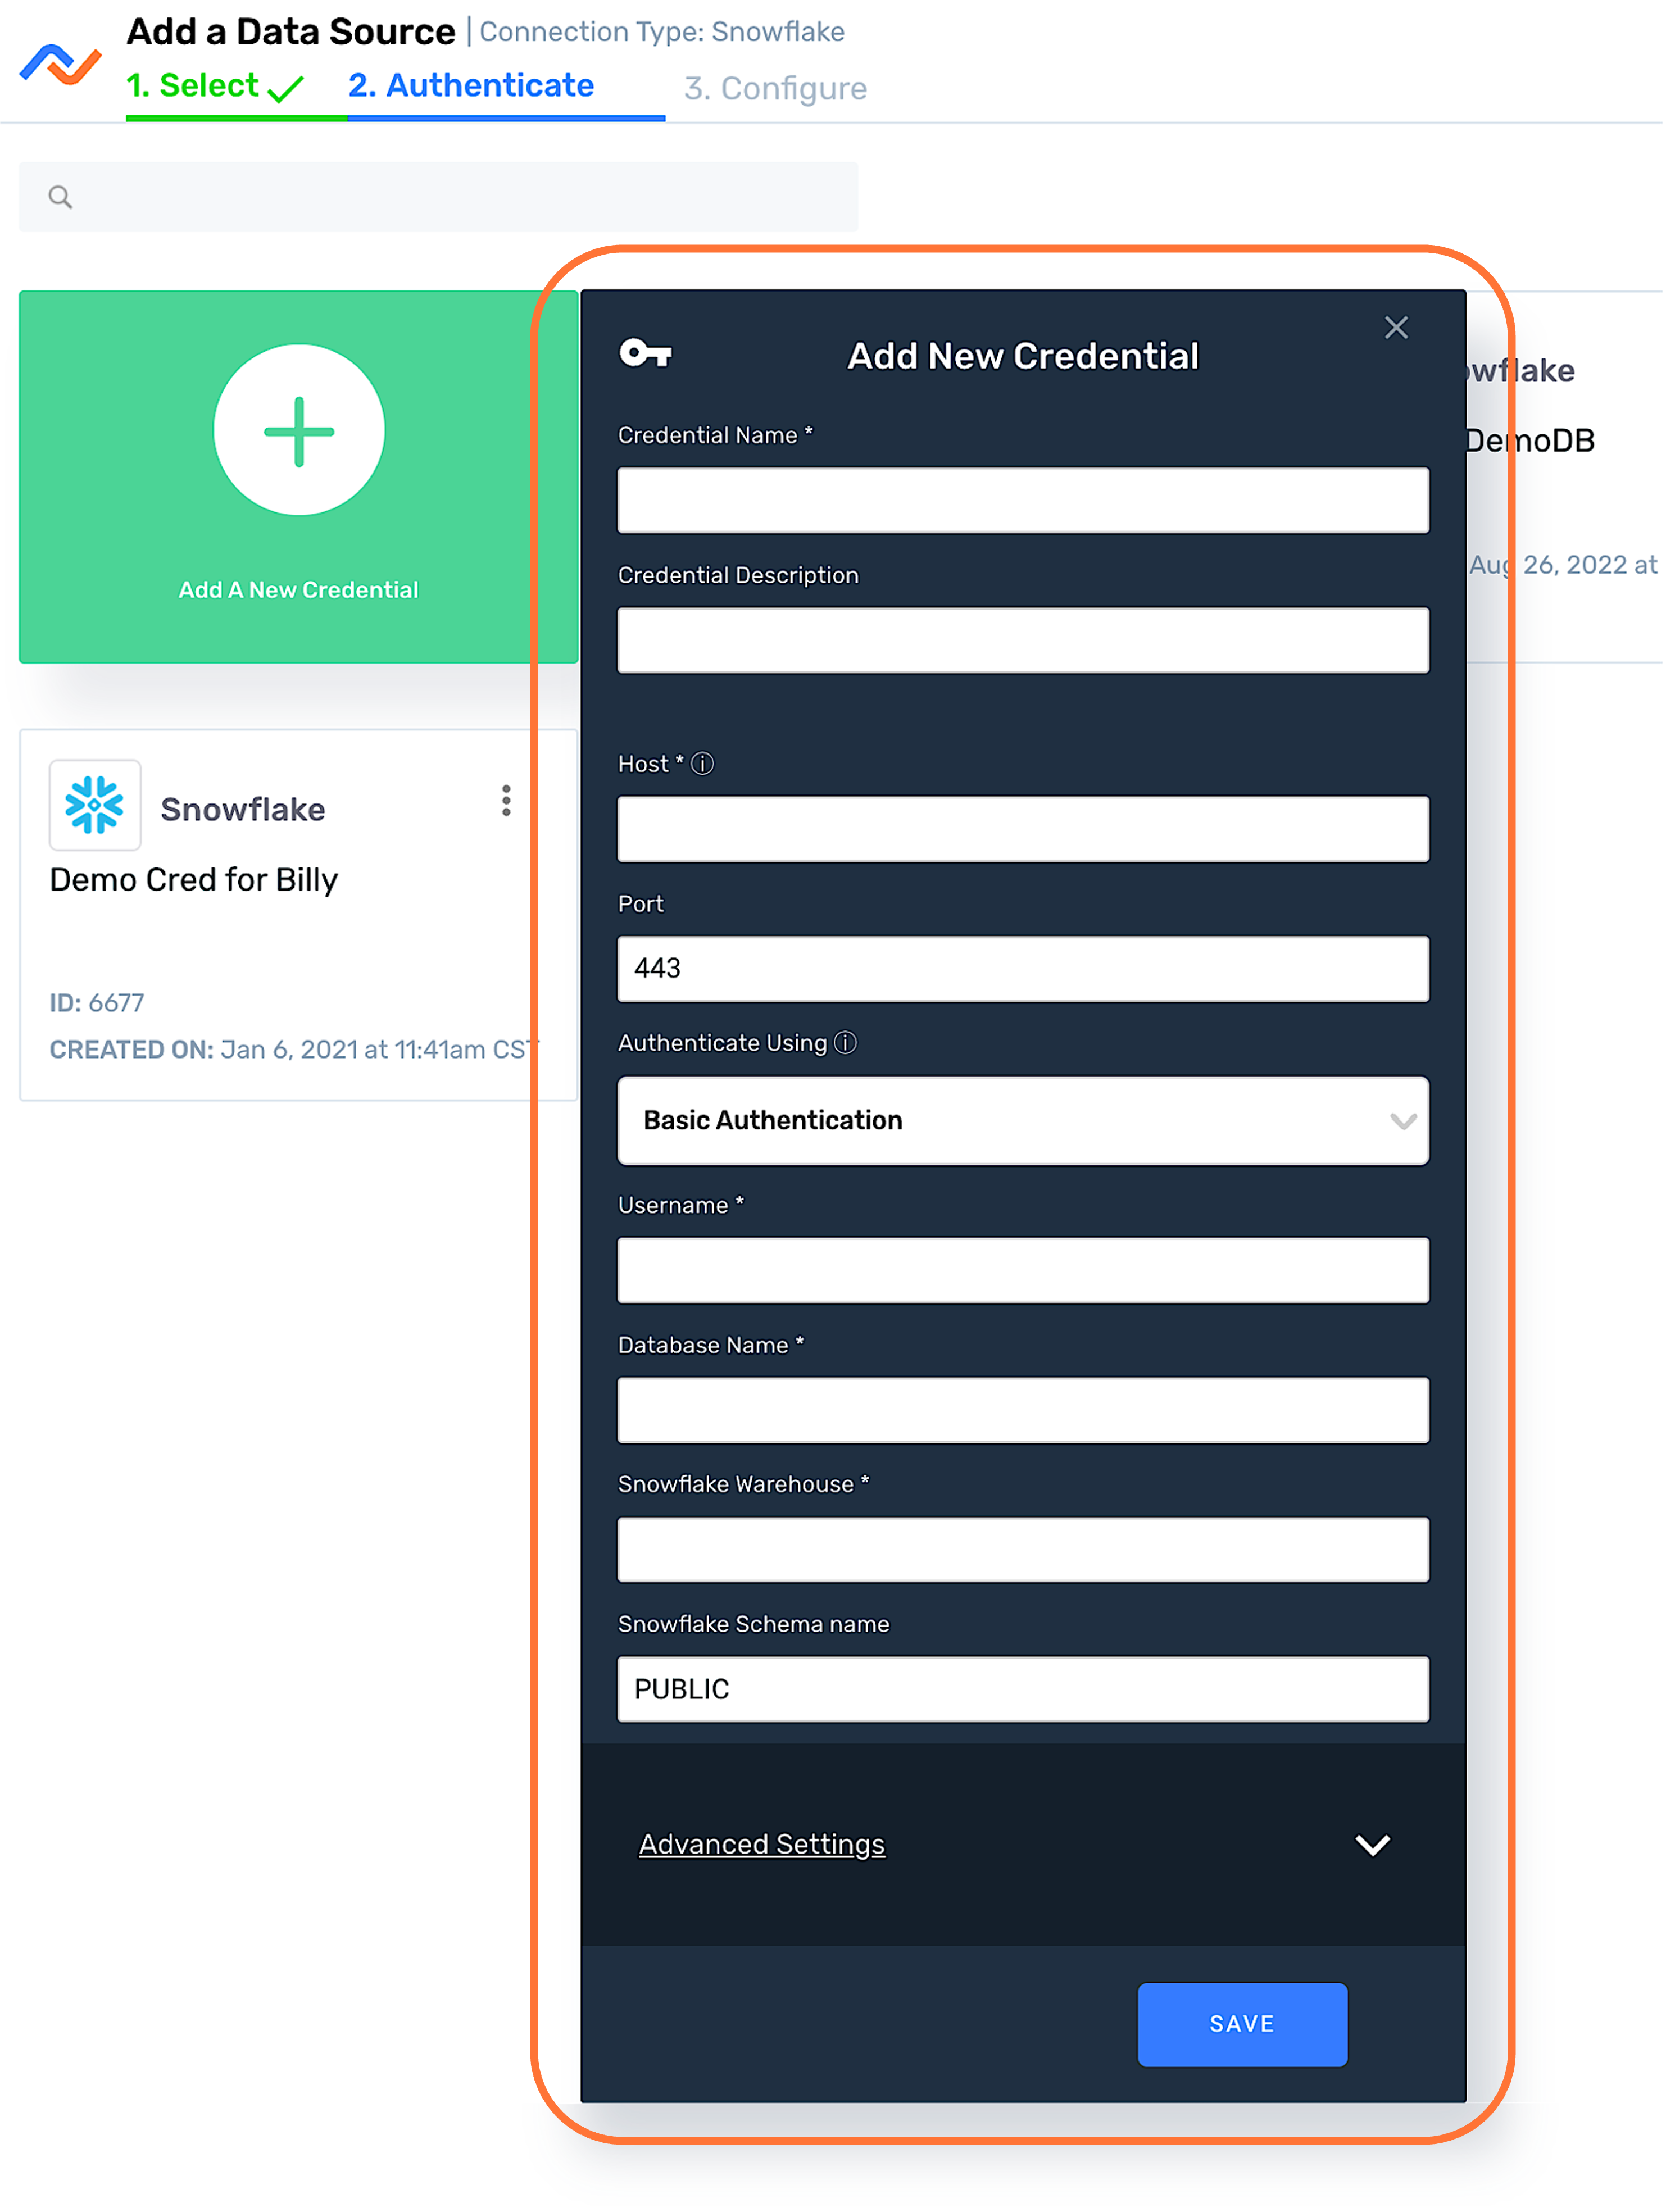
-
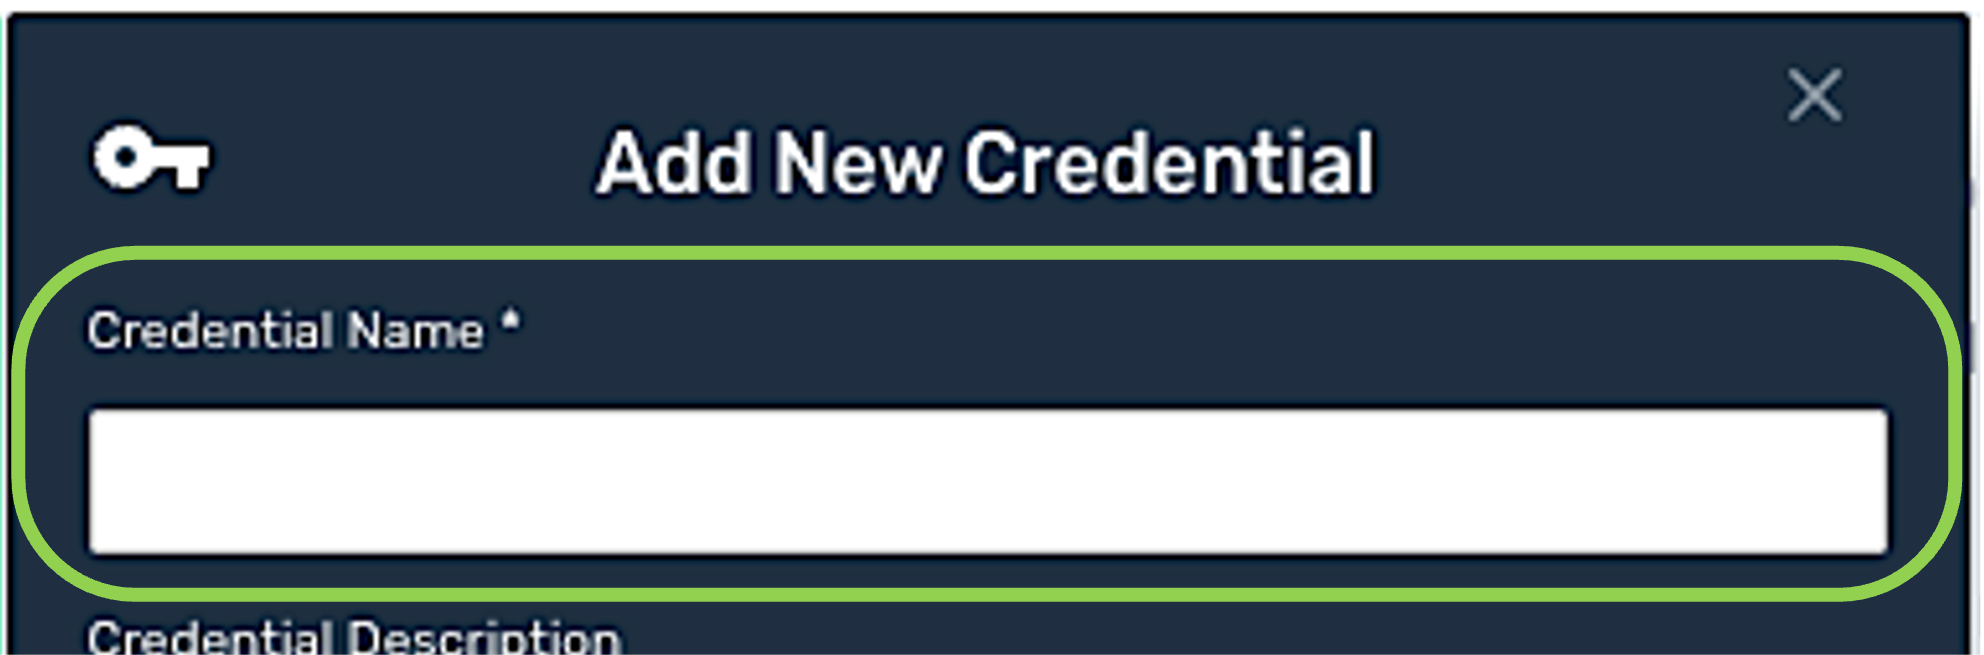
Enter a name for the credential in the Credential Name field.
-
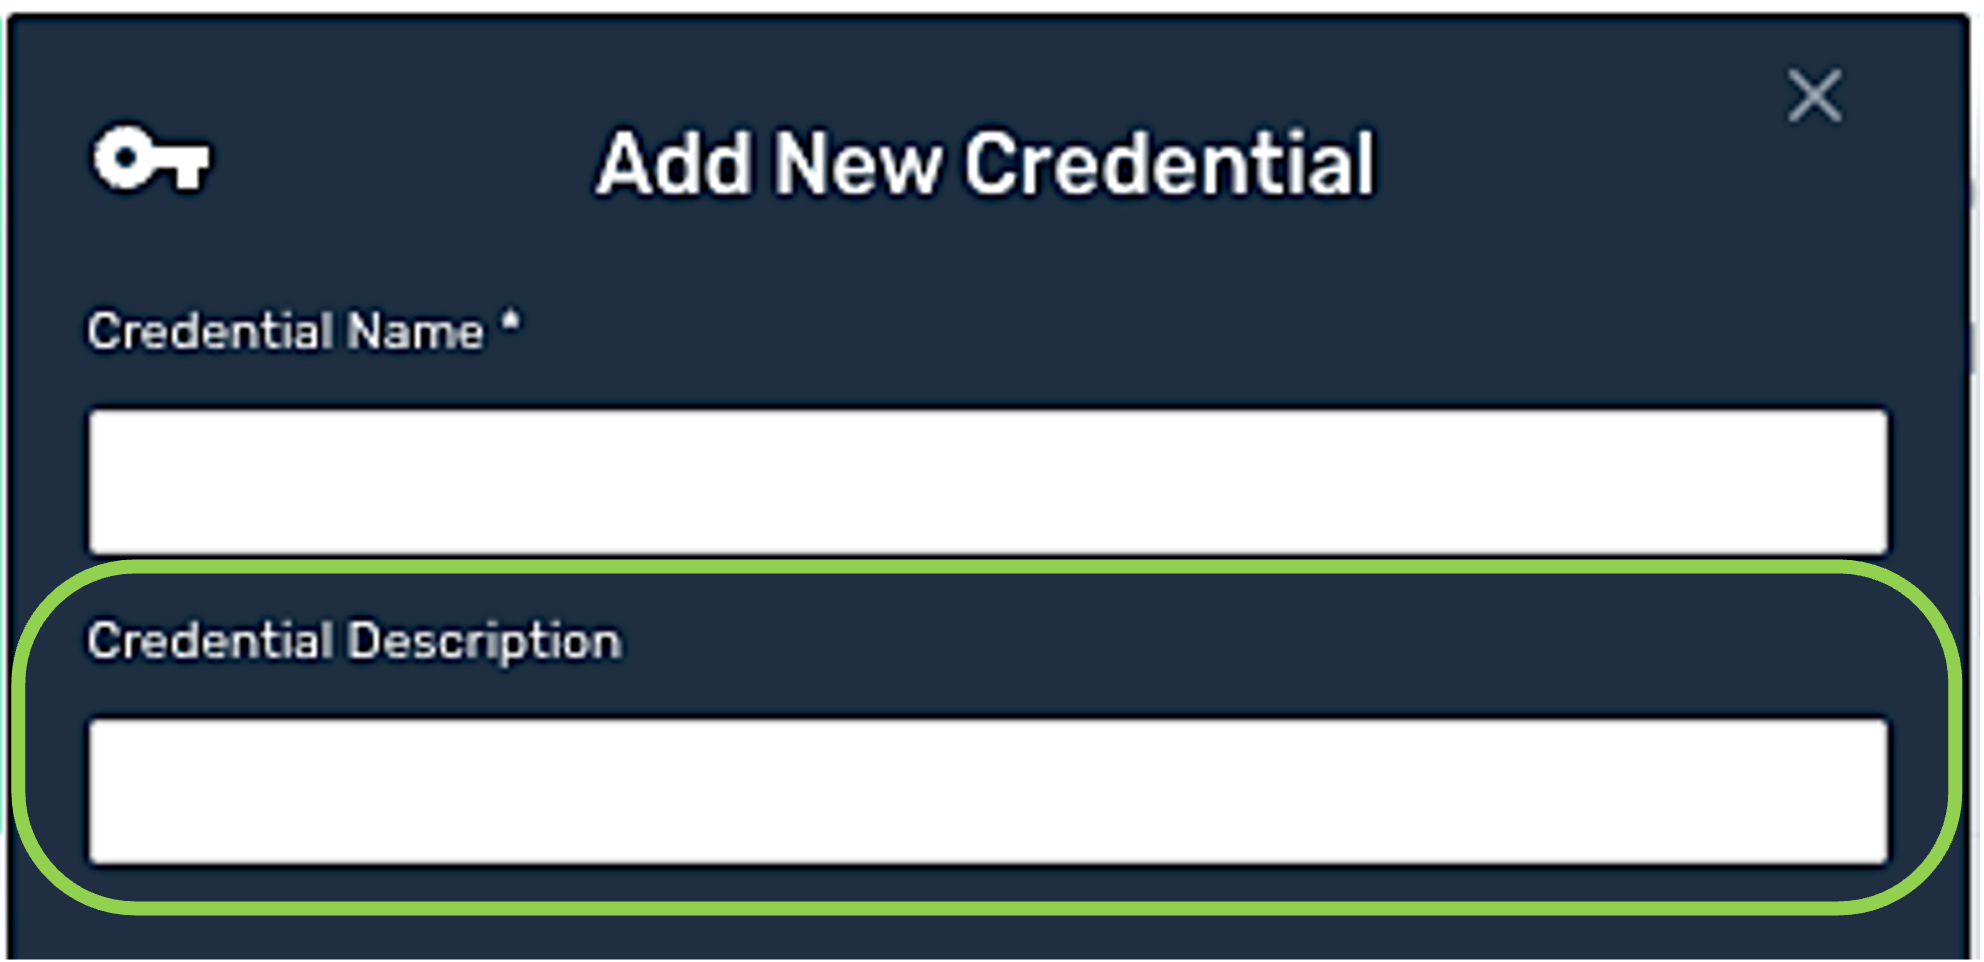
Optional: Enter a description for the credential in the Credential Description field.
-
Enter the Snowflake host name corresponding to the database to be added in the Host field. Snowflake host names typically follow the format
https://<orgname>-<account_name>.snowflakecomputing.com.Snowflake Host NameThe
orgnameandaccount_namecan be found in your Snowflake account.

-
Enter the appropriate port number in the Port field.

-
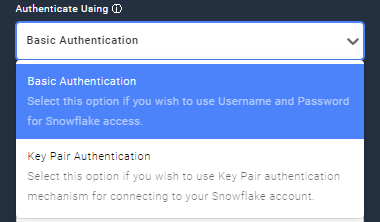
Select the type of permission mechanism—basic authentication or key pair authentication—that should be used to allow Snowflake access from the Authenticate Using pulldown menu.
-
Enter the username associated with the Snowflake account in the Username field.

-
Enter the password for the username entered in Step 7 in the Password field.

-
Enter the name of the Snowflake database from which data should be read in the Database Name field.

-
Enter the name of the Snowflake warehouse containing the database specified in Step 9 in the Snowflake Warehouse field.

-
Enter the name of the schema used in the database in the Snowflake Schema Name field.

-
Section 1.2 provides information about advanced settings available for Snowflake credentials along with step-by-step instructions for configuring each setting.
-
To configure any desired additional advanced settings for this credential, continue to Section 1.2, and complete the relevant steps.
-
To create this credential without configuring any advanced settings, continue to Section 1.3.
-
1.2 Advanced Settings
This section covers optional advanced credential settings. To create the Snowflake credential without configuring advanced settings, skip to Section 1.3.
-
Click
 to access additional available settings for the Snowflake credential.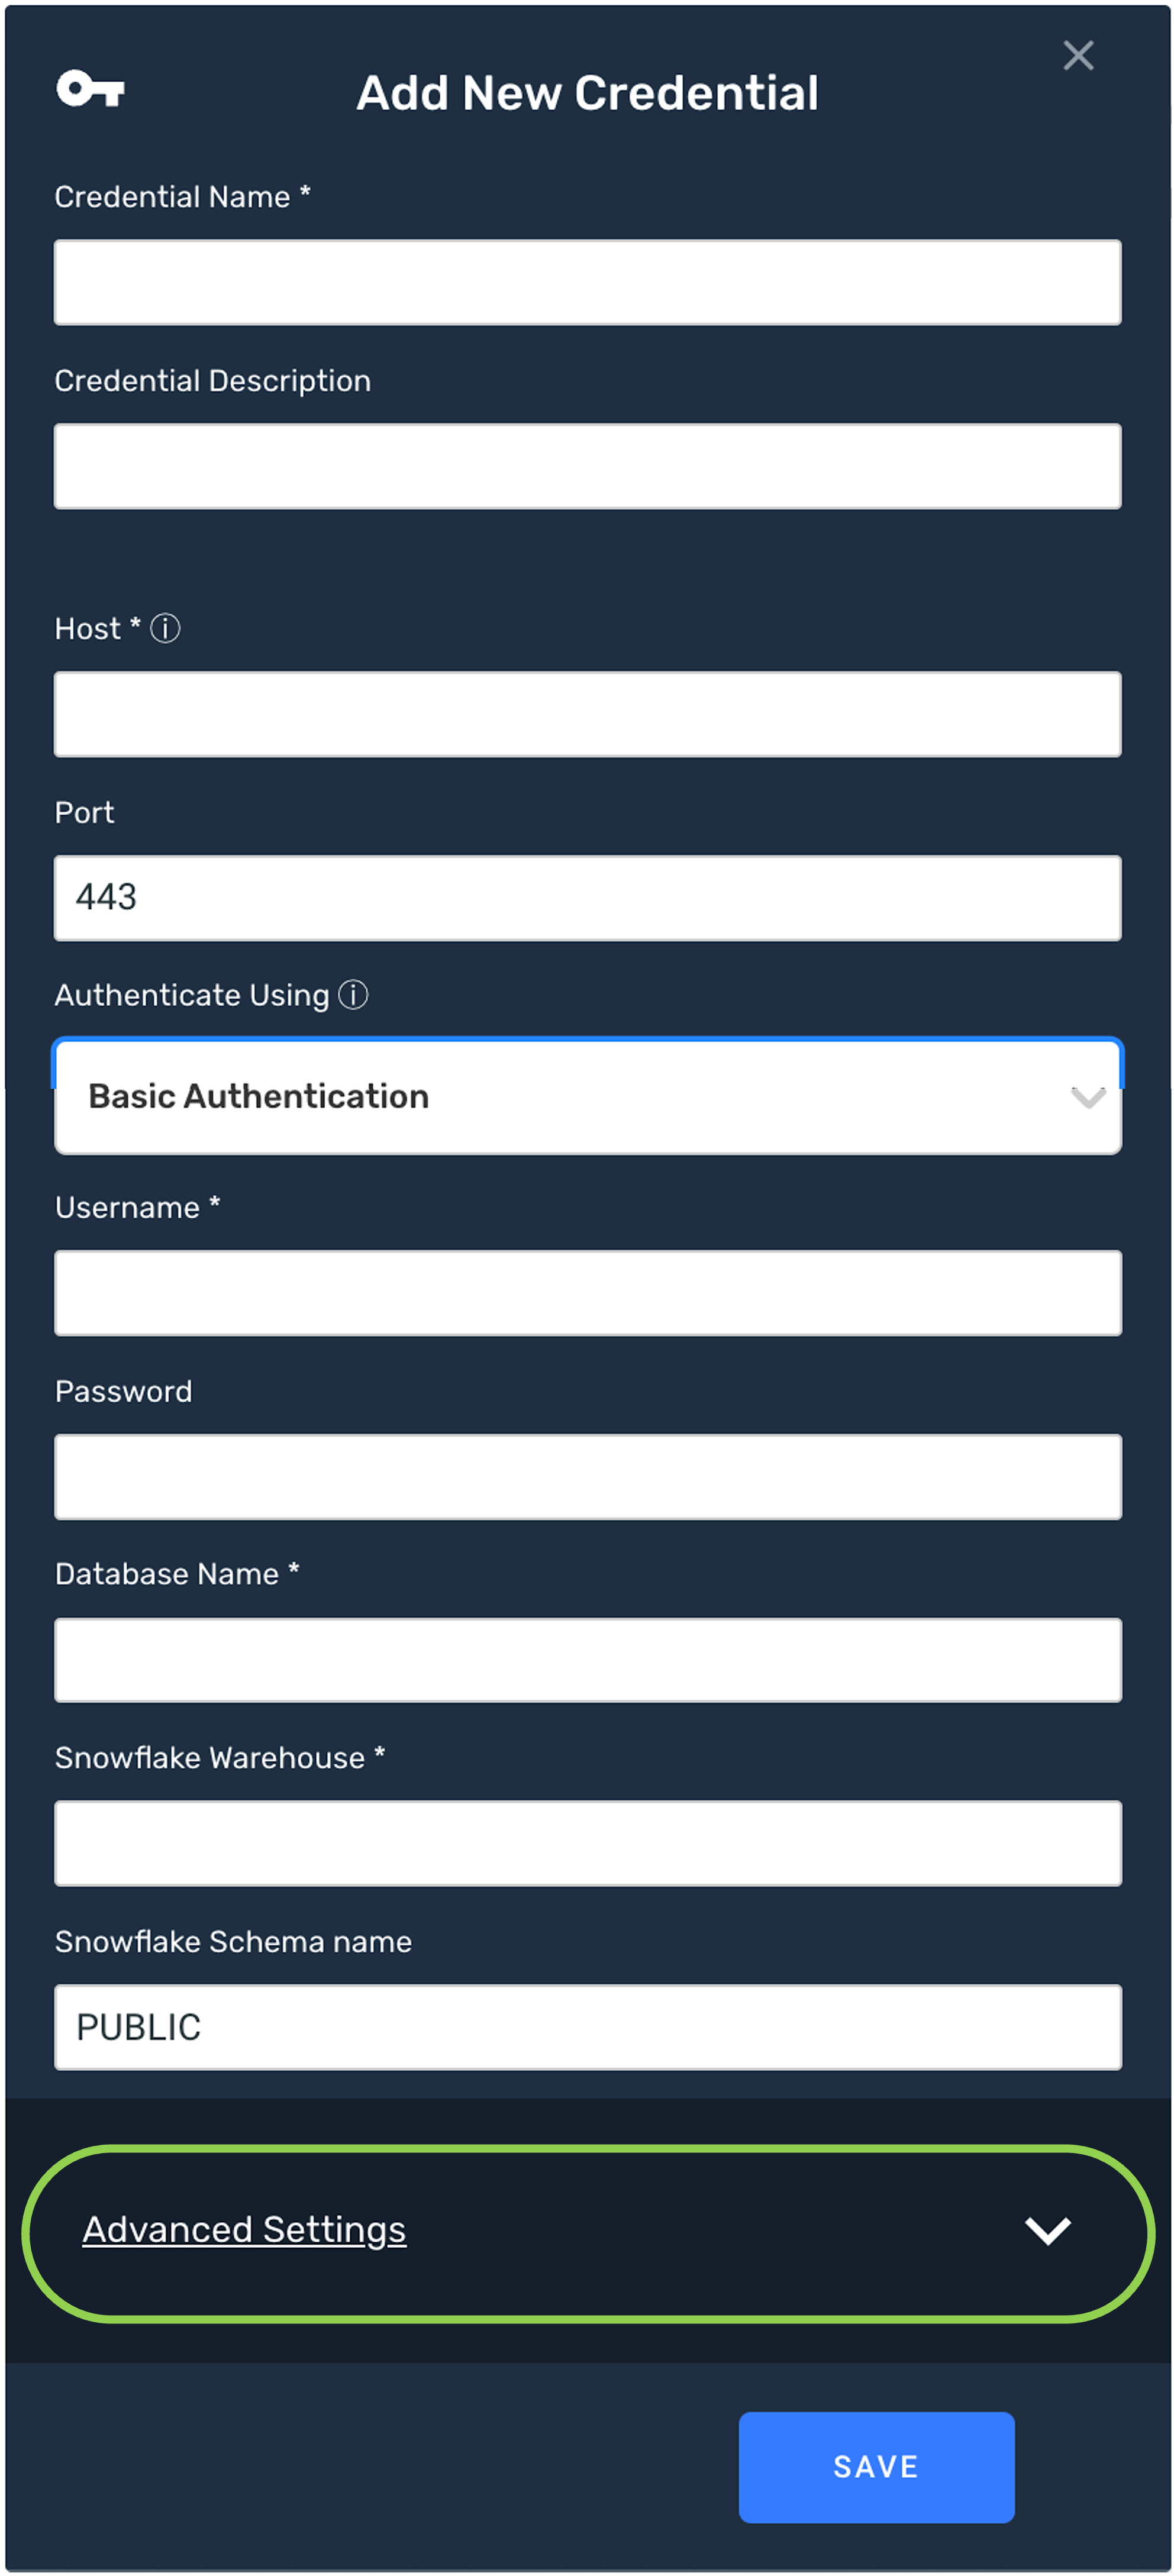
-
Access the Snowflake database via an SSH Tunnel
-
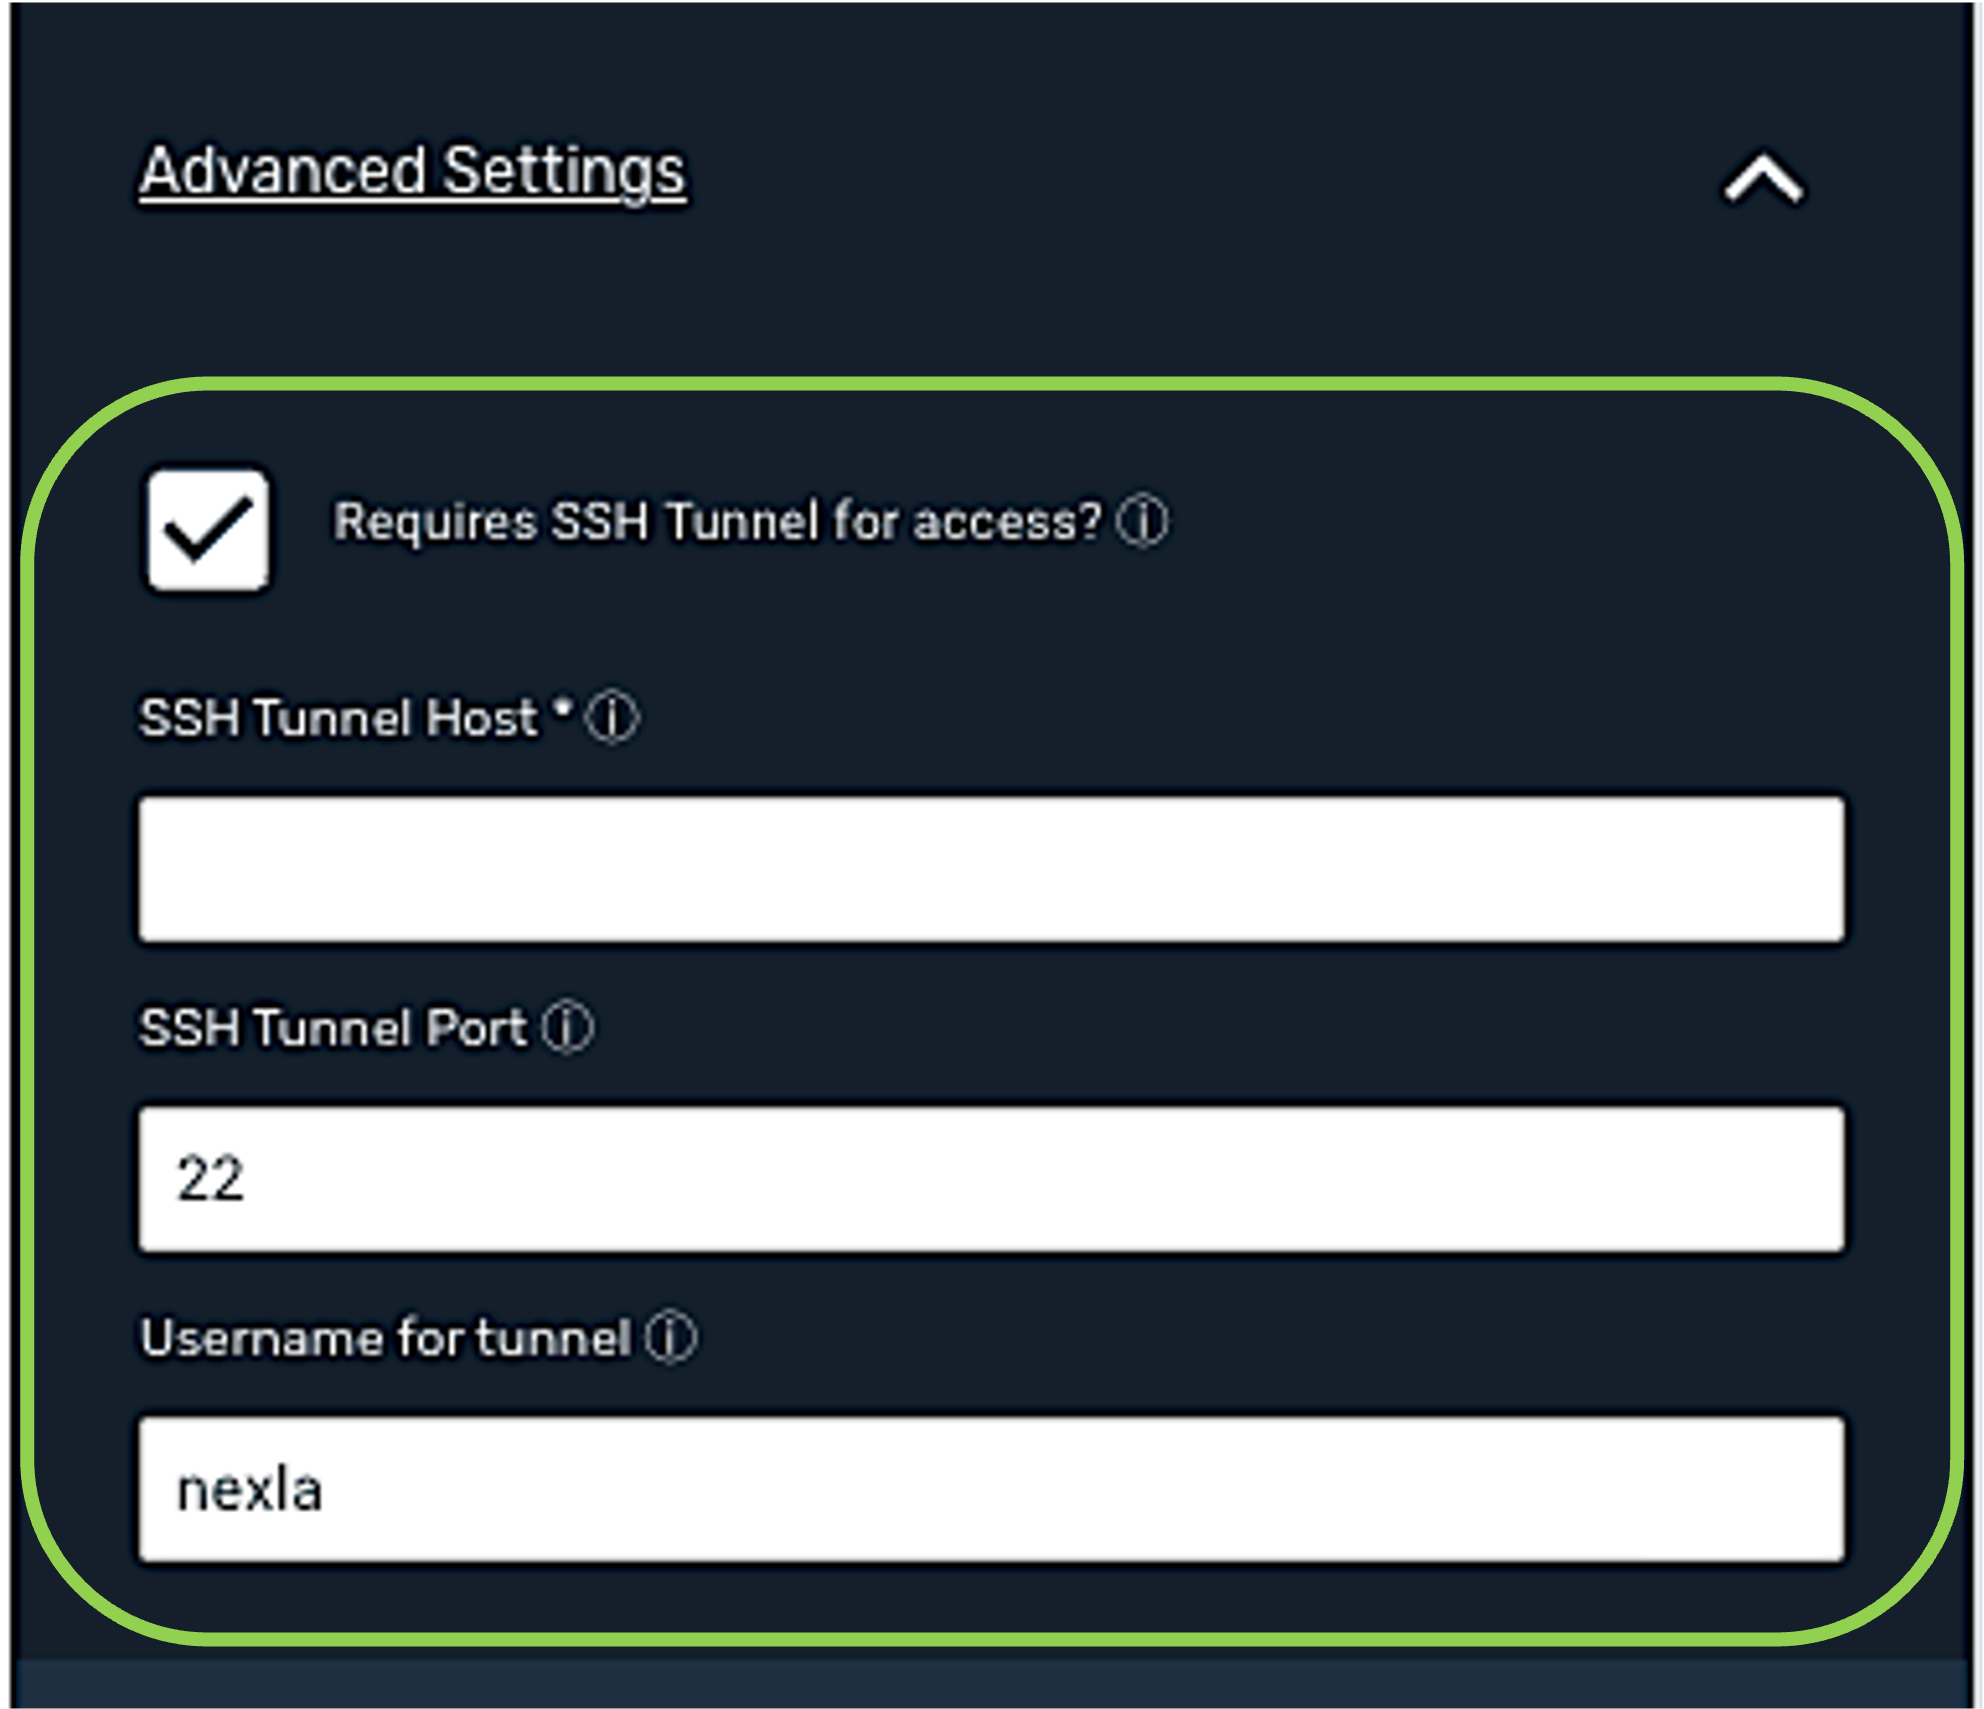
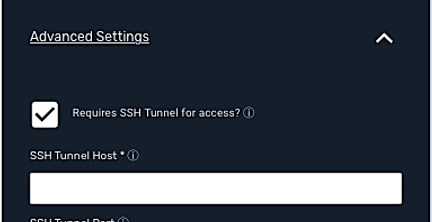
If the Snowflake database from which data should be read is not publicly accessible, check the box next to
 . This will append additional related fields to be populated in the Add New Credential window.
Selecting this option allows Nexla to connect to a bastion host via SSH, and the database connection will then be provided through the SSH host.
-
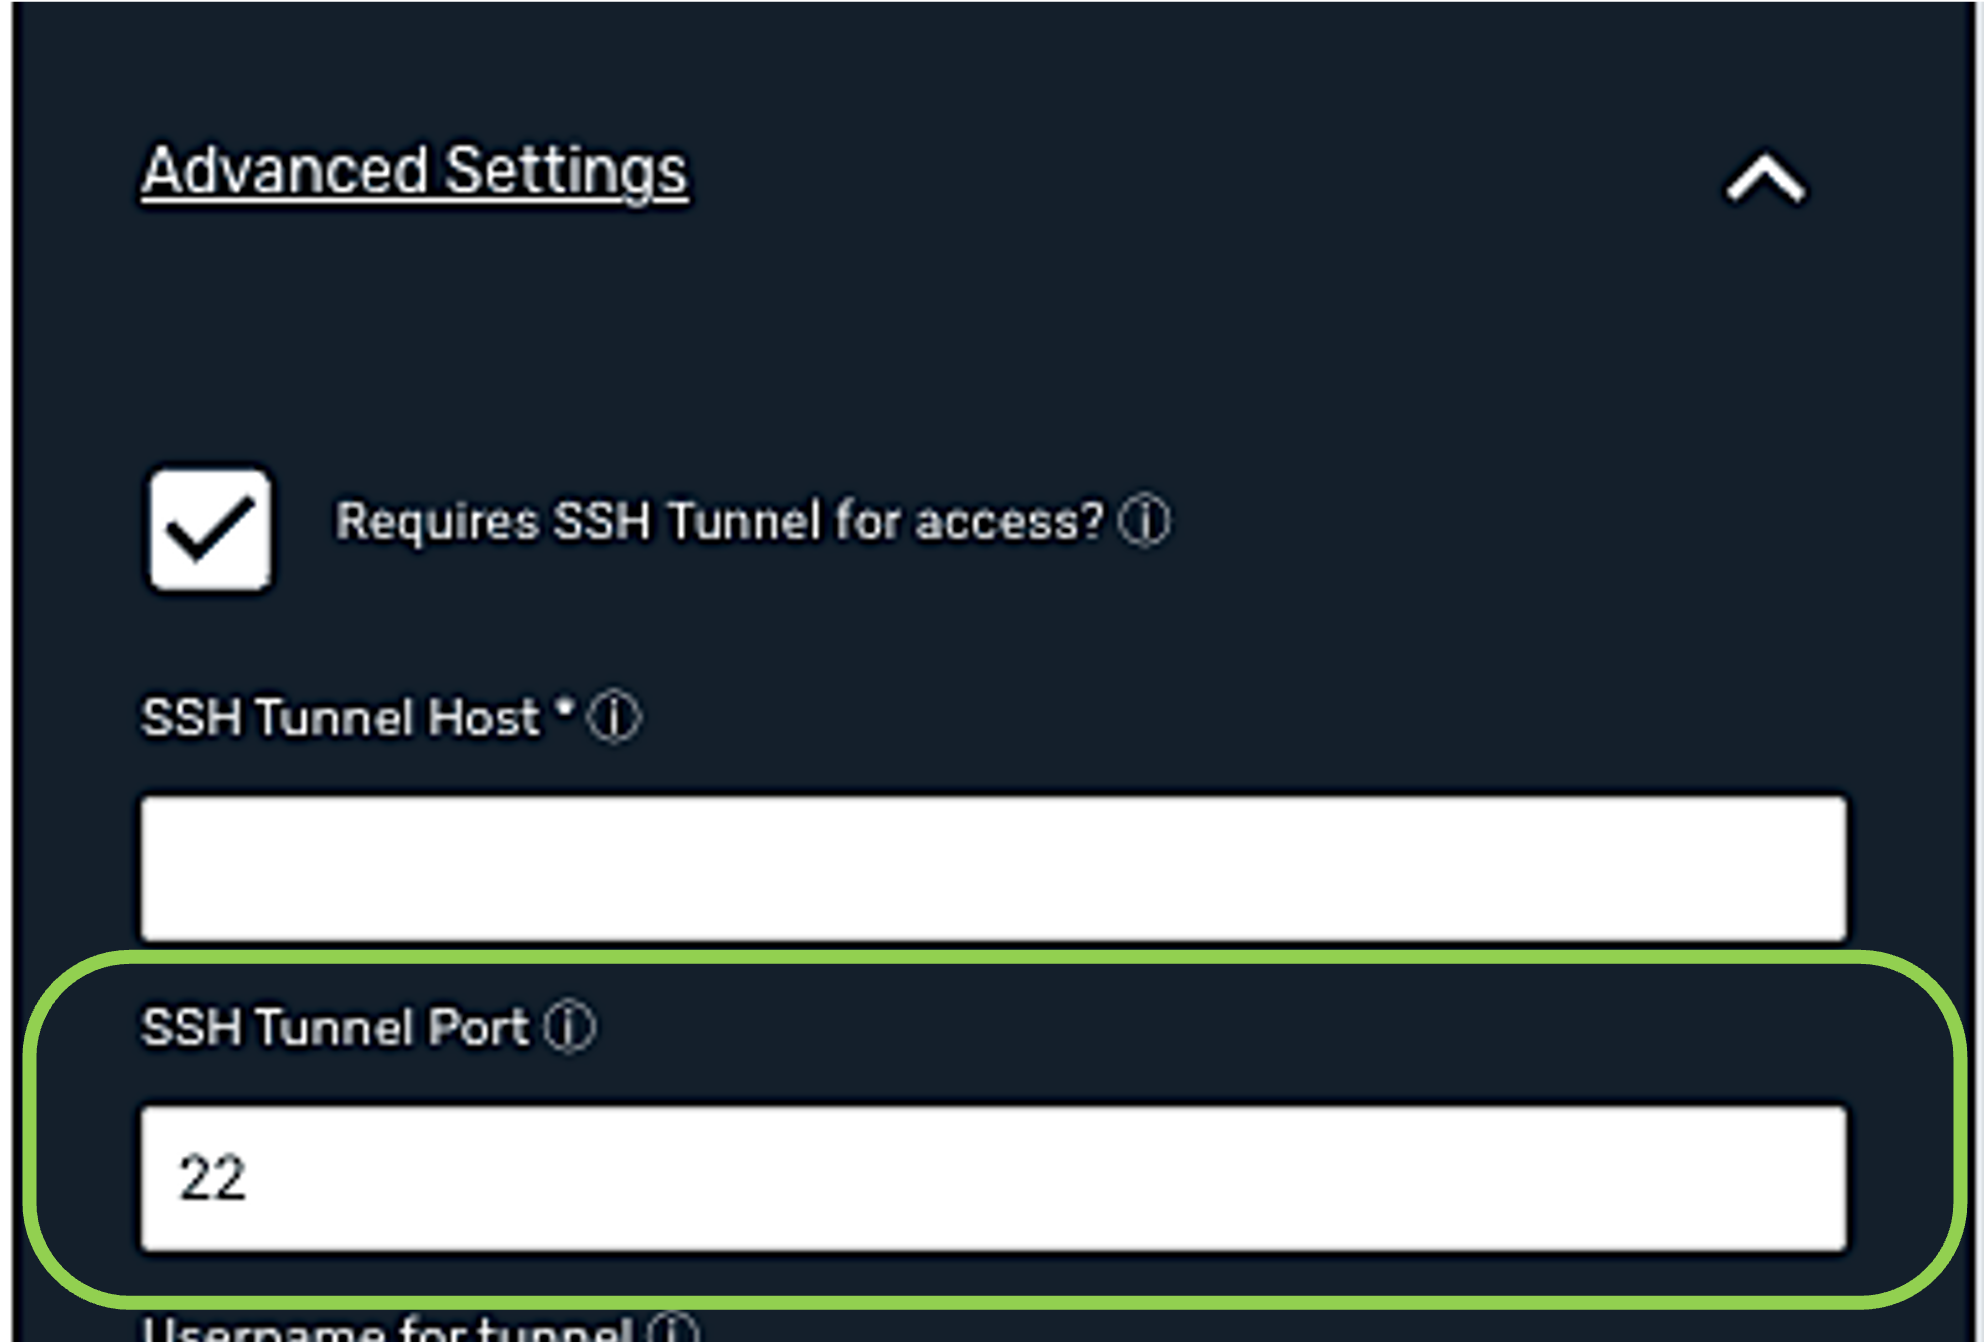
Enter the SSH tunnel hostname or IP address of the bastion host running the SSH tunnel server that has access to the database in the SSH Tunnel Host field.
-
Enter the port of the tunnel bastion host to which Nexla will connect in the SSH Tunnel Port field.
-
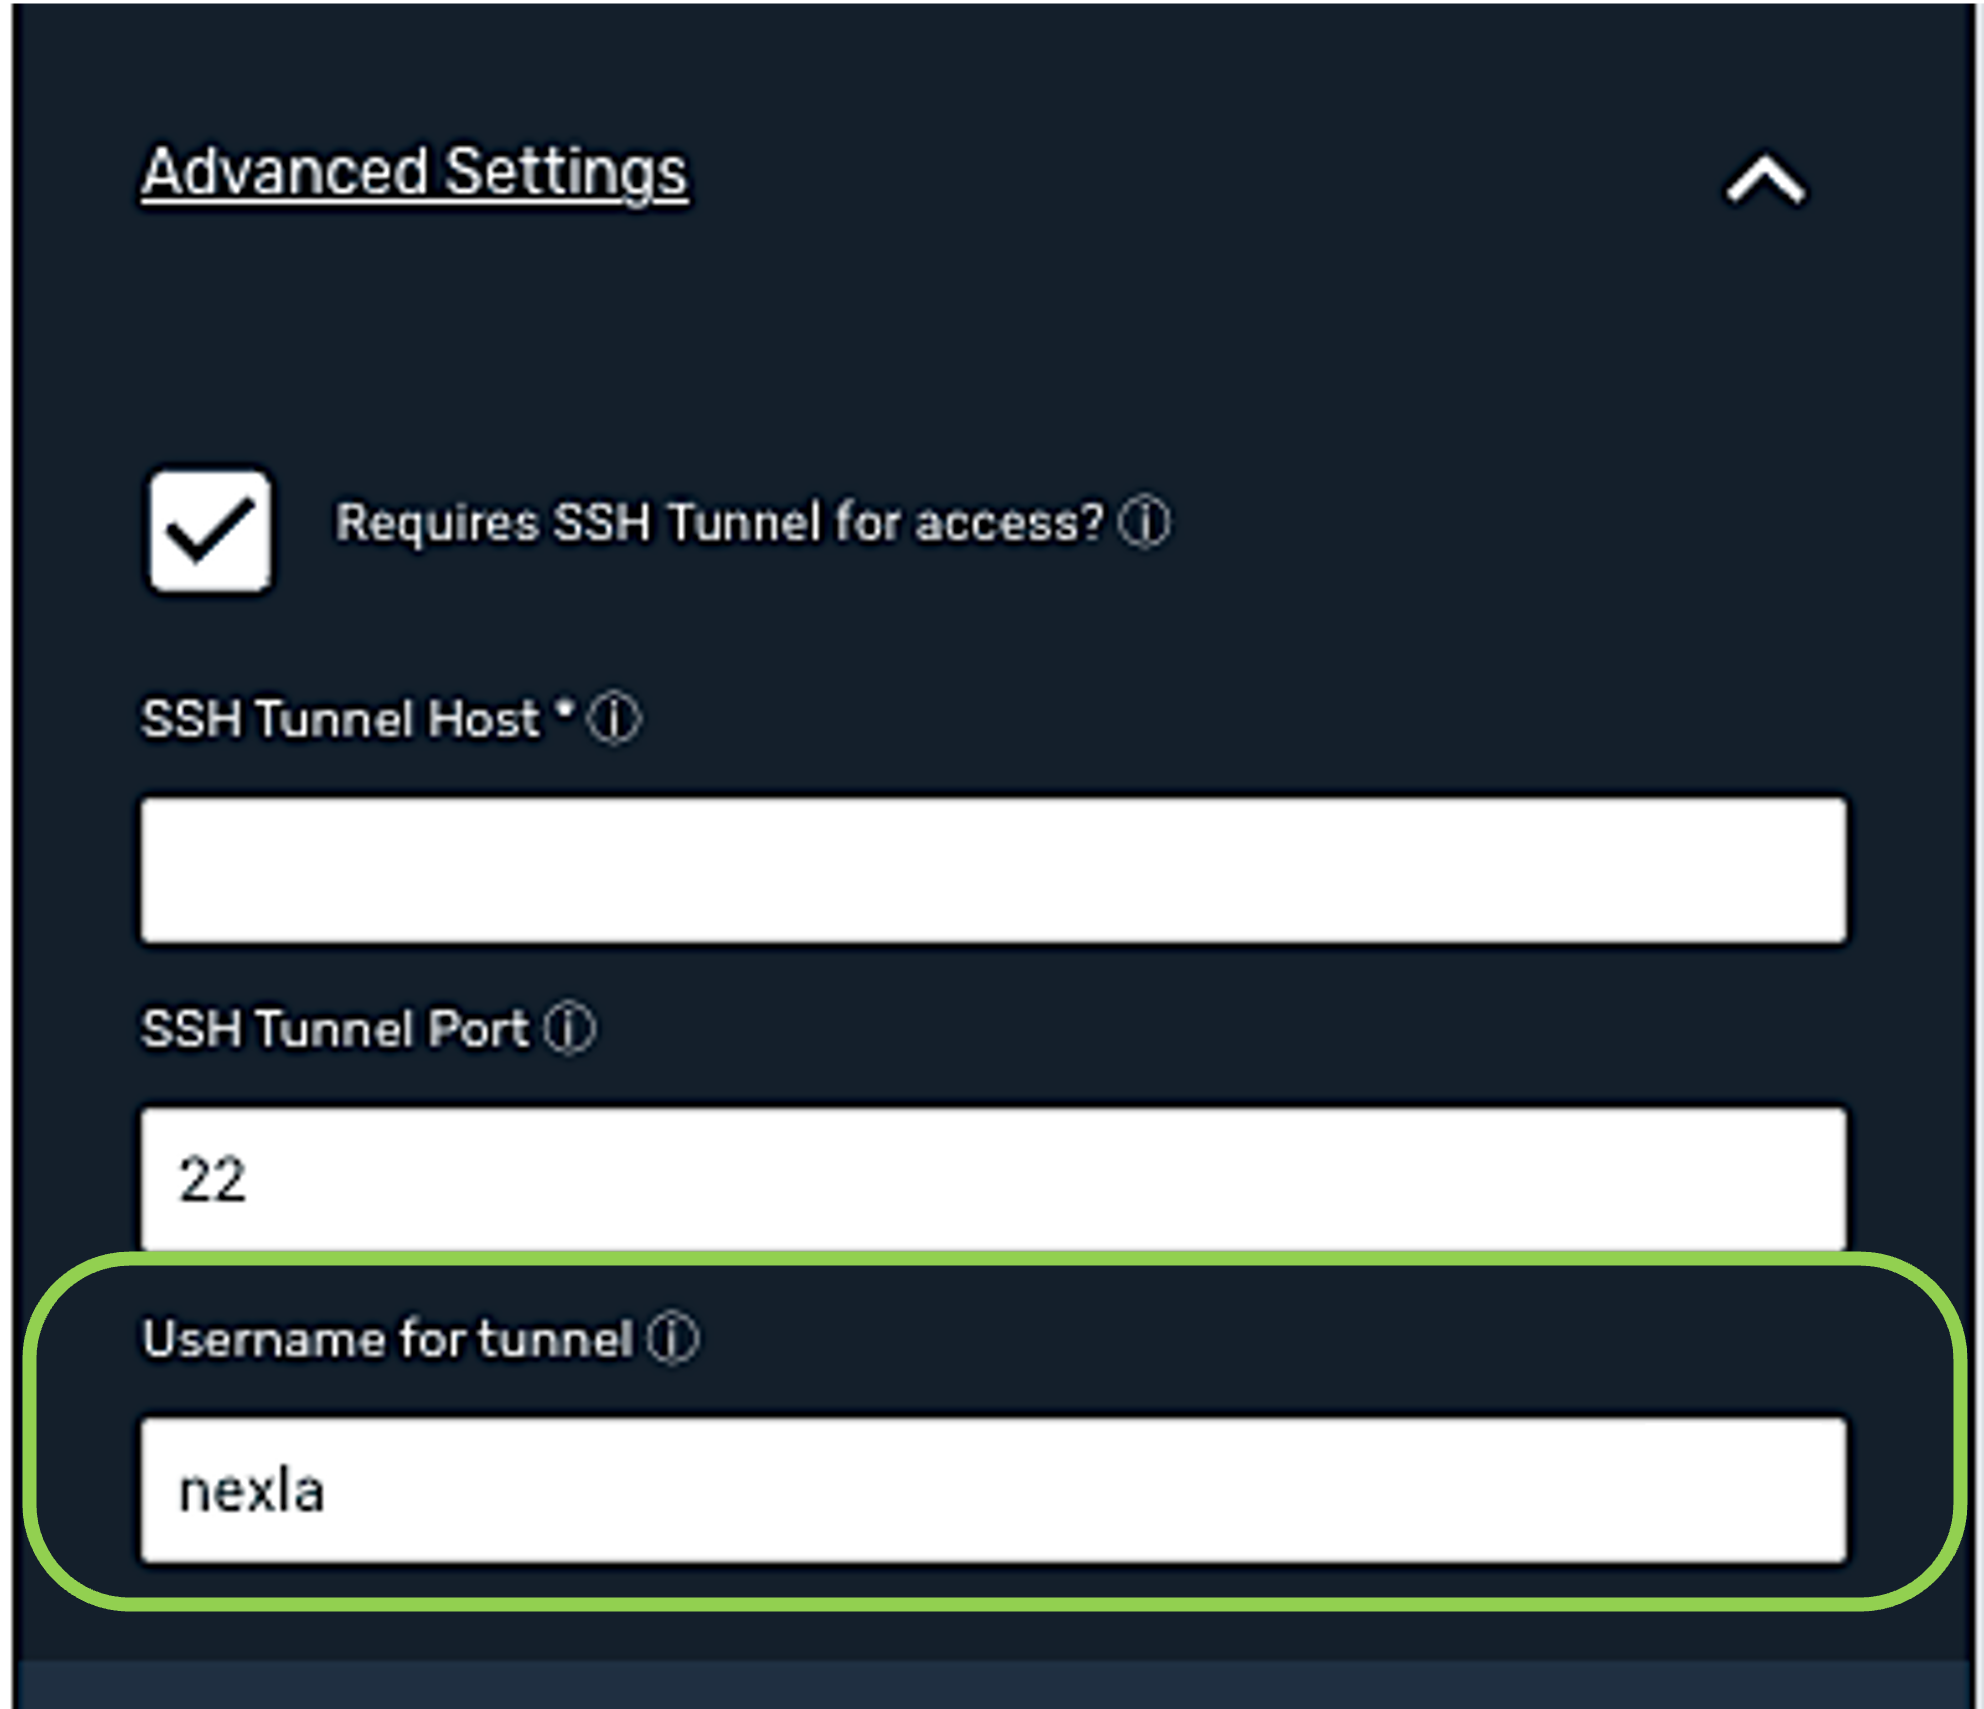
Create an SSH username for Nexla in the bastion host, and enter that username in the Username for Tunnel field.
Usually, the username is set as "nexla".
-
-
** Access Control Role**
-
If the configuration of the Snowflake database from which data should be read requires the application of a special, non-default role to allow access to the needed data, enter the name of the required role in the Access Control Role field.

-
1.3 Save and Create the Snowflake Credential
-
Once all of the relevant steps in the above sections have been completed, click
 at the bottom of the Add New Credential screen to save the credential and all entered information.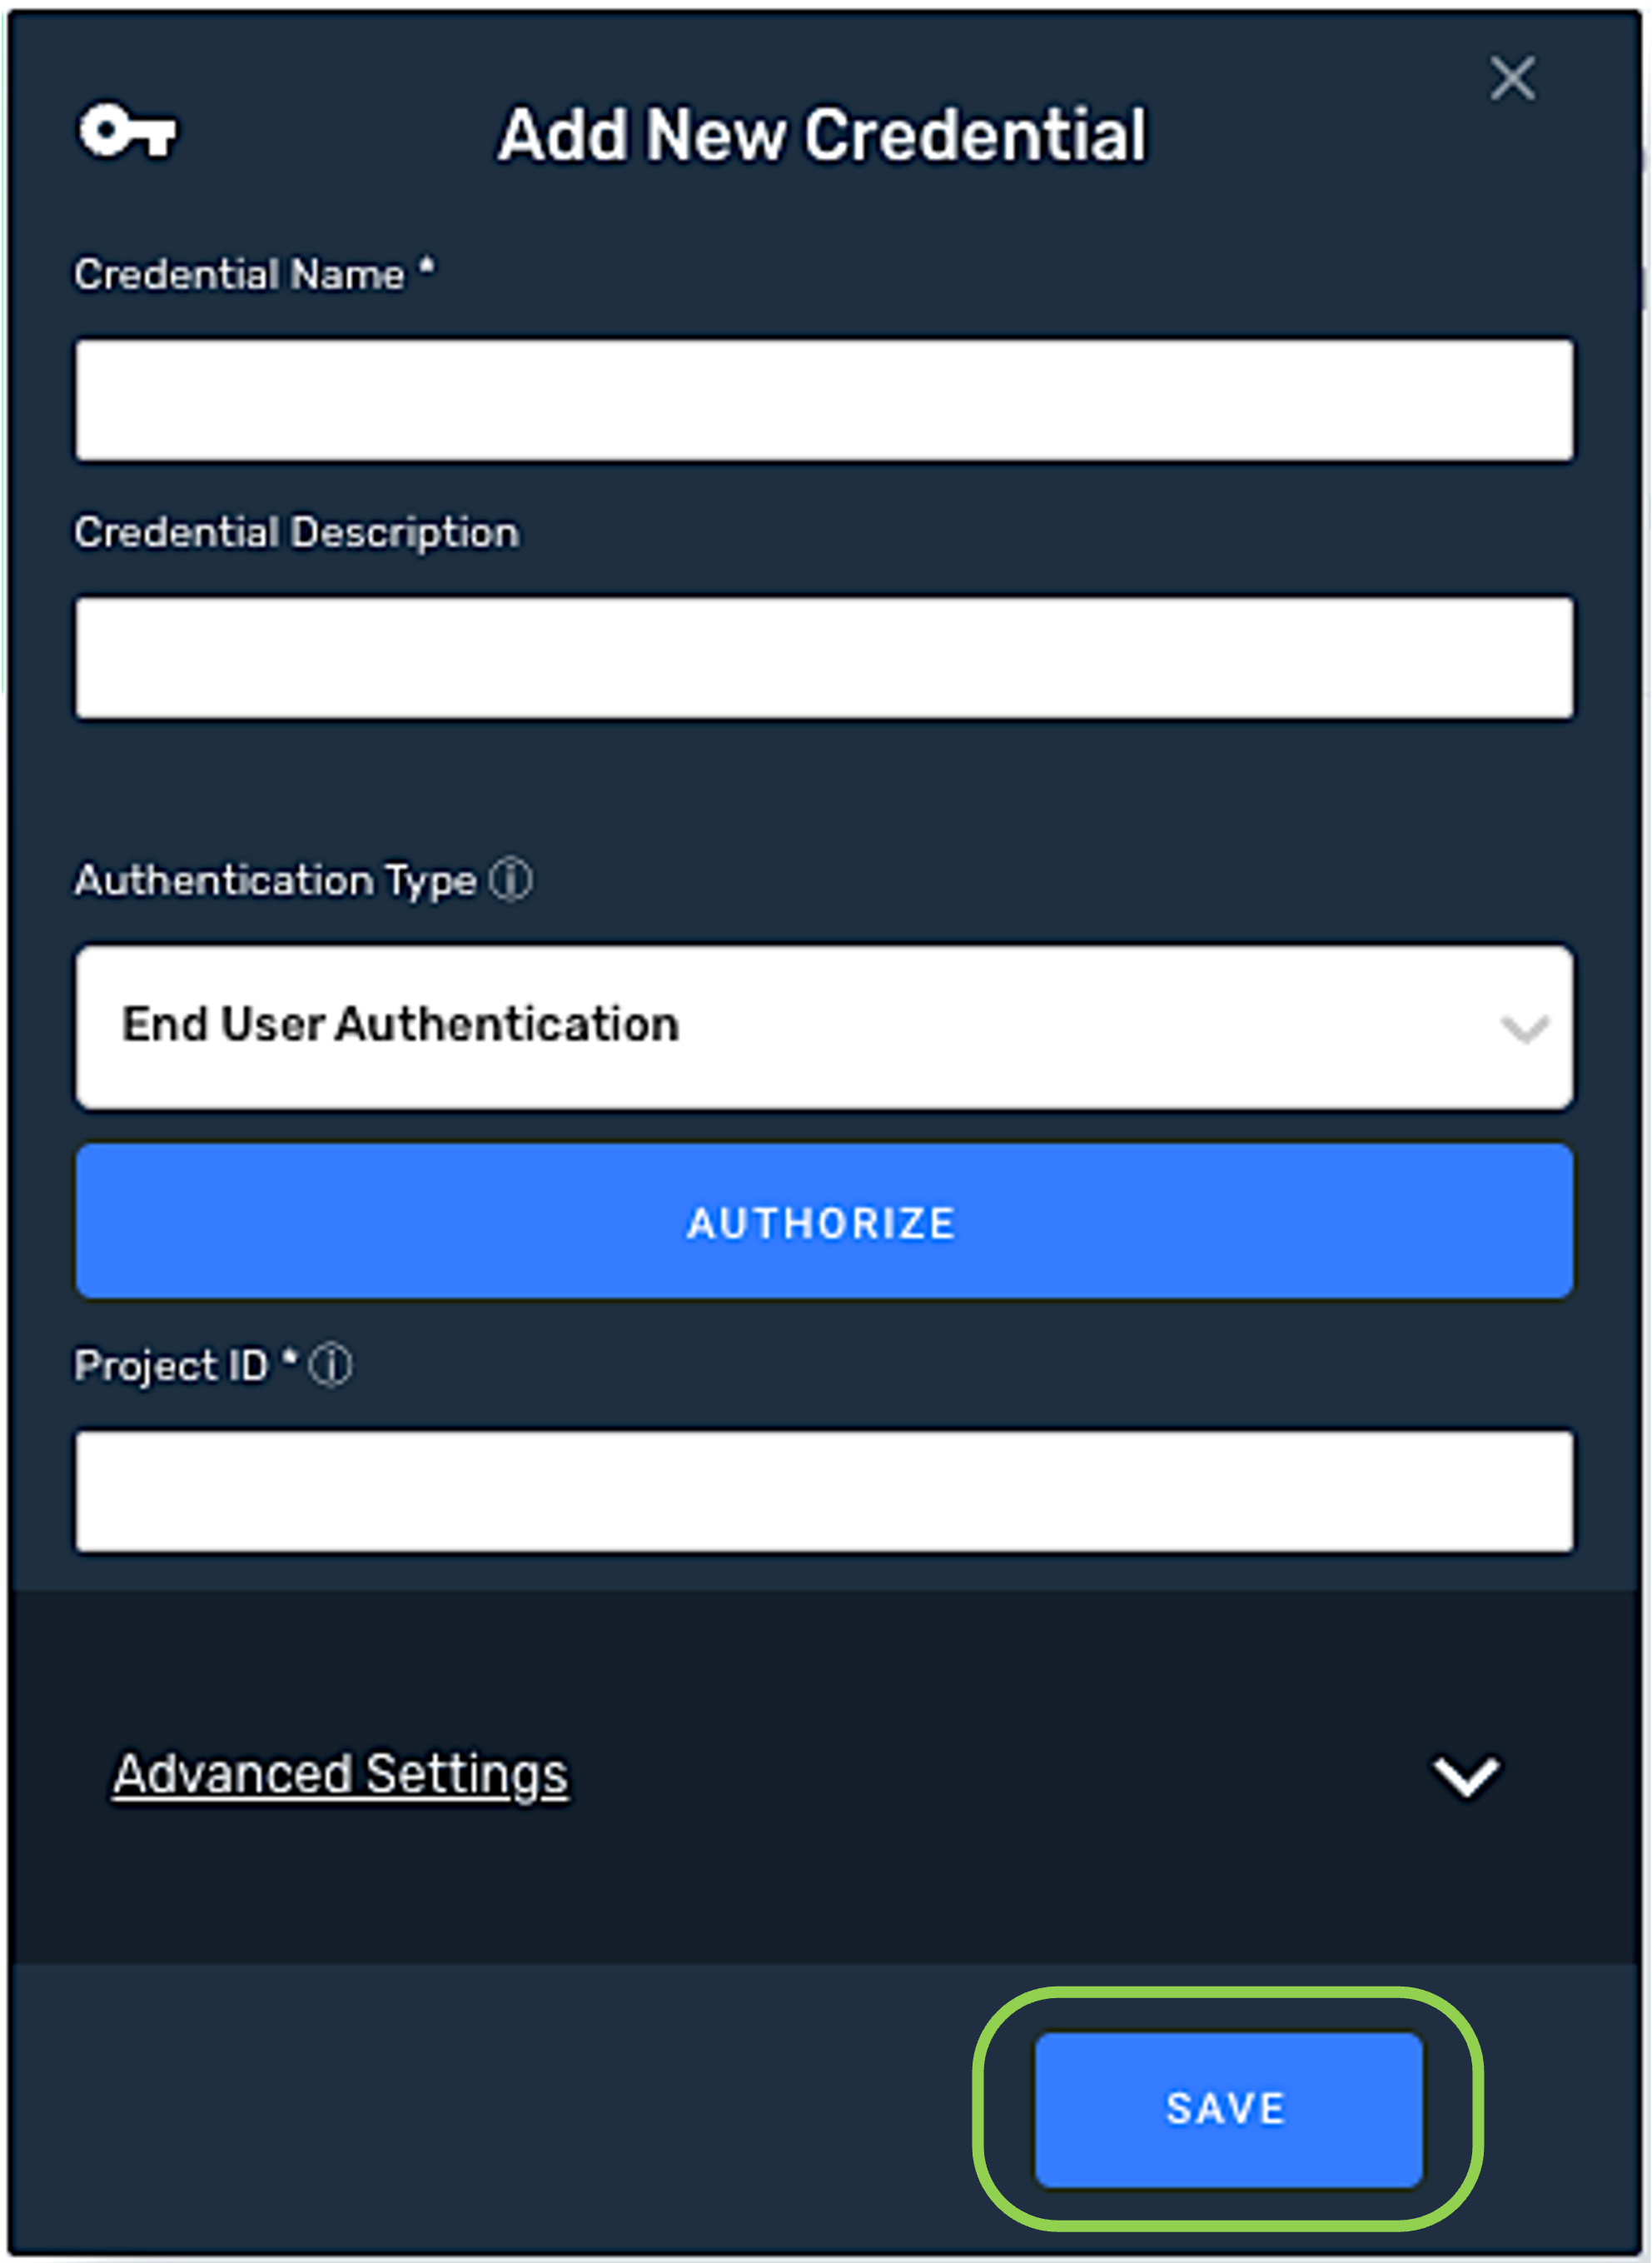
-
The newly added credential will now appear in a tile on the
screen and can be selected for use with a new data source or destination.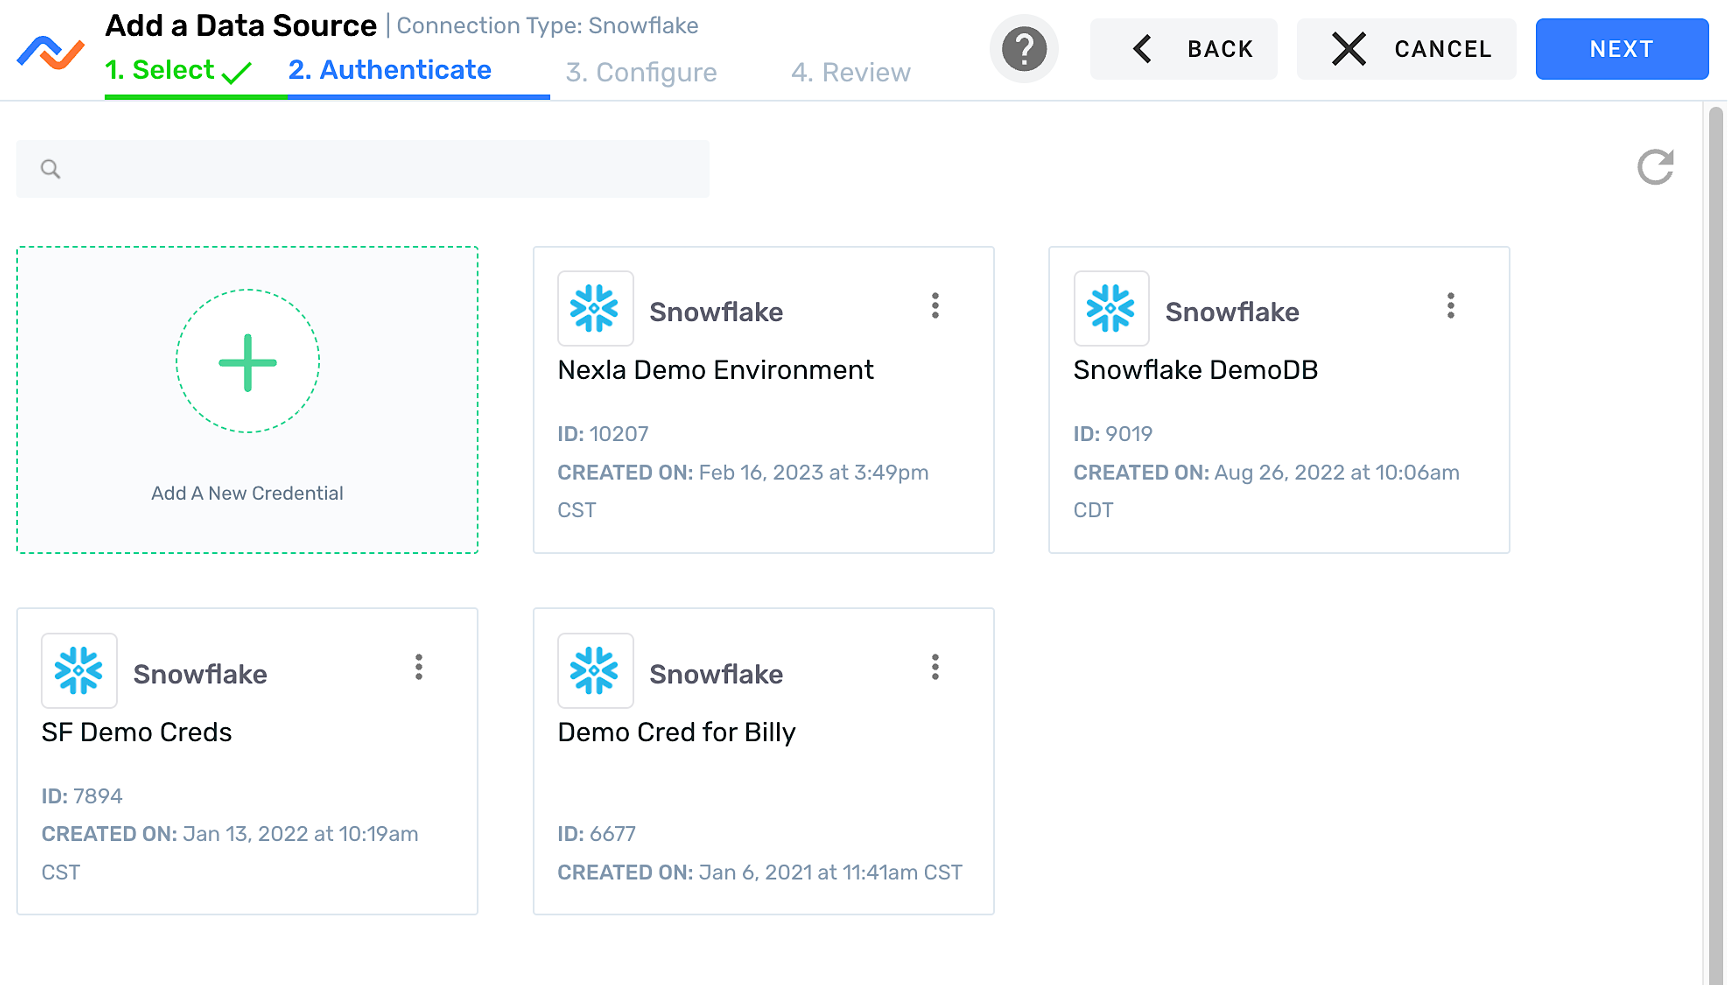
Use as a data source
To ingest data from a Snowflake location, follow the instructions in Section 2 of Common Setup for Databases & Data Warehouses.
Use as a destination
To send data to a Snowflake location, follow the instructions in Section 3 of Common Setup for Databases & Data Warehouses.