ELT Data Flows
ELT data flows are streamlined for seamless movement of unmodified data from APIs into databases and data warehouses. With minimal configuration required, these flows can be set up rapidly and effortlessly to support ELT workflows.
ELT Flows
ELT flows are designed to provide a quicker, simplified data flow setup process tailored specifically for extract–load–transform operations. This flow type is used to ingest data from an API source and transfer it directly into a database or data warehouse, without modification.
In ELT flows, transferred data can also be easily mapped into one or multiple tables within the database/data warehouse destination.
ELT flows run on the same Kafka engine that powers Nexla's FlexFlow data flows, but this flow type does not allow the modification of ingested data before sending it to the destination(s).
For workflows that require data transformation prior to moving the data to the destination, FlexFlow flow type is recommended.
ELT Data Flow
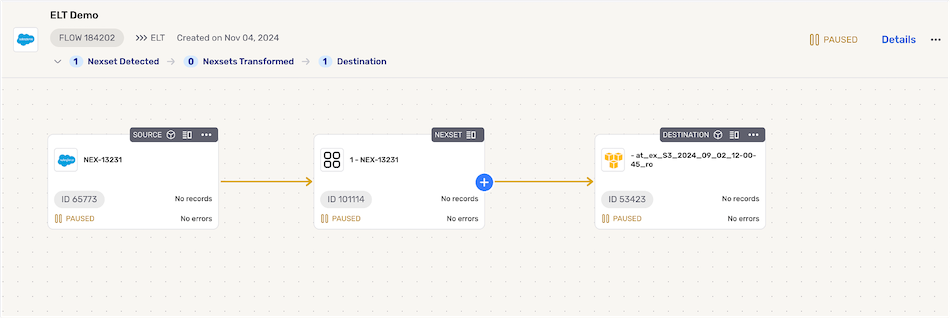
Setting up an ELT data flow in Nexla requires only a few easy configuration steps. The following sections provide step-by-step instructions for creating a new ELT flow, along with information about optional features and settings available for this flow type.
Create a New ELT Data Flow & Data Source
-
After logging into Nexla, navigate to the Integrate section by selecting
from the platform menu on the left side of the screen.
-
Click
at the top of the Integrate toolbar on the left.
-
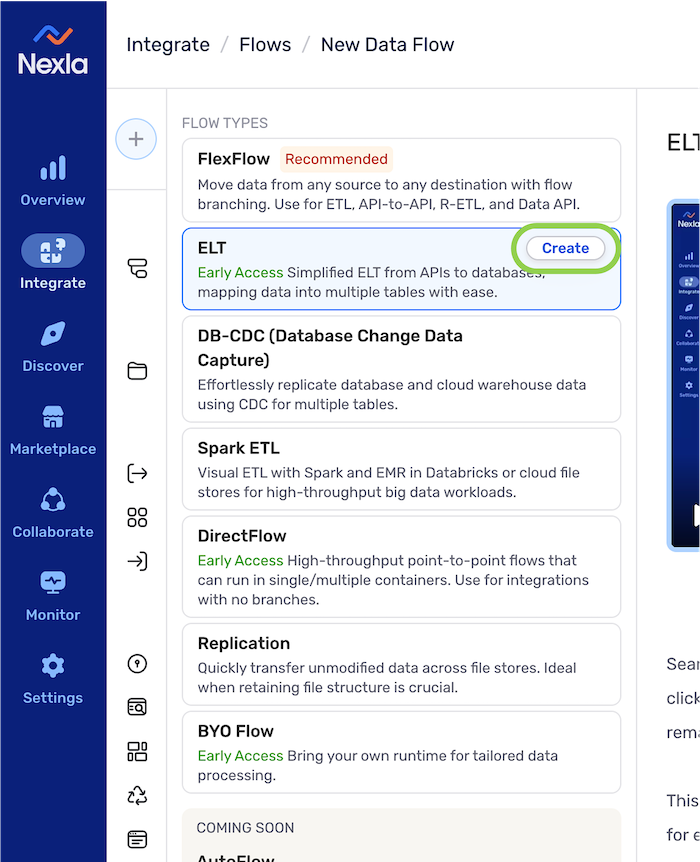
Select ELT from the list of flow types, and click
to proceed to data source creation.
Learning About Flow TypesIn the Select Flow Type screen, click on a data flow type to view more information about it in the panel on the right, including a brief introductory video.
Data flows of each type can also be created by clicking the
button at the top of this panel.
Configure the Data Source
- In the Connect screen, select the connector tile matching the desired data source type from the list.
-
ELT data flows only support some of Nexla's available data source types, and only supported connectors are shown in the Connect screen.
-
To create a data flow with a data source type not available in this screen, use the FlexFlow flow type or one of the other flow types listed on the Nexla Data Flow Types page.
-
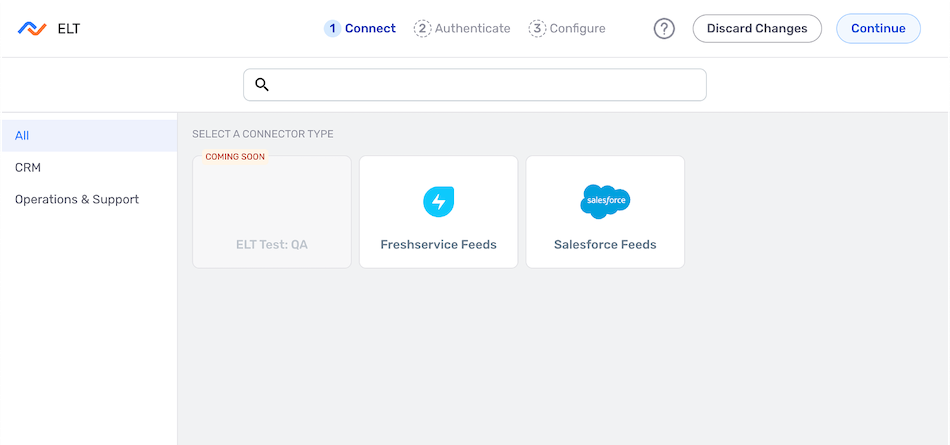
- In the Authenticate screen, select or create the credential that will be used to connect to the data source, and click
. Detailed information about credential creation for specific sources can be found on the Connectors page.
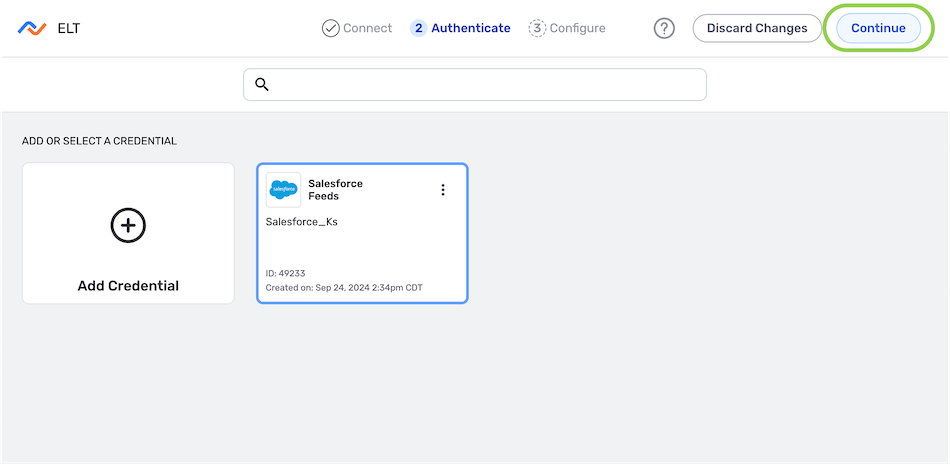
- Enter a name for the data source in the Name field.
Incremental Syncing
-
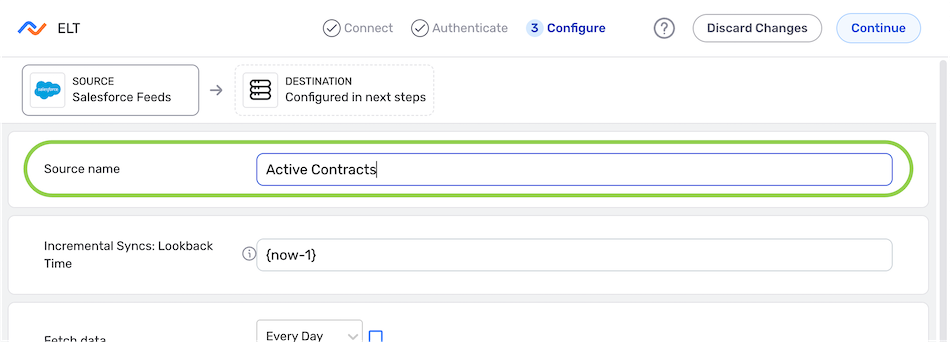
Optional: If the data source supports incremental syncing, set the lookback time that will be applied for this feed by entering the value in the Incremental Syncs: Lookback Time field.
Lookback Time FormattingWhen setting the incremental sync lookback time, following the format
{now},{now-1}, etc. is recommended.
Scheduling
-
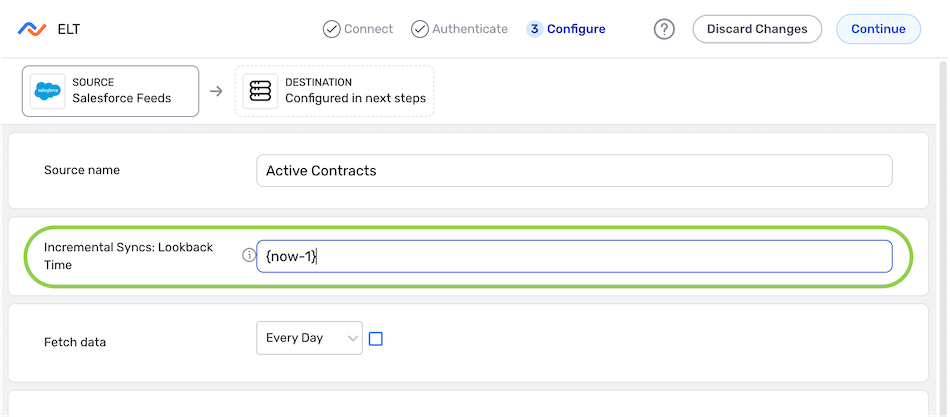
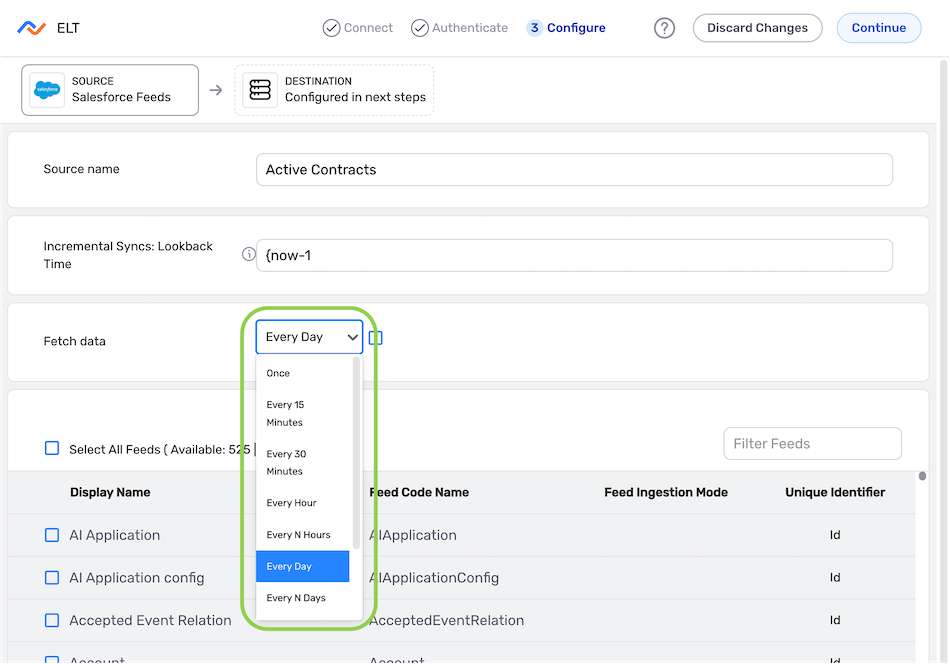
Define how often Nexla should scan the data source for new and/or changed data by selecting an option from the Fetch Data pulldown menu.
-
By default, Nexla is configured to scan the source once every day. To continue creating the ELT flow with this setting, no action is required.
-
When options such as Every N Days or Every N Hours, a secondary pulldown menu will be populated. Select the appropriate value of N from this menu.
-
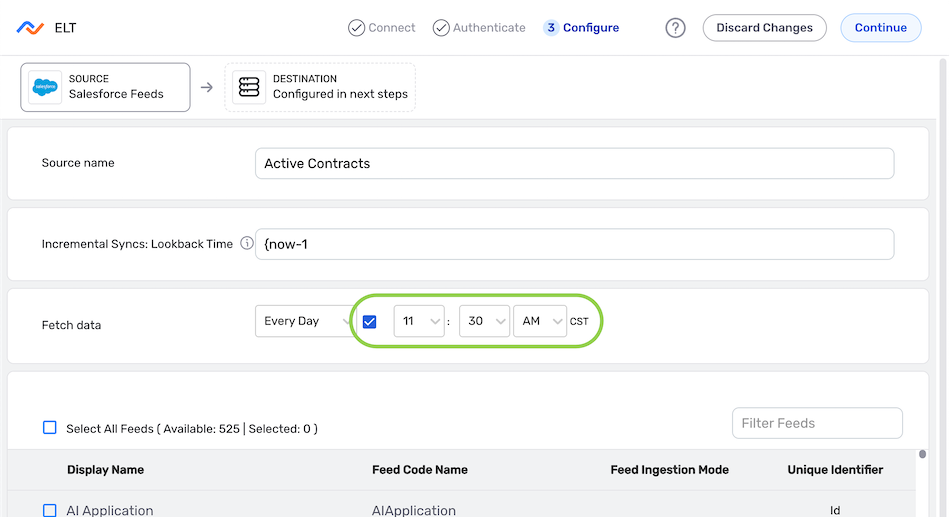
- Optional: To specify the time at which Nexla should scan the source for new data changes, check the box next to Set Time, and set the scan time using the pulldown menu(s). These available menus vary according to the selected scan frequency.
Source Feed(s)
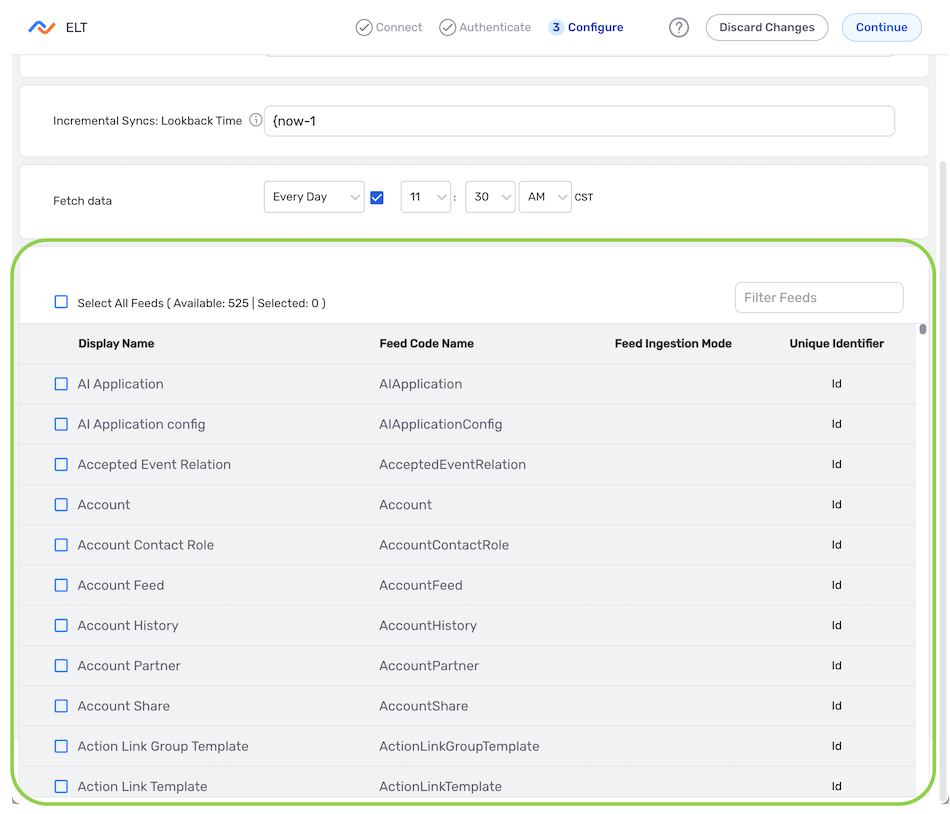
- At the bottom of the Configure screen, select the feed(s) from which data will be ingested in this ELT flow by checking the box next to each feed that should be included.
Save & Create the Data Source
-
After configuring all required settings and any desired additional options, click
in the top right corner of the screen to save & activate the data source.
Once the data source is created, Nexla will automatically scan it for data according to the configured settings. Identified data will be organized into a Nexset, which is a logical data product that is immediately ready to be sent to a destination.
Create a Destination
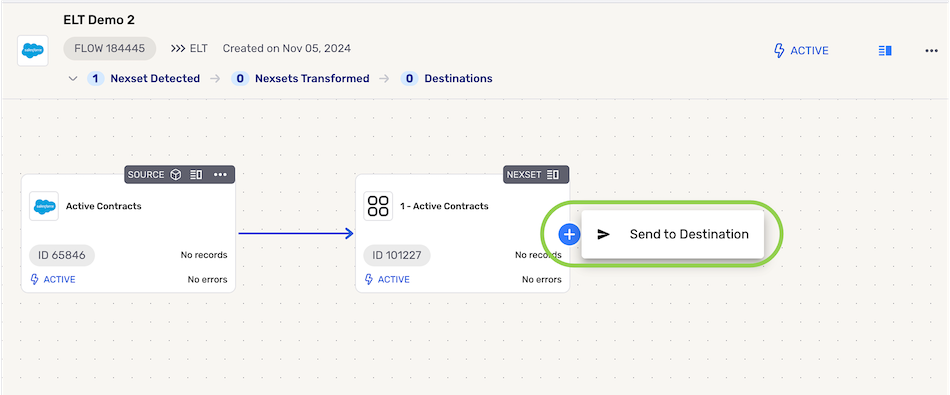
- To begin creating a destination in the ELT flow, click the
 icon on the detected Nexset, and select Send to Destination.
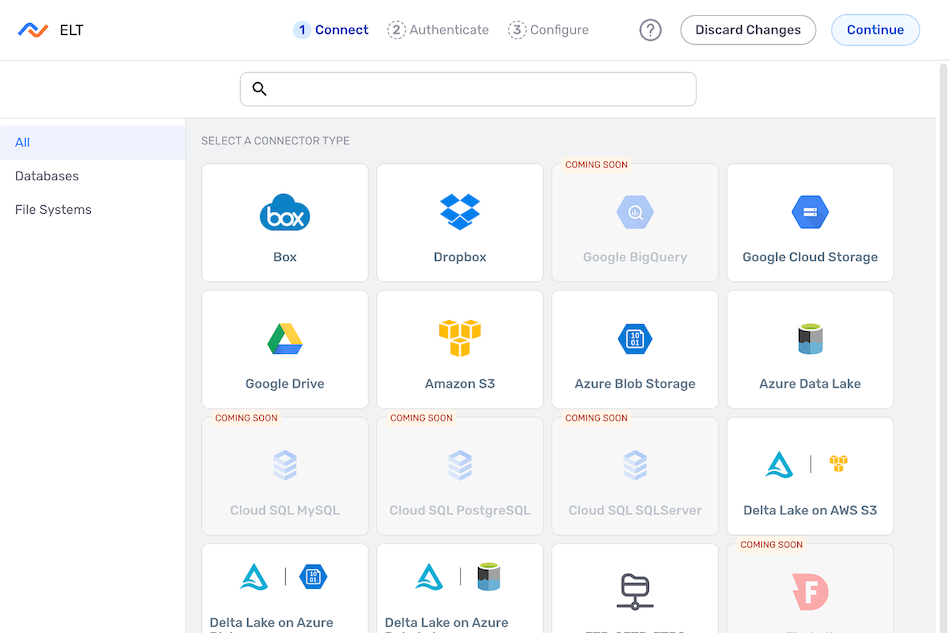
- In the Configure screen, select a connector tile that matches the destination type to which data will be sent in this flow. Once a connector is selected, the platform will automatically advance to the next setup step.
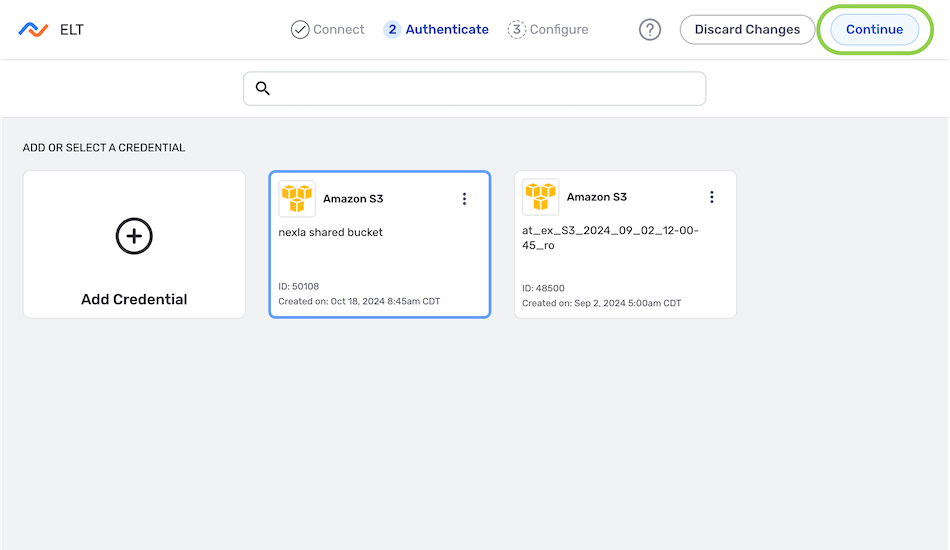
- In the Authenticate screen, select or create the credential that will be used to connect to the data source, and click
. Detailed information about credential creation for specific sources can be found on the Connectors page.
Configure the Destination
- Enter a name for the destination in the Name field.

-
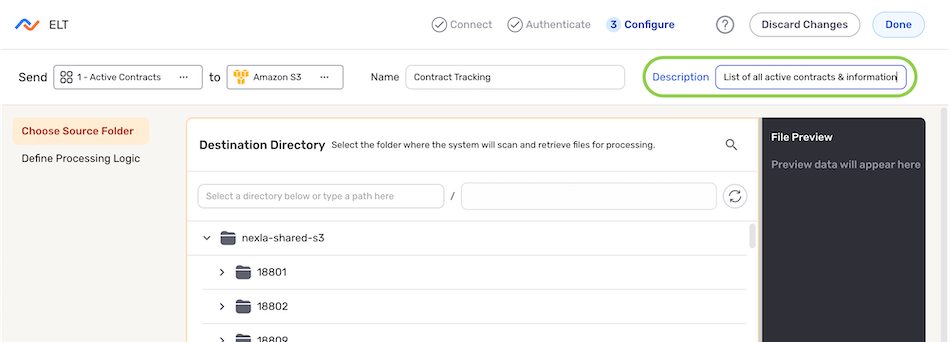
Optional: Enter a description of the destination in the Description field.
Resource DescriptionsResource descriptions should provide information about the resource purpose, data freshness, etc. that can help the owner and other users efficiently understand and utilize the resource.
-
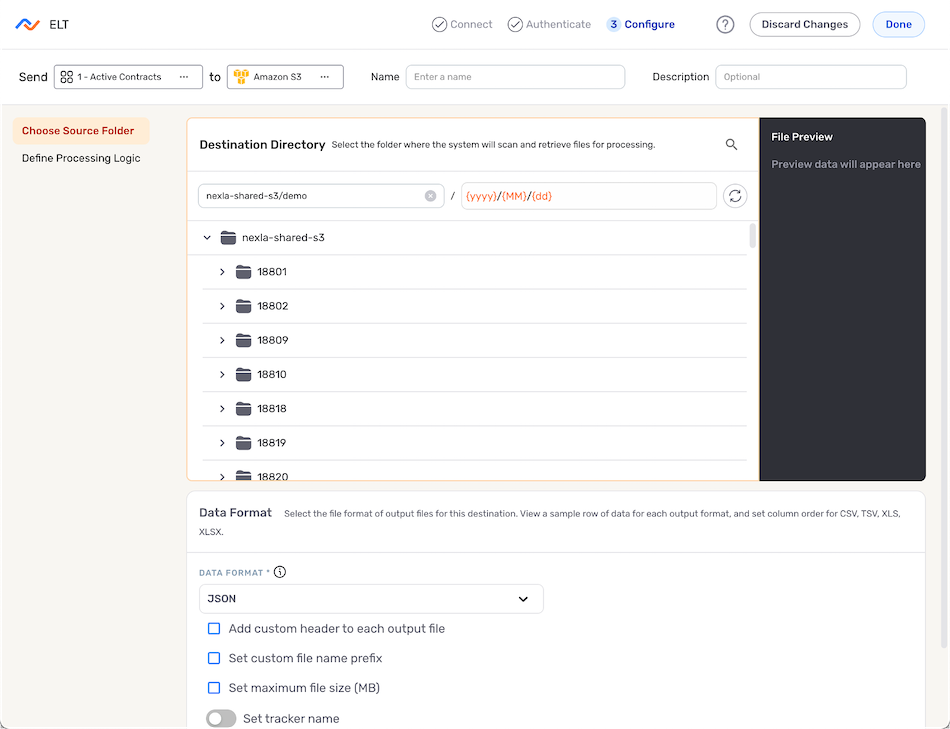
Configure the location to which data will be sent and any other desired settings according to the selected destination type.
Configuring a DestinationFor information about configuring each destination type, see the following pages in the Connectors section:
Example Destination Configuration Screen (File System)
Save & Activate the Destination
- After configuring all necessary settings, click
in the upper right corner of the screen to save and create the destination.
Important: Data MovementData will not begin to flow into the destination until it is activated, as shown in the following step.

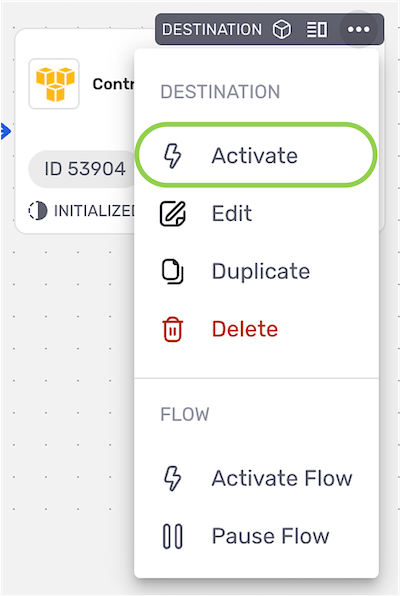
- Once created, the destination must be activated to begin the flow of data into the destination. To activate the destination, click the
 icon on the destination, and select
  from the dropdown menu.
