How to Add a Data Source
Nexla's bi-directional connectors make ingesting data from any location easy.
In this article, learn how to create a data source in Nexla and begin ingesting data. The instructions describe the general steps required to set up a data source in a data flow, along with links to connector-specific instructions when applicable.
1. Select the Data Flow and Data Source Type
- Log into Nexla with your provided credentials to view the Nexla Dashboard.
If you need credentials, contact support@nexla.com.
-
Navigate to the Integrate section by selecting
 from the platform menu on the left side of the screen.
 -
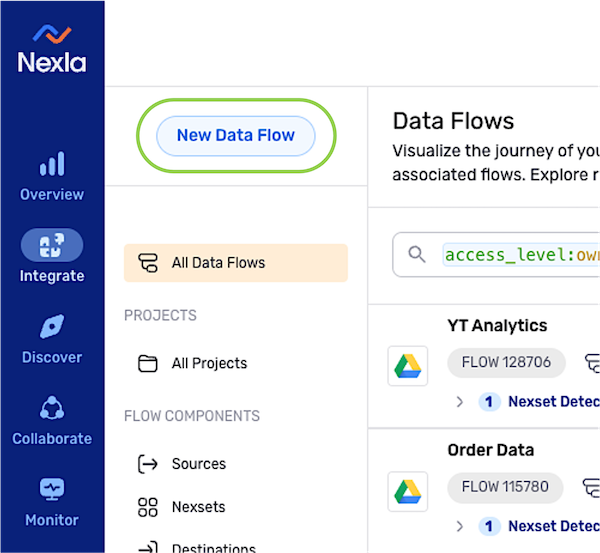
Click
 at the top of the Integrate toolbar on the left.
-
Select the type of data flow to be created from the menu on the left, and click
 .
.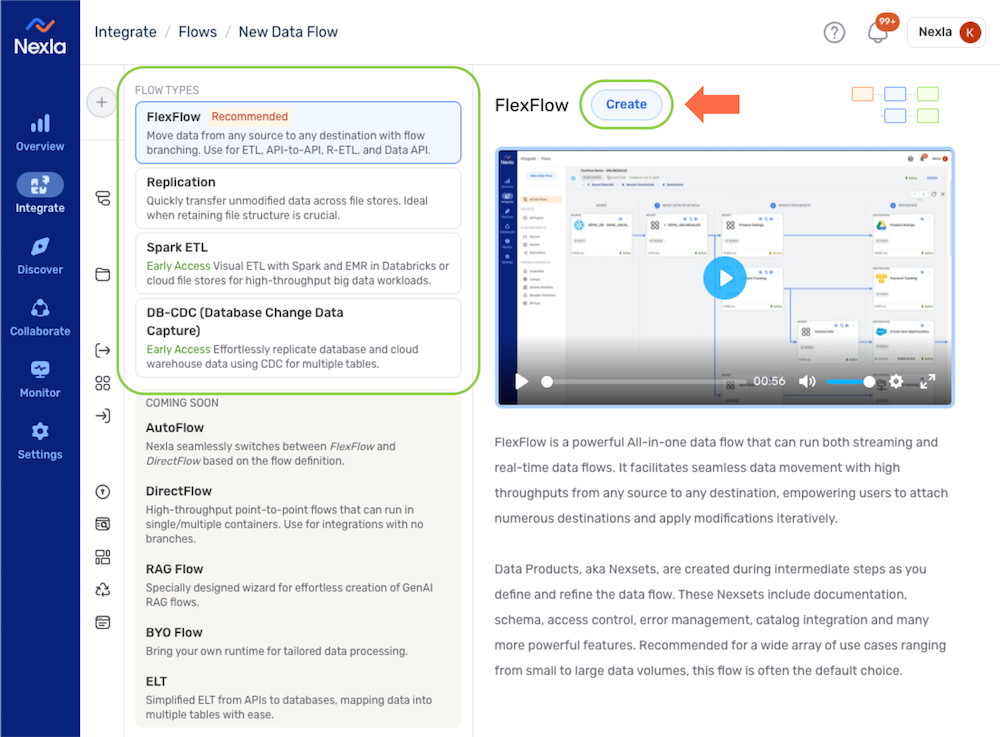 Data Flow Types in Nexla
FlexFlow:
FlexFlow is a flexible all-in-one data flow type that can be used to create both streaming and real-time data flows that can be used to transform data and/or move data from any source to any destination. This flow type uses the Kafka engine to facilitate seamless high-throughput movement of data from any source to any destination. FlexFlow is the recommended flow type for most workflows.DB-CDC:
DB-CDC data flows use change data capture to replicate tables across databases and/or cloud warehouses. This flow type is streamlined for use in data migration and maintenance workflows, allowing users to quickly create data flows that replicate data across storage locations.Spark ETL:
Spark ETL data flows are designed for rapidly modifying large volumes of data stored in cloud databases or Databricks and moving the transformed data into another cloud storage or Databricks location. This flow type uses the Apache Spark engine and is ideal for large-scale data processing wherein minimizing latency in data movement is a critical need.Replication:
Replication data flows are designed for use in workflows that require high-speed movement of unmodified files between storage systems. This flow type is ideal for use when both retaining file structure and transferring data as quickly as possible are critical.
-
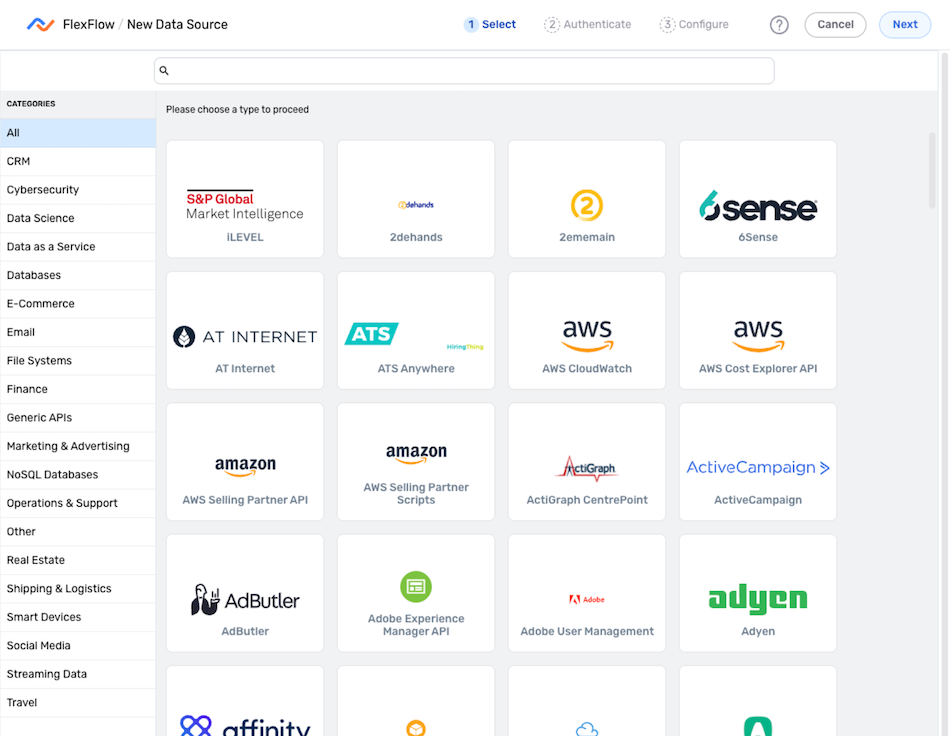
In the data source set-up screen, select a connector tile that matches the source type from which data will be ingested in this flow. Once a connector is selected, the platform will automatically advance to the next setup step.
Locating Connector TilesConnector tiles can be located by scrolling through the full list or by typing the connector name into the search bar at the top of the list.
To view only connectors for data sources of a certain type, select a connector category from the menu on the left.
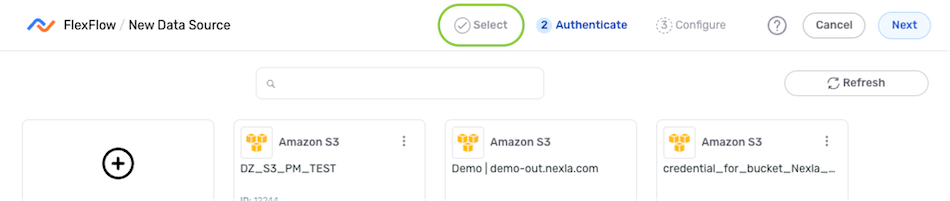
 Changing the Selected Source Type
To change the selected connector type after advancing to a later step in the flow setup process, use the menu at the top of the screen to navigate back to the Select step.
2. Configure Authentication Settings
In the Authenticate screen, follow the instructions below to create or select the credential that will be used to connect to the data source.
- To create a new credential for this data source, follow the instructions in Section 2.1.
- To use an existing credential for this data source, follow the instructions in Section 2.2.
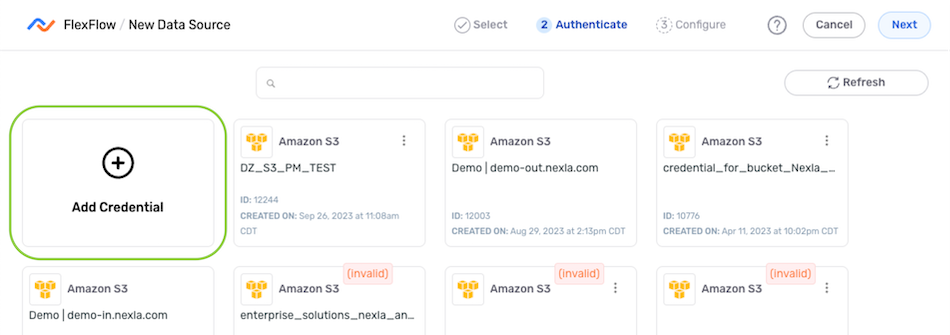
2.1 Create a New Credential
- Select the Add Credential tile.
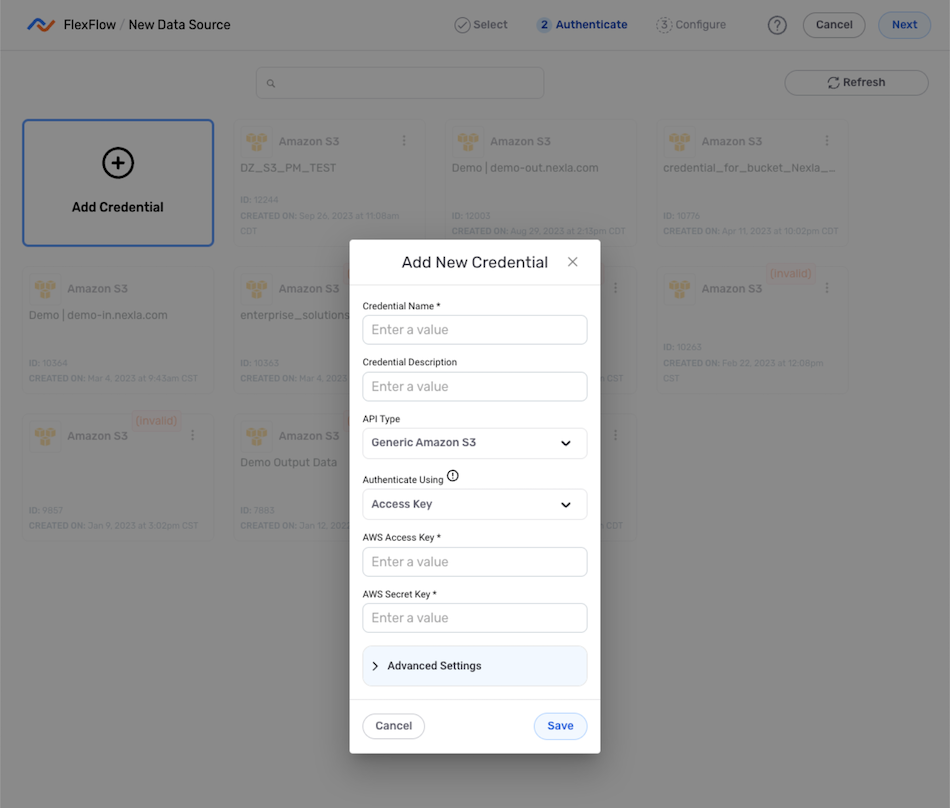
-
Enter and/or select the required information in the Add New Credential pop-up.
Adding New CredentialsCredential requirements vary depending on the data source type, with some sources requiring URLs, access keys, and other parameters that must be obtained from the source application/location in addition to account information.
Detailed information about credential creation for specific sources can be found on the Connectors page.
-
Once all of the required information has been entered, click
 at the bottom of the pop-up to save the new credential, and proceed to Section 3.
2.2 Use an Existing Credential
Any accessible valid credential created by or shared with the user can be used to create a data source of the matching type.
- Select the credential from the list.

- Click
 in the upper right corner of the screen, and proceed to Section 3.
3. Configure & Create the Data Source
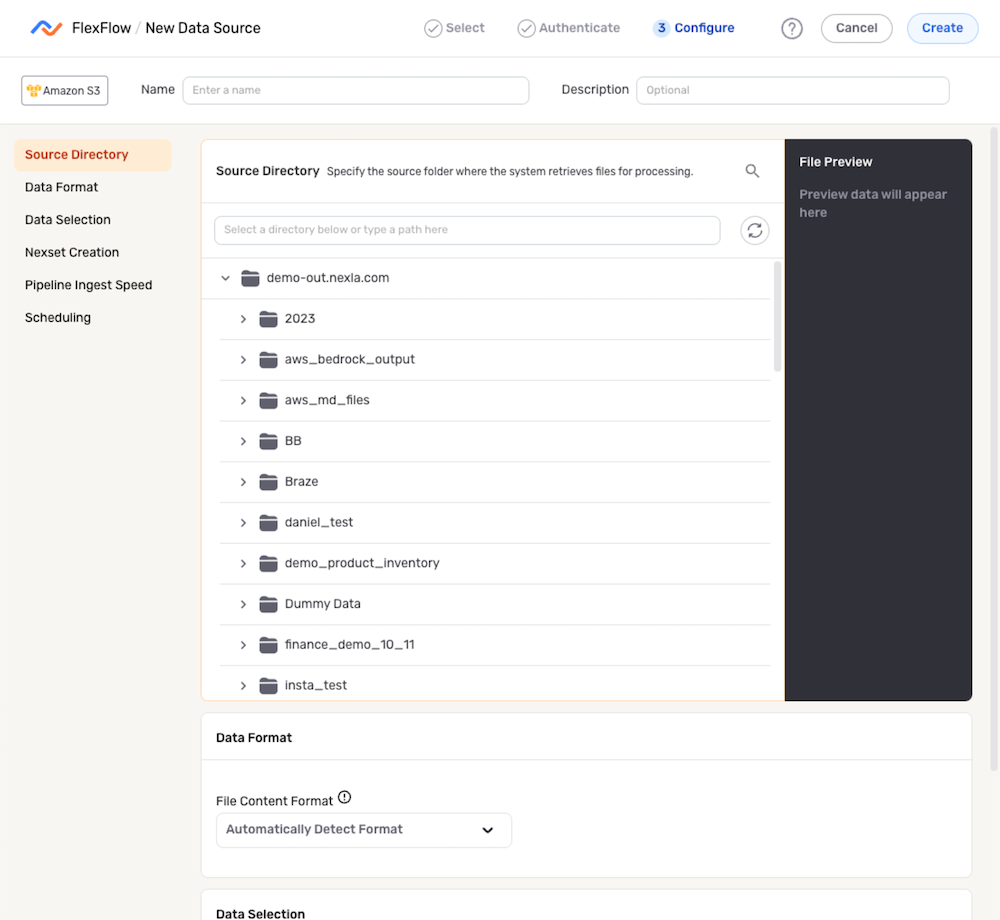
-
Select and configure the source location from which data should be read, including any desired advanced settings (i.e., the frequency at which data should be fetched, data selection settings, etc.).
Configuring Data SourcesThe data source selection and/or configuration procedure varies according to the source type. Detailed instructions for each data source type can be found on the Connectors page.
Example Data Source Configuration Screen (Snowflake)
-
Click
 in the upper right corner of the screen to save and create the data source. Nexla will now automatically scan the source for data and organize that data into a Nexset, which is a logical data product that is immediately ready to be transformed or sent to any destination.

3. No-Code, Bidirectional Connectors
Learn more about Nexla's no-code, bidirectional connectors that can be used to connect to any data source within seconds, without writing any code, in the video below: