Salesforce
Nexla's bi-directional connectors can both send data to and receive data from any data system. This means that once a user has created or gained access to a credential for any data system, building any data flow to ingest data from or send data to a location within that data system requires only a few simple steps.
For the version of this article pertaining to the previous Nexla UI, click here.
1. Credentials
This section provides information about and step-by-step instructions for creating a new Salesforce credential in Nexla.
1.1 Add a New Salesforce Credential
After selecting the data source/destination type, in the
 screen, click
 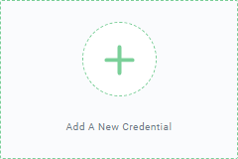 . This will open the Add New Credential window.
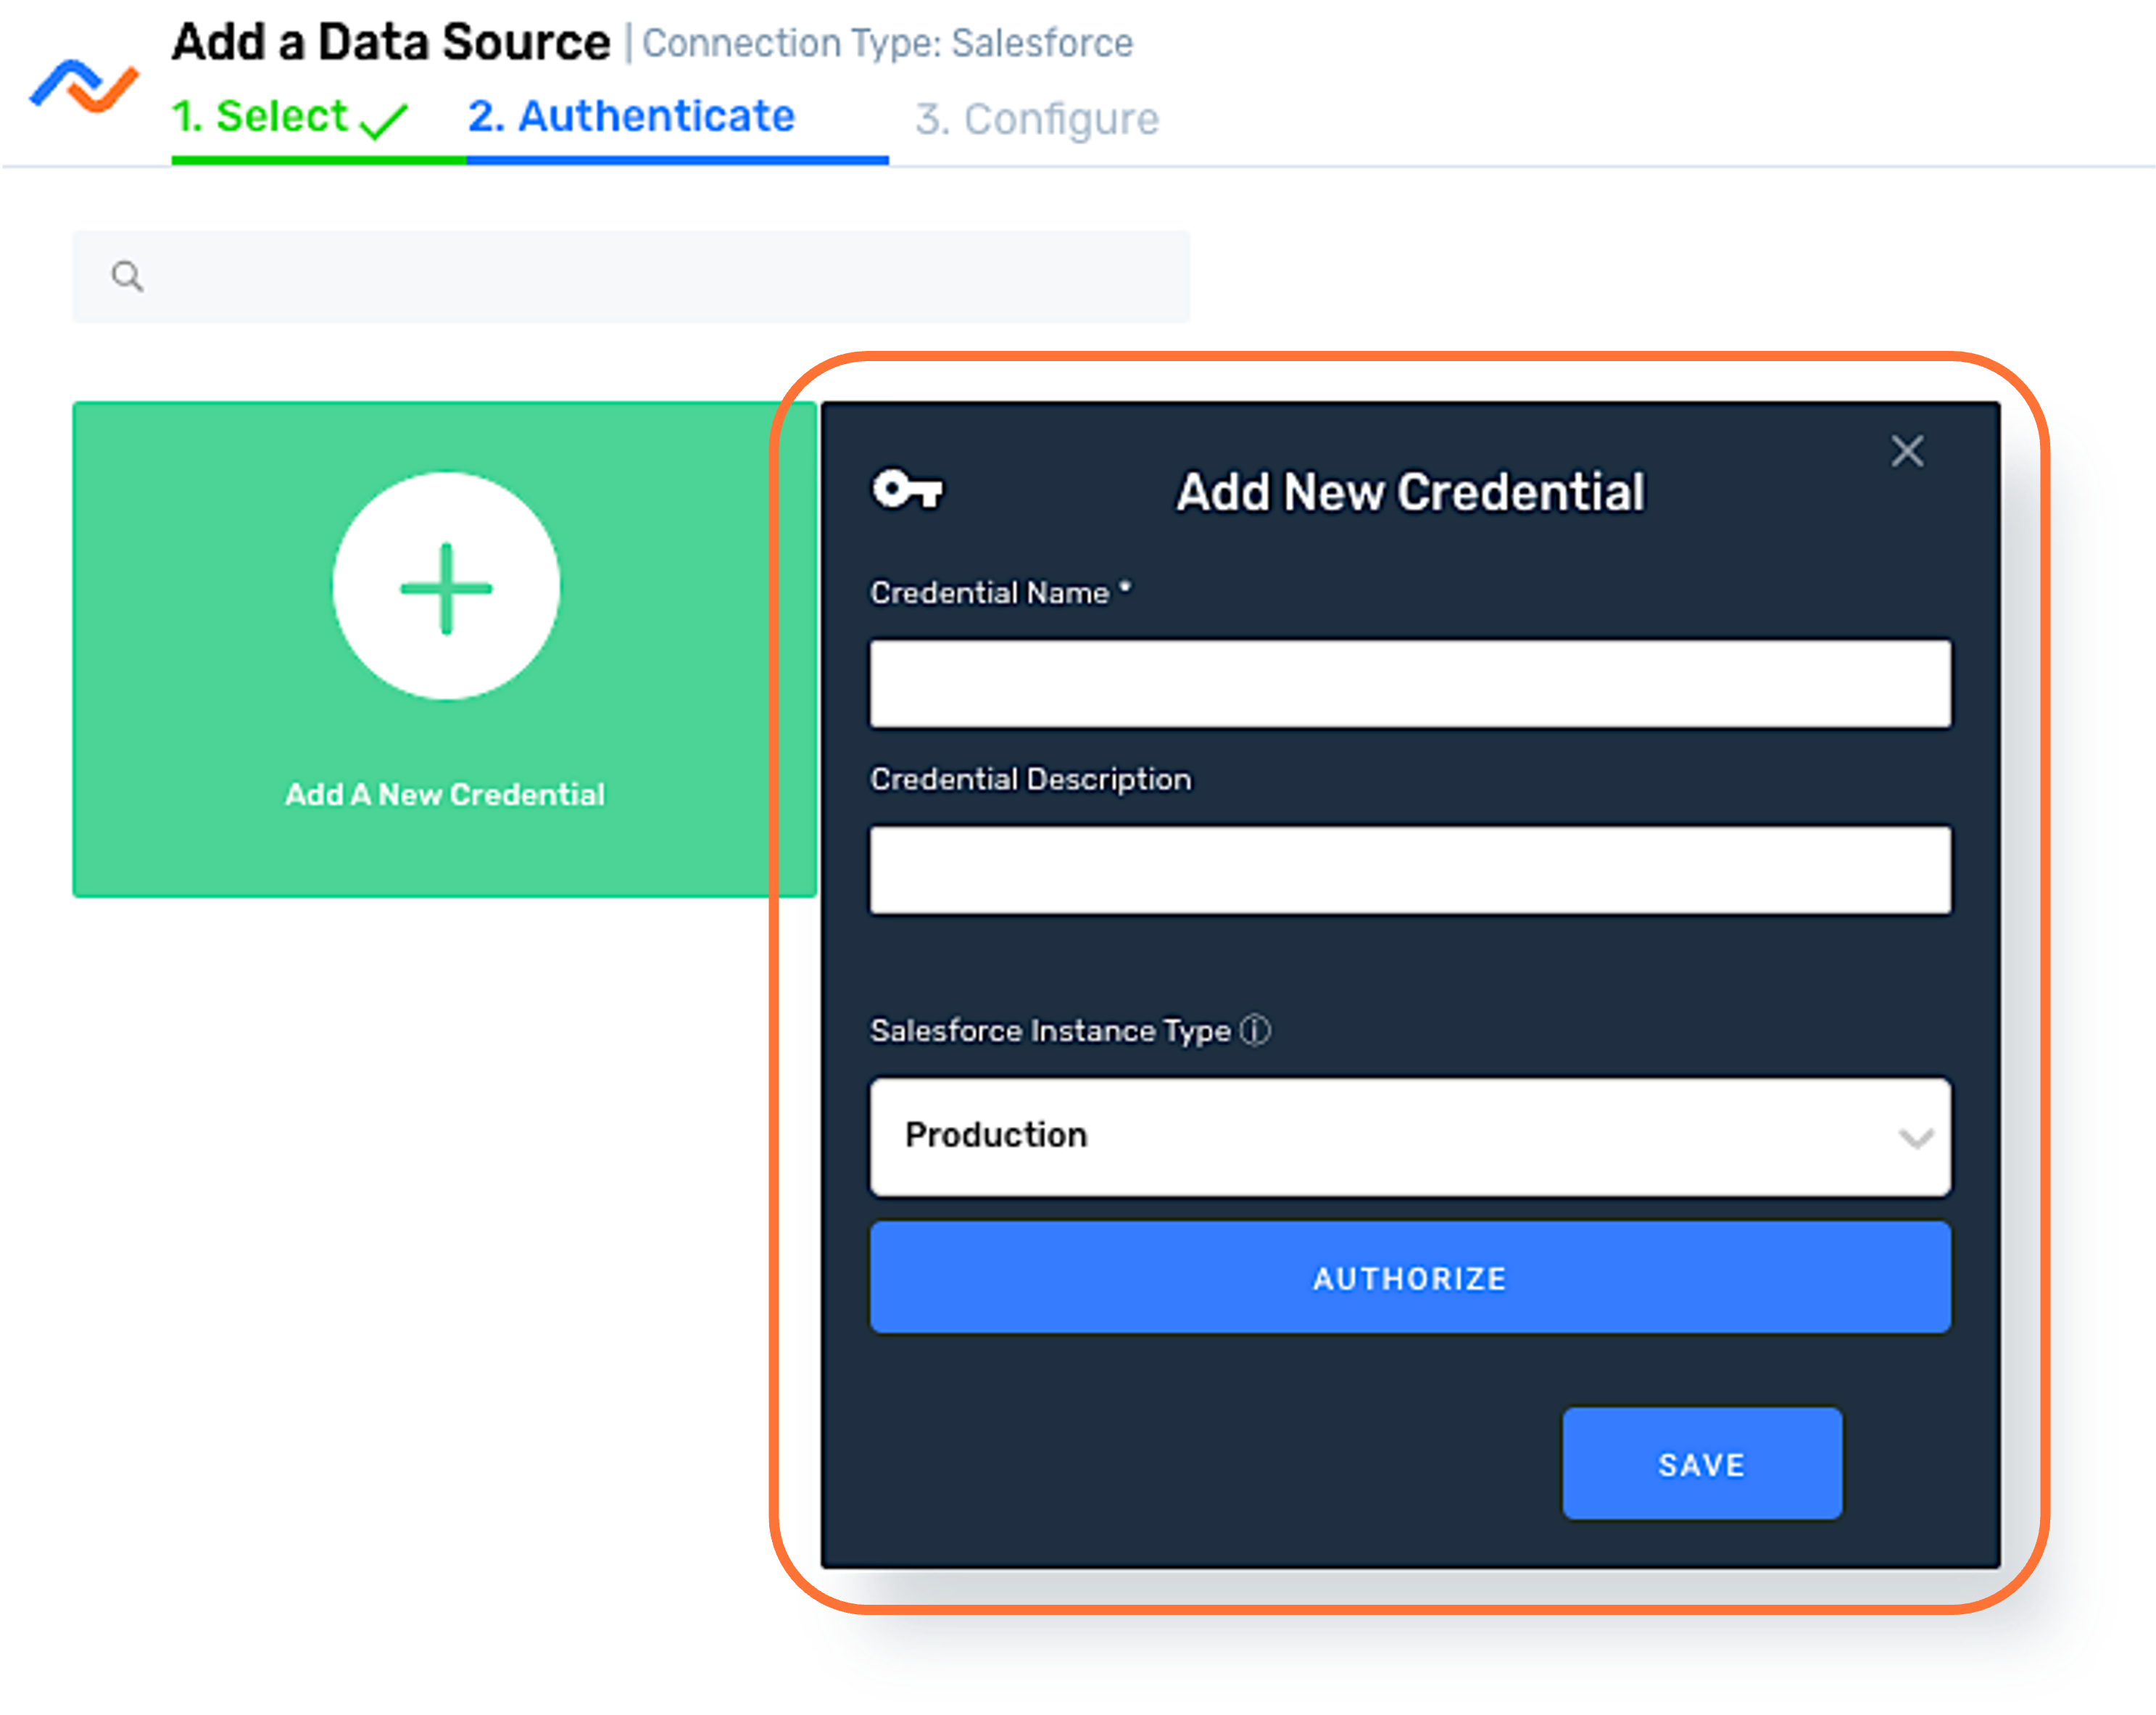
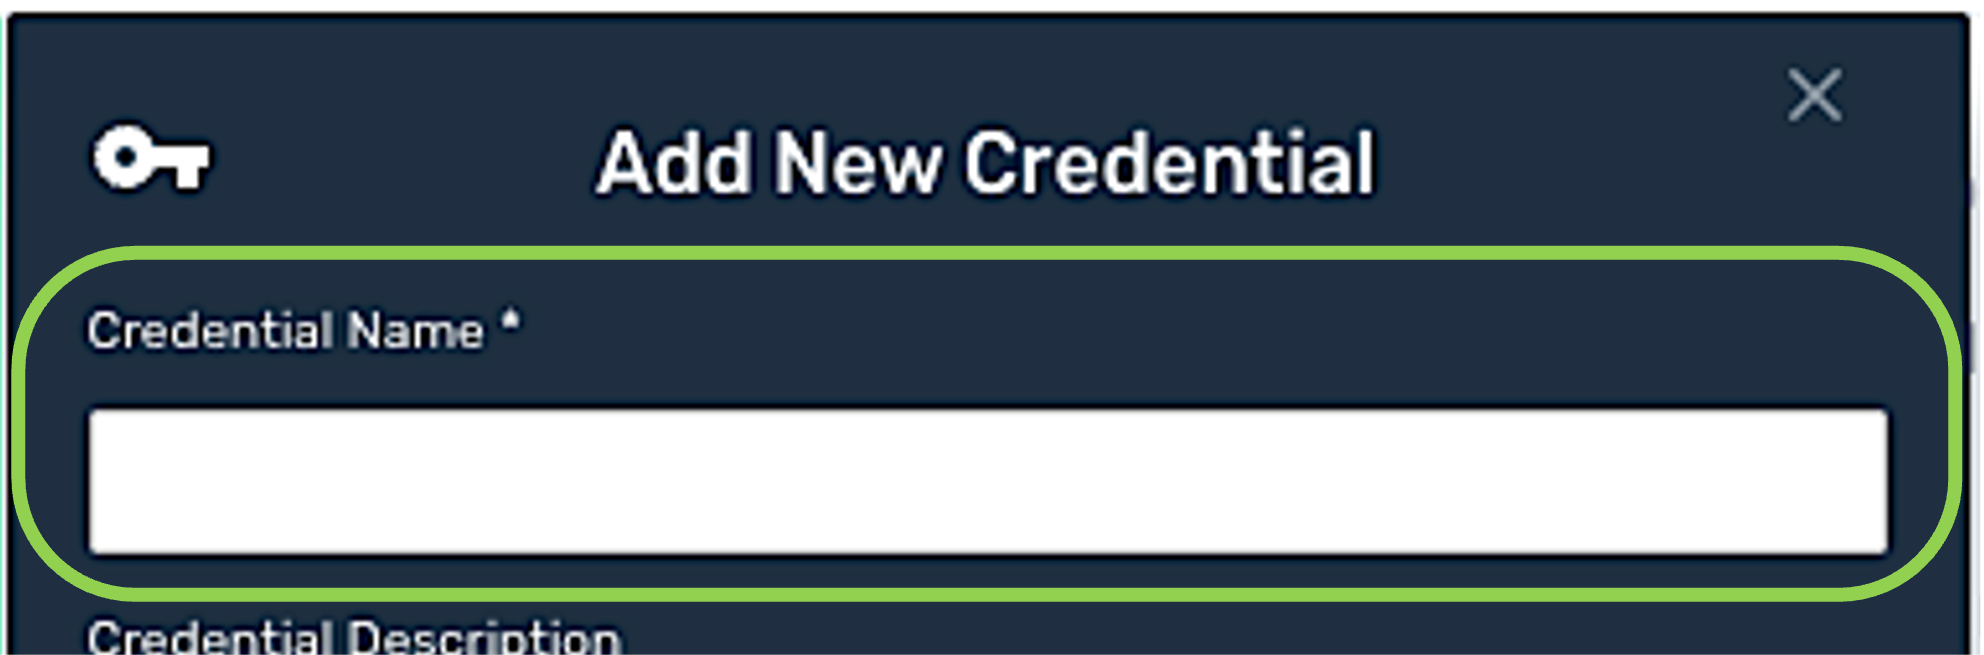
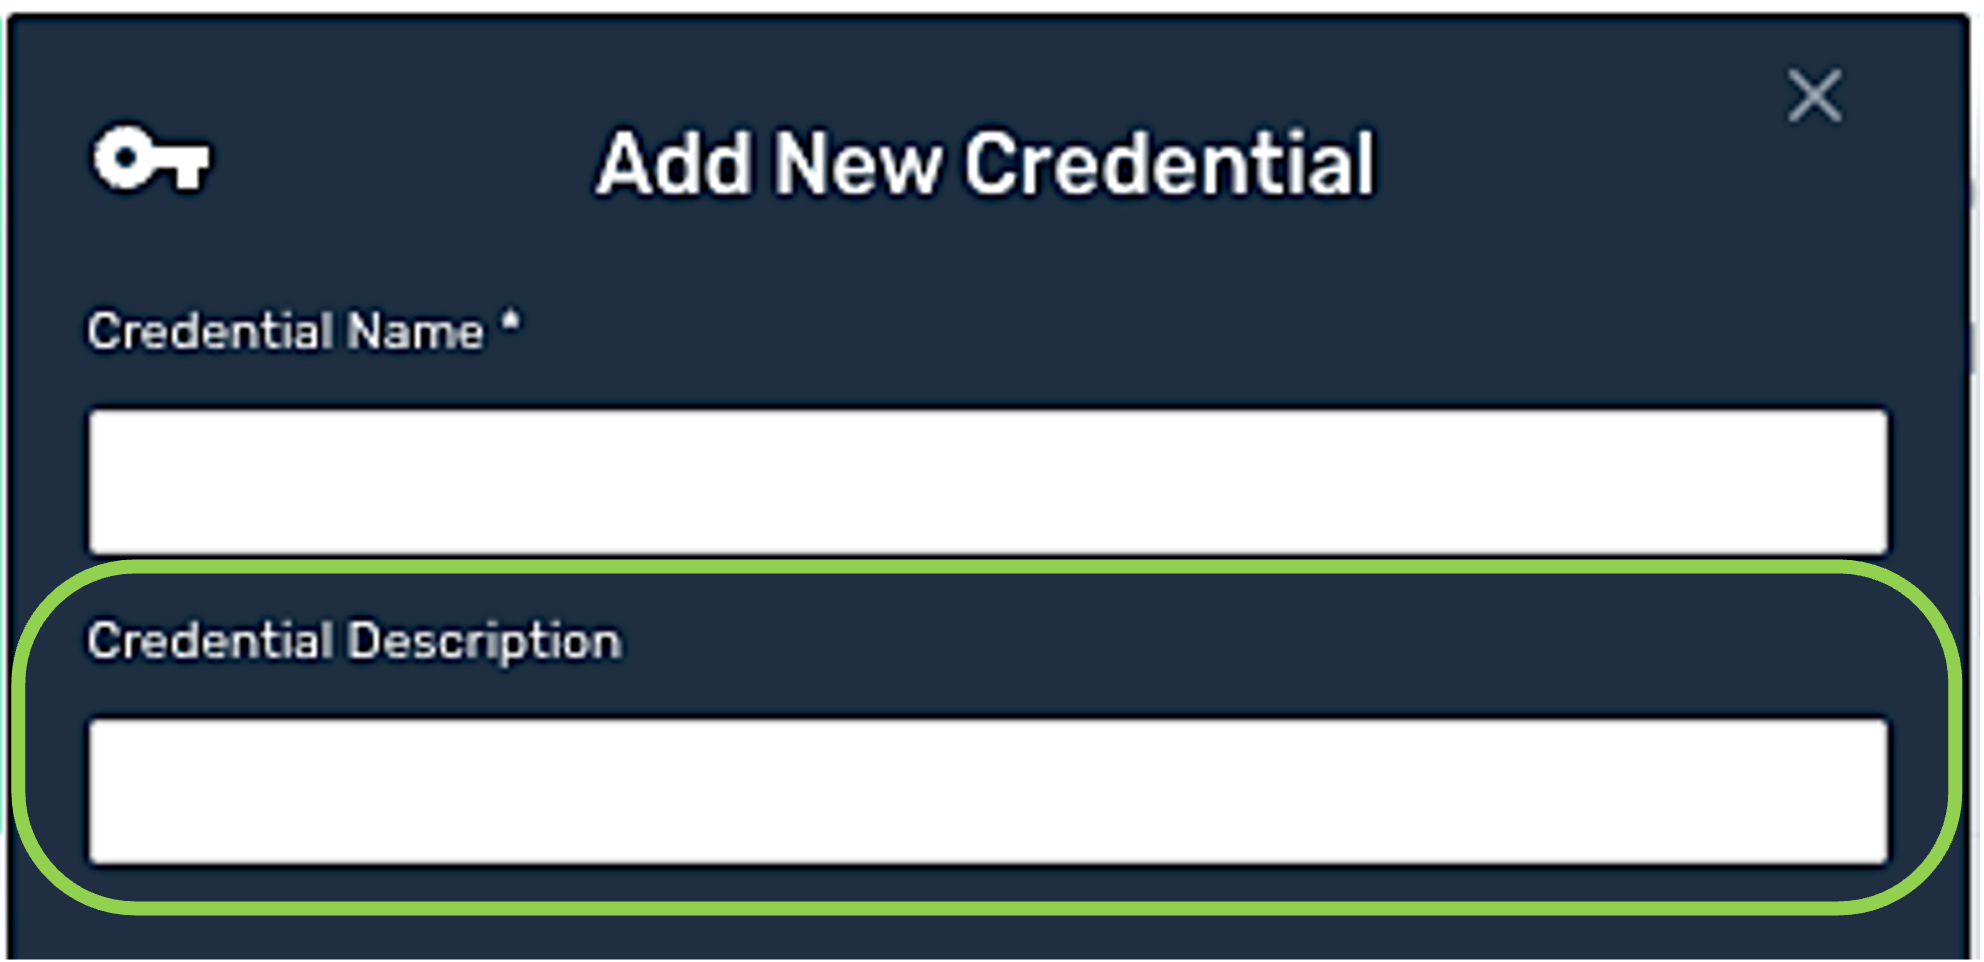
Enter a name for the credential in the Credential Name field.
Optional: Enter a description for the credential in the Credential Description field.
1.2 Authorize Salesforce Access
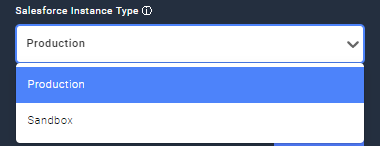
Choose the type of the Salesforce instance to which this credential should connect from the Salesforce Instance Type pulldown menu.
Click
 , and log into the Salesforce account to which this credential should be connected in the pop-up window that appears.
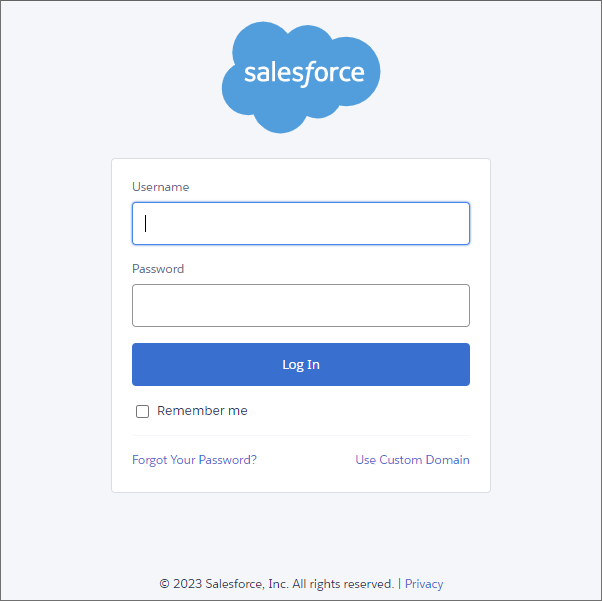
1.3 Save and Create the Salesforce Credential
Once all of the relevant steps in the above sections have been completed, click
 at the bottom of the Add New Credential screen to save the credential and all entered information.
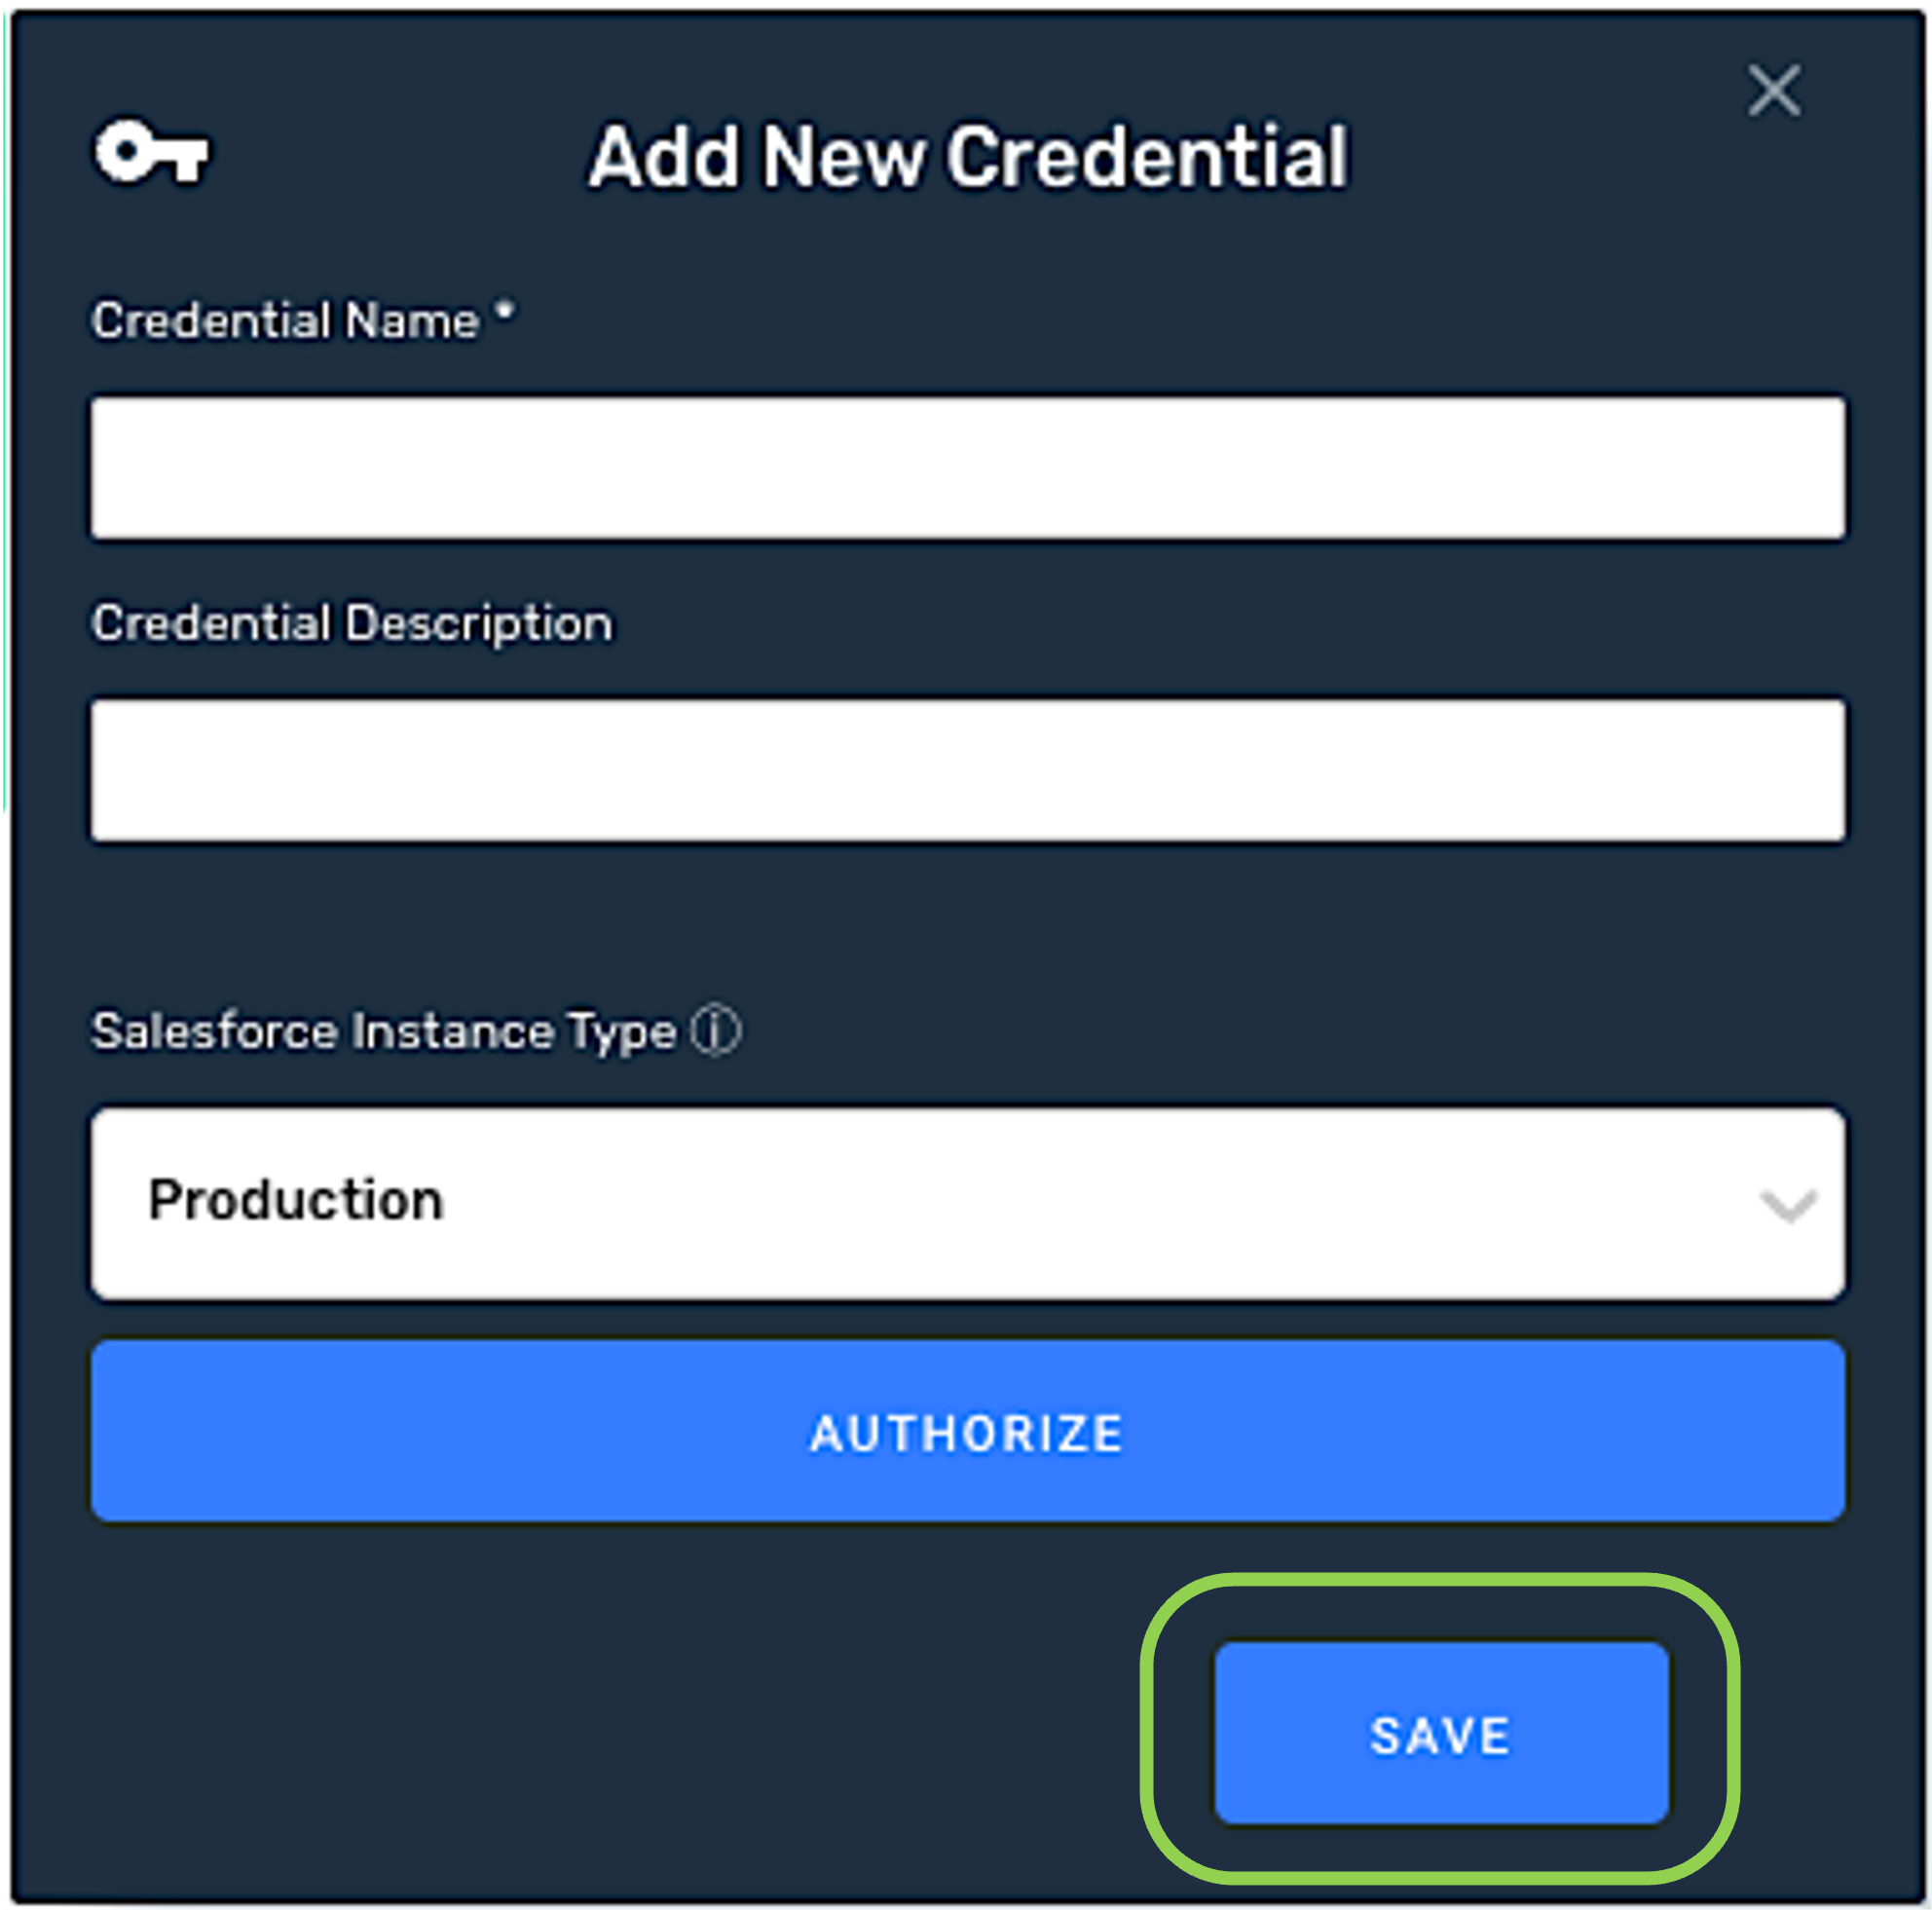
The newly added credential will now appear in a tile on the
screen and can be selected for use with a new data source or destination. 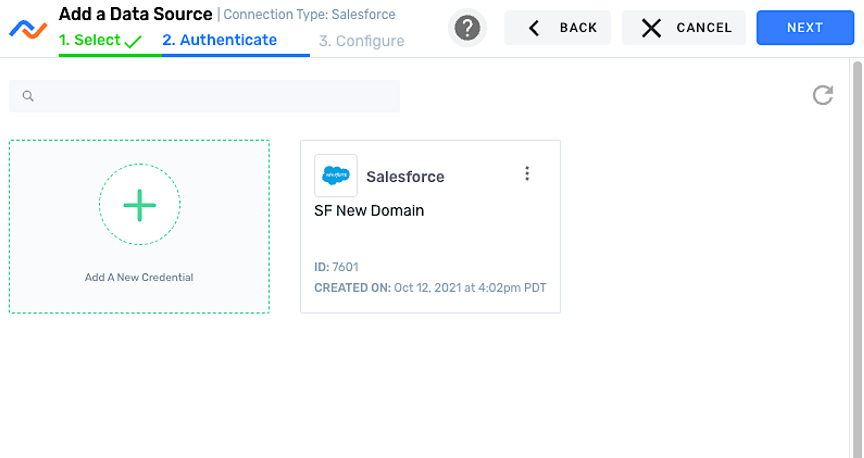
2. Data Source
To ingest data from a Salesforce location, follow the instructions in Section 2 of Common Setup for Databases & Data Warehouses.
3. Data Destination
To send data to a Salesforce location, follow the instructions in Section 3 of Common Setup for Databases & Data Warehouses.