Connect to Salesforce (Legacy UI)
Nexla's bi-directional connectors can both send data to and receive data from any data system. This means that once a user has created or gained access to a credential for any data system, building any data flow to ingest data from or send data to a location within that data system requires only a few simple steps.
1. Credentials
This section provides information about and step-by-step instructions for creating a new Salesforce credential in Nexla.
1.1 Add a New Salesforce Credential
-
After selecting the data source/destination type, in the
screen, click
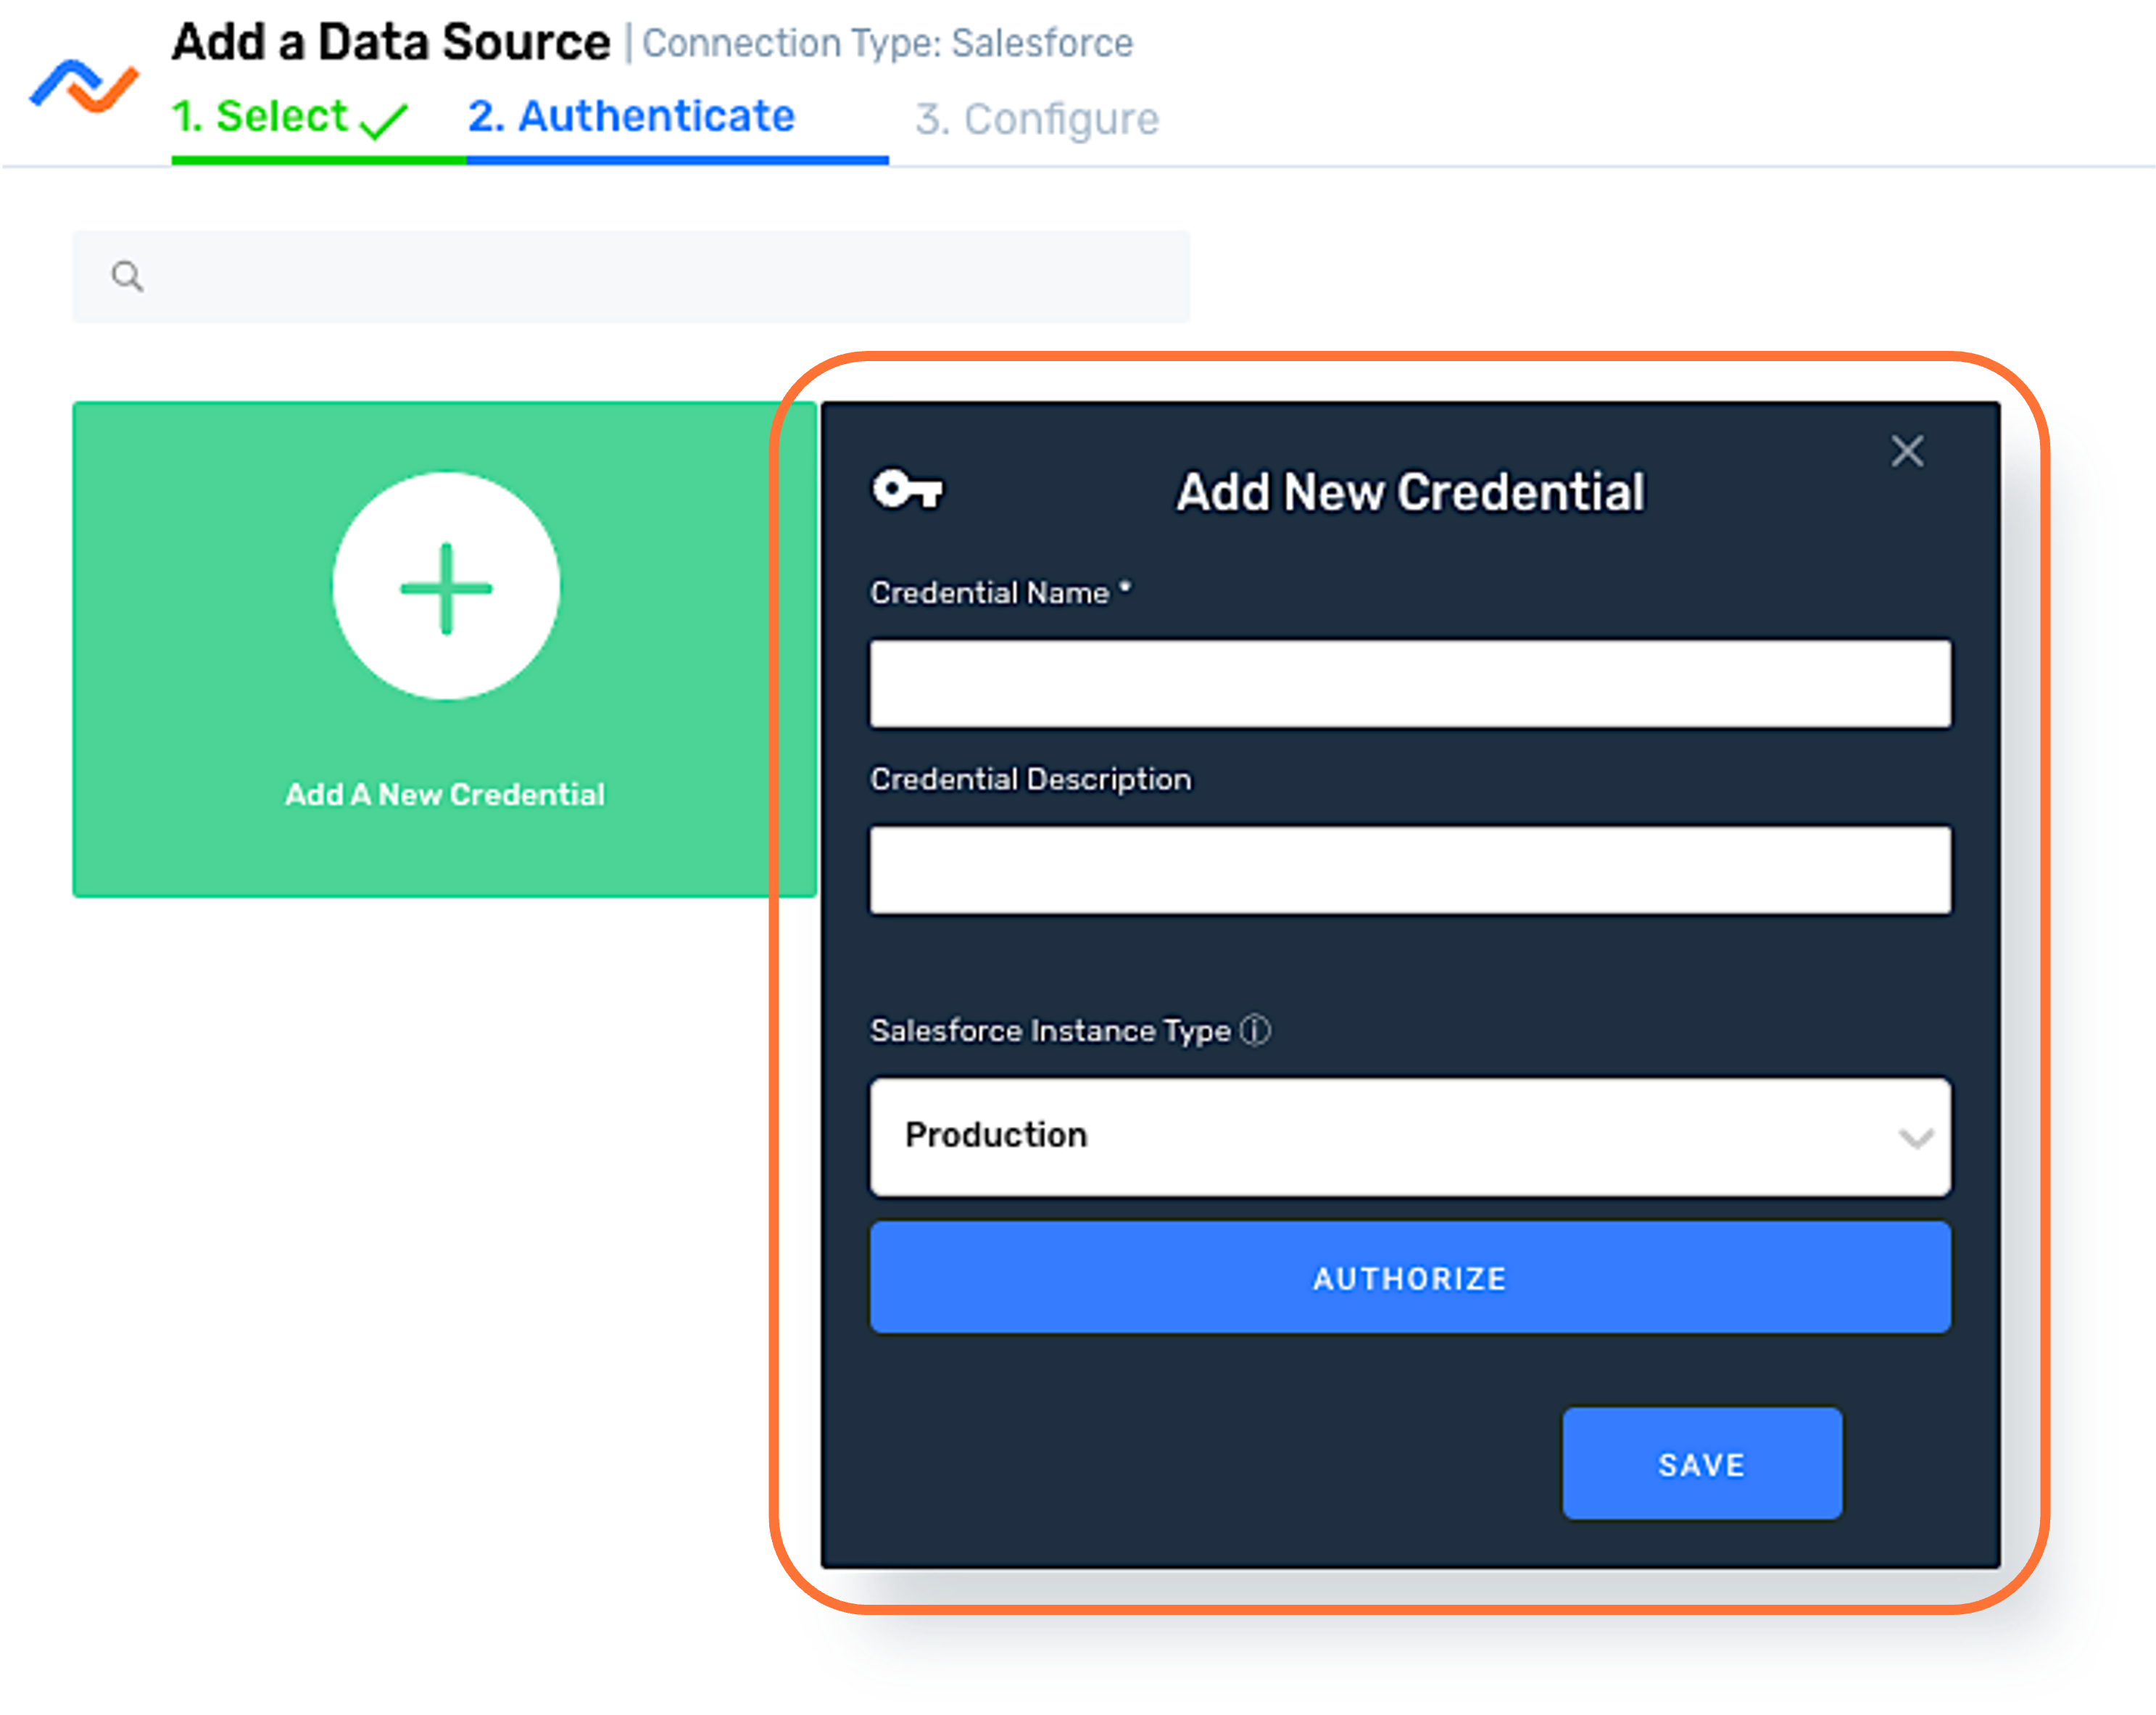
 . This will open the Add New Credential window.
-
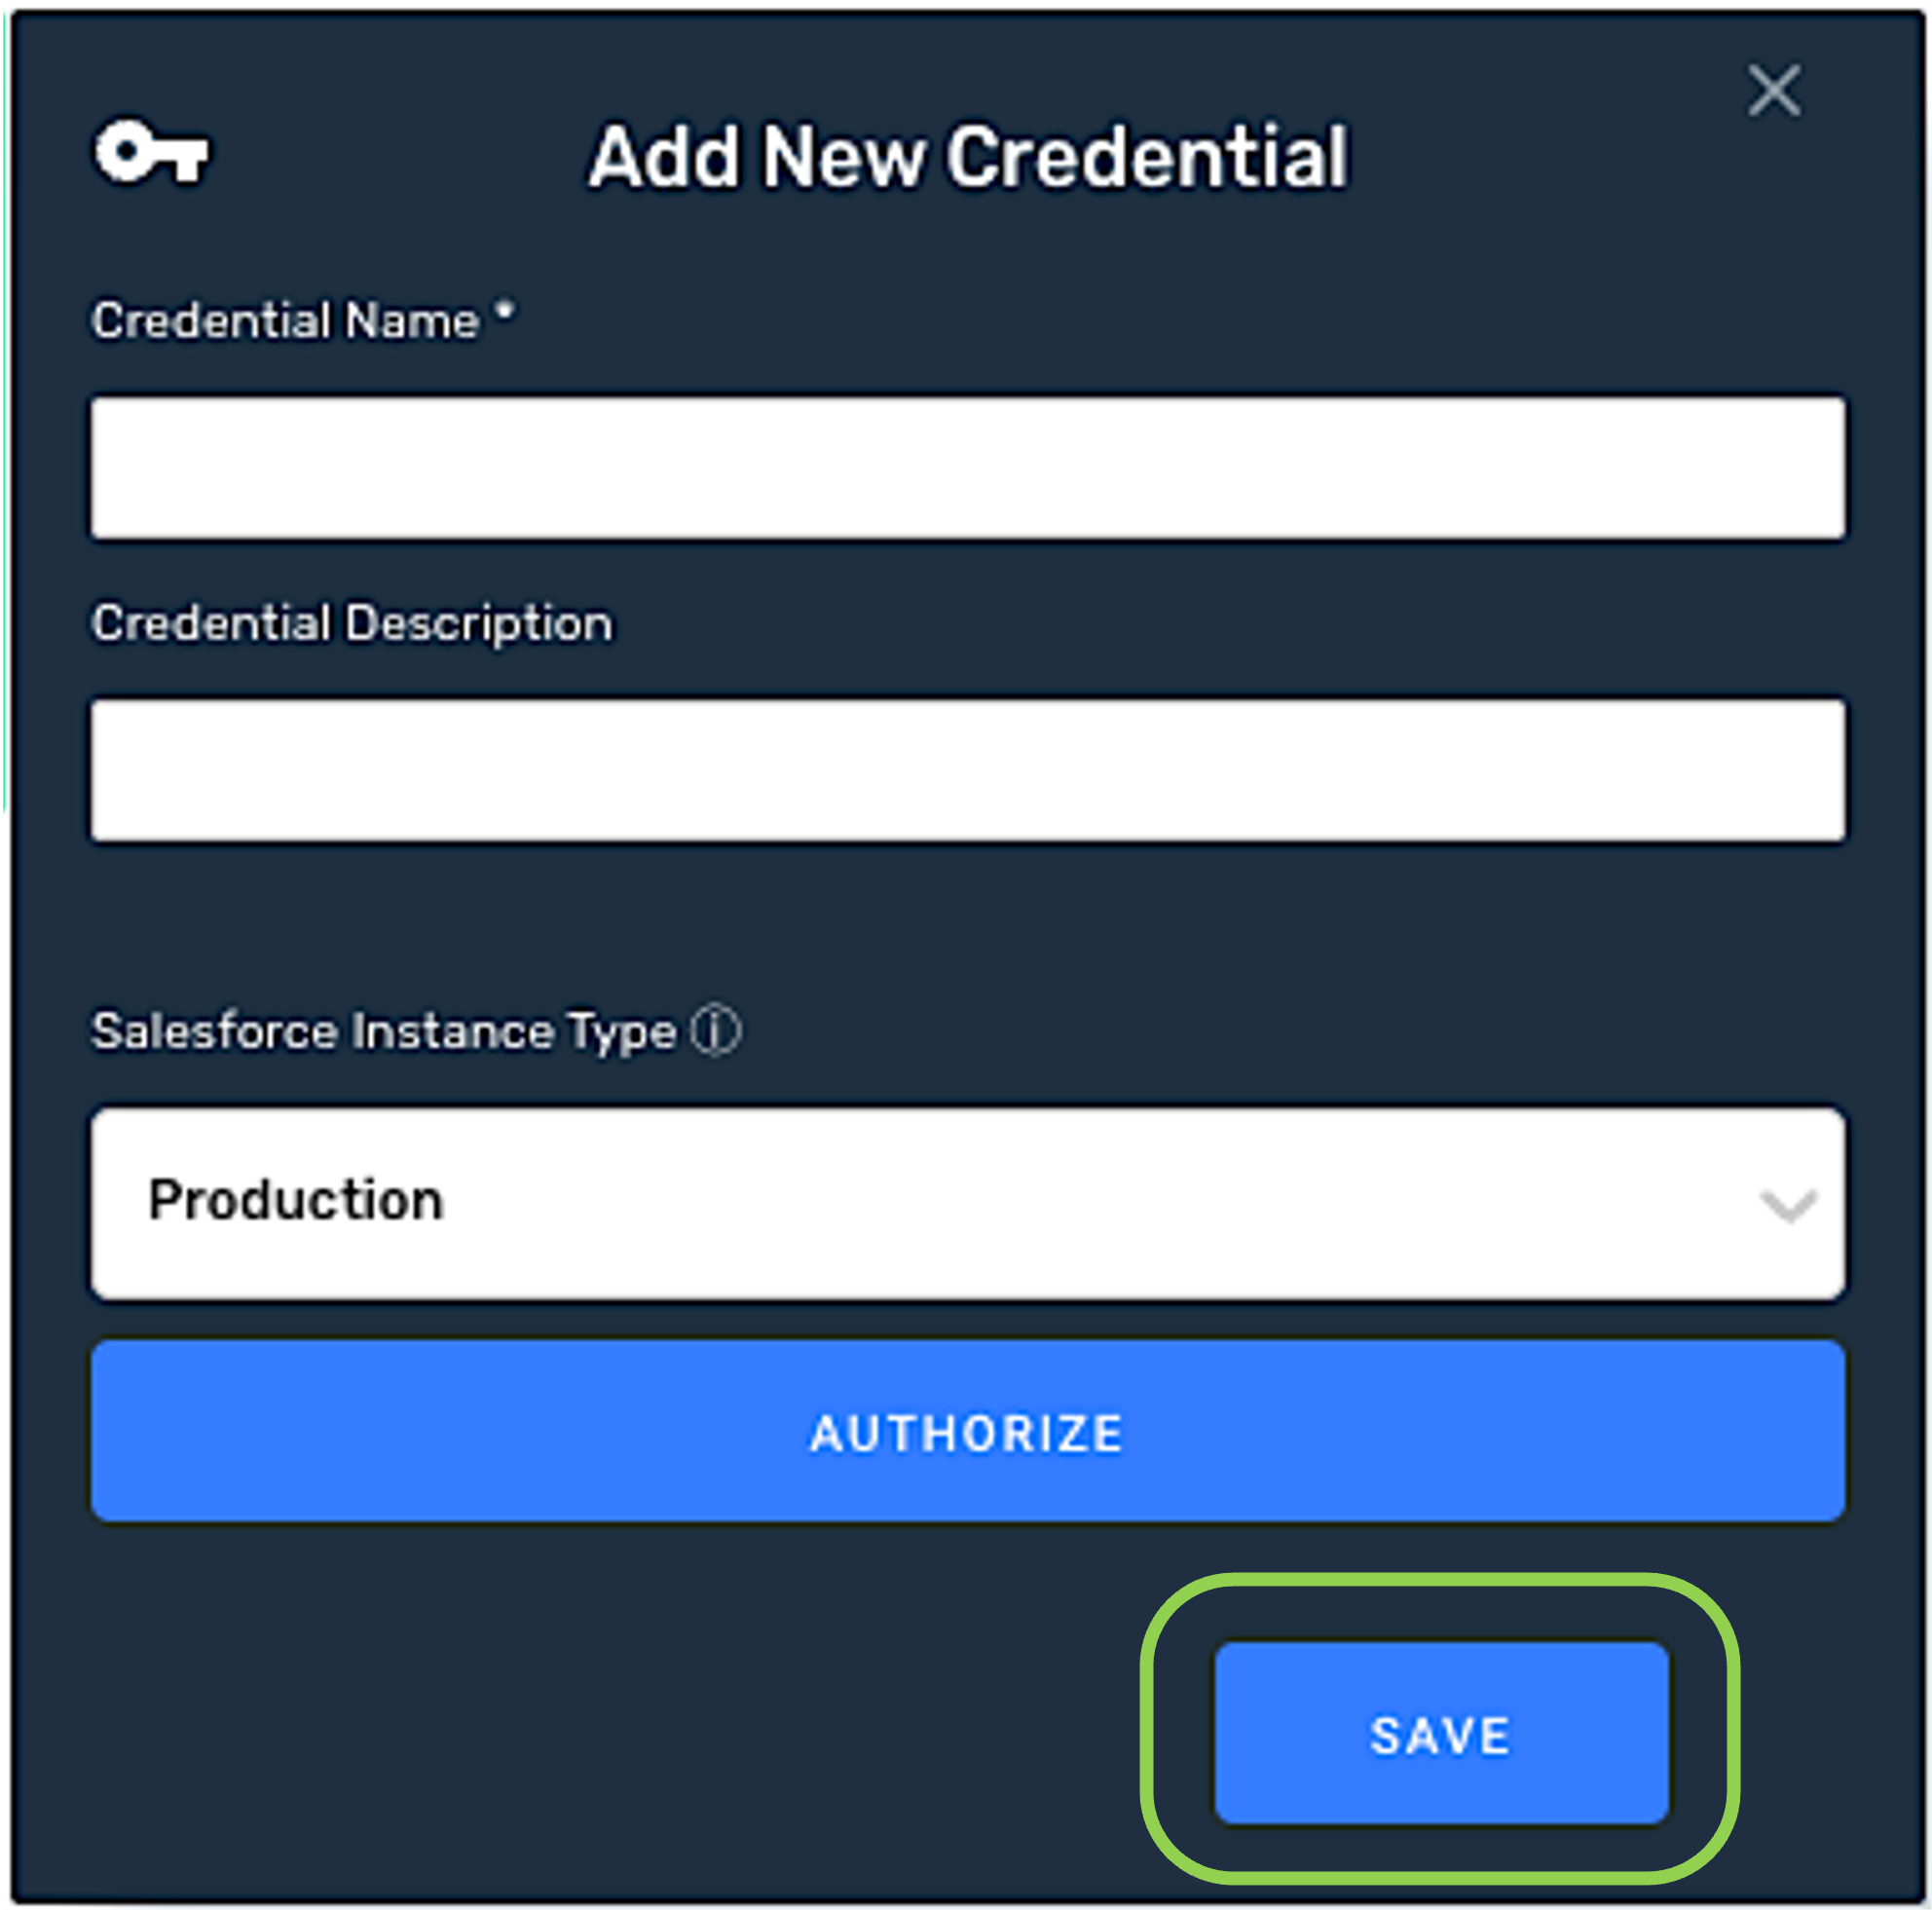
Enter a name for the credential in the Credential Name field.

-
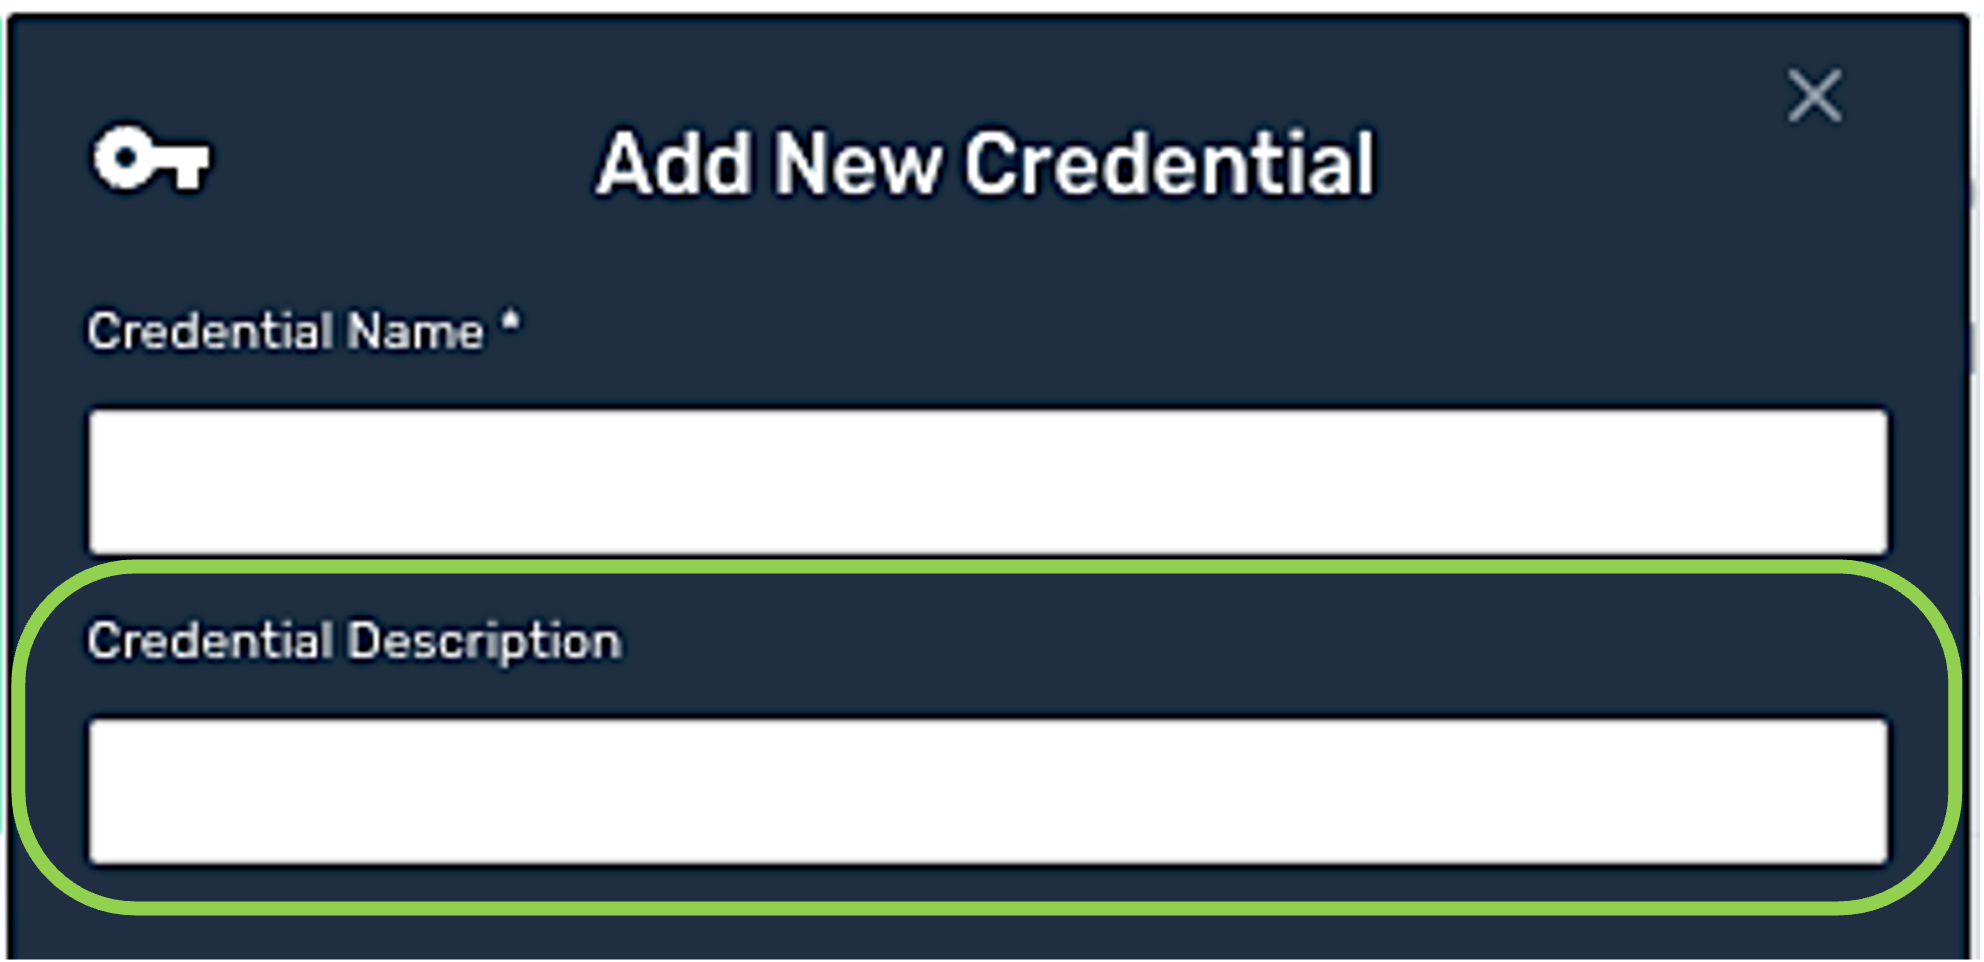
Optional: Enter a description for the credential in the Credential Description field.
1.2 Authorize Salesforce Access
-
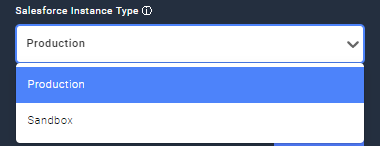
Choose the type of the Salesforce instance to which this credential should connect from the Salesforce Instance Type pulldown menu.
-
Click
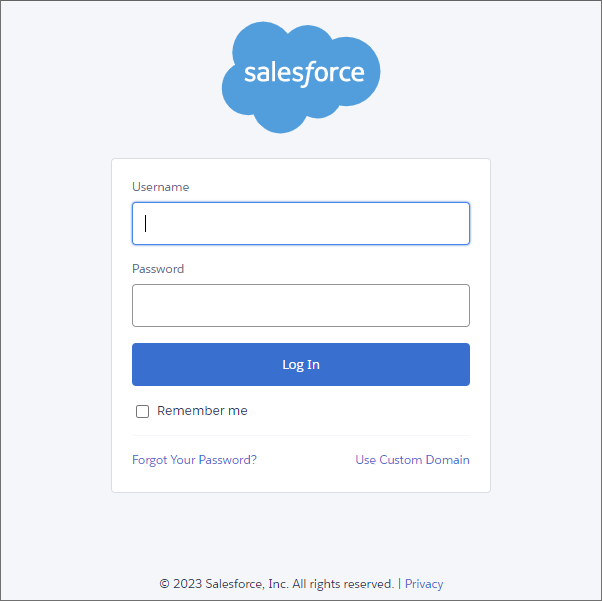
, and log into the Salesforce account to which this credential should be connected in the pop-up window that appears.
1.3 Save and Create the Salesforce Credential
-
Once all of the relevant steps in the above sections have been completed, click
at the bottom of the Add New Credential screen to save the credential and all entered information.
-
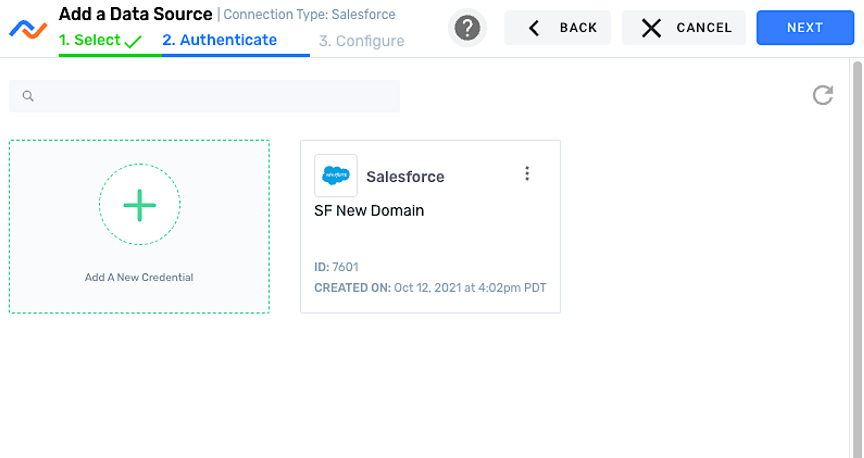
The newly added credential will now appear in a tile on the
screen and can be selected for use with a new data source or destination.
2. Add a Salesforce Data Source
-
Log into Nexla with your provided credentials to view the Nexla Dashboard.
If you need credentials, contact support@nexla.com.
-
Select
 from the menu on the left.
 -
Click
 in the upper right corner to begin adding a new data source.
 -
Select
 , and click
 in the upper right corner of the screen to begin adding the Salesforce data source.
-
In Nexla, Salesforce data sources can be configured using pre-built templates or by manual configuration. The following subsections provide instructions specific to configuration using each of the templates available under the
 tab. For information about advanced manual source configuration, see Configure the Salesforce Data Source Using Advanced Settings.
2.1 Configure the Salesforce Data Source Using a Template
-
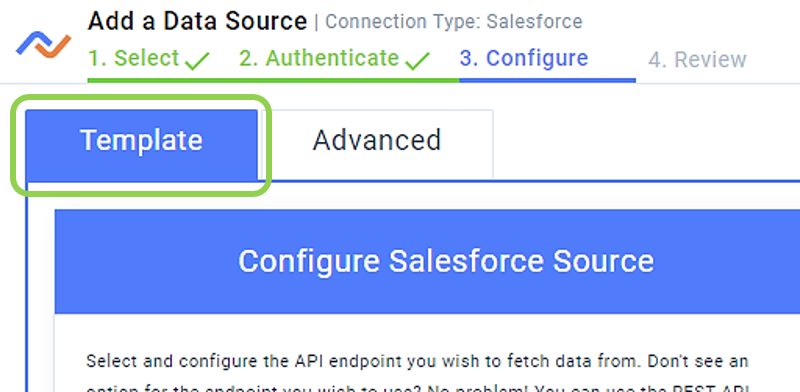
First, select the
 tab, and then proceed to one of the following templates.
-
Template – Execute SOQL Query
This template allows the user to enter an SOQL query to fetch specified information about accounts associated with the Salesforce account entered in the previous steps.
-
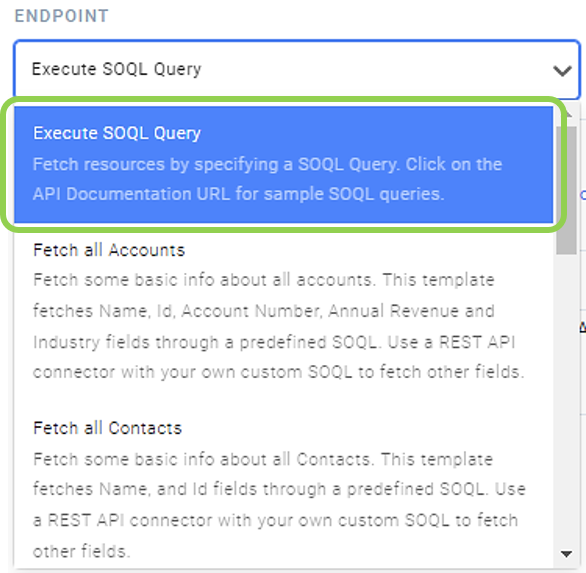
Select "Execute SOQL Query" from the Endpoint pulldown menu.
-
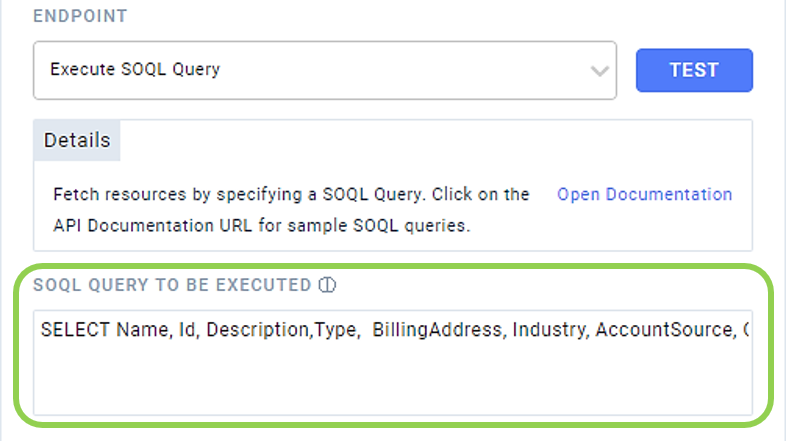
Enter the fully formatted SOQL query statement in the SOQL Query to Be Executed text field, adhering to the Salesforce SOQL query syntax and convention.
For more information about writing an SOQL query in Salesforce, see this Salesforce document.
Additional information about object references and applicable object fields can be found in this Salesforce document.
-
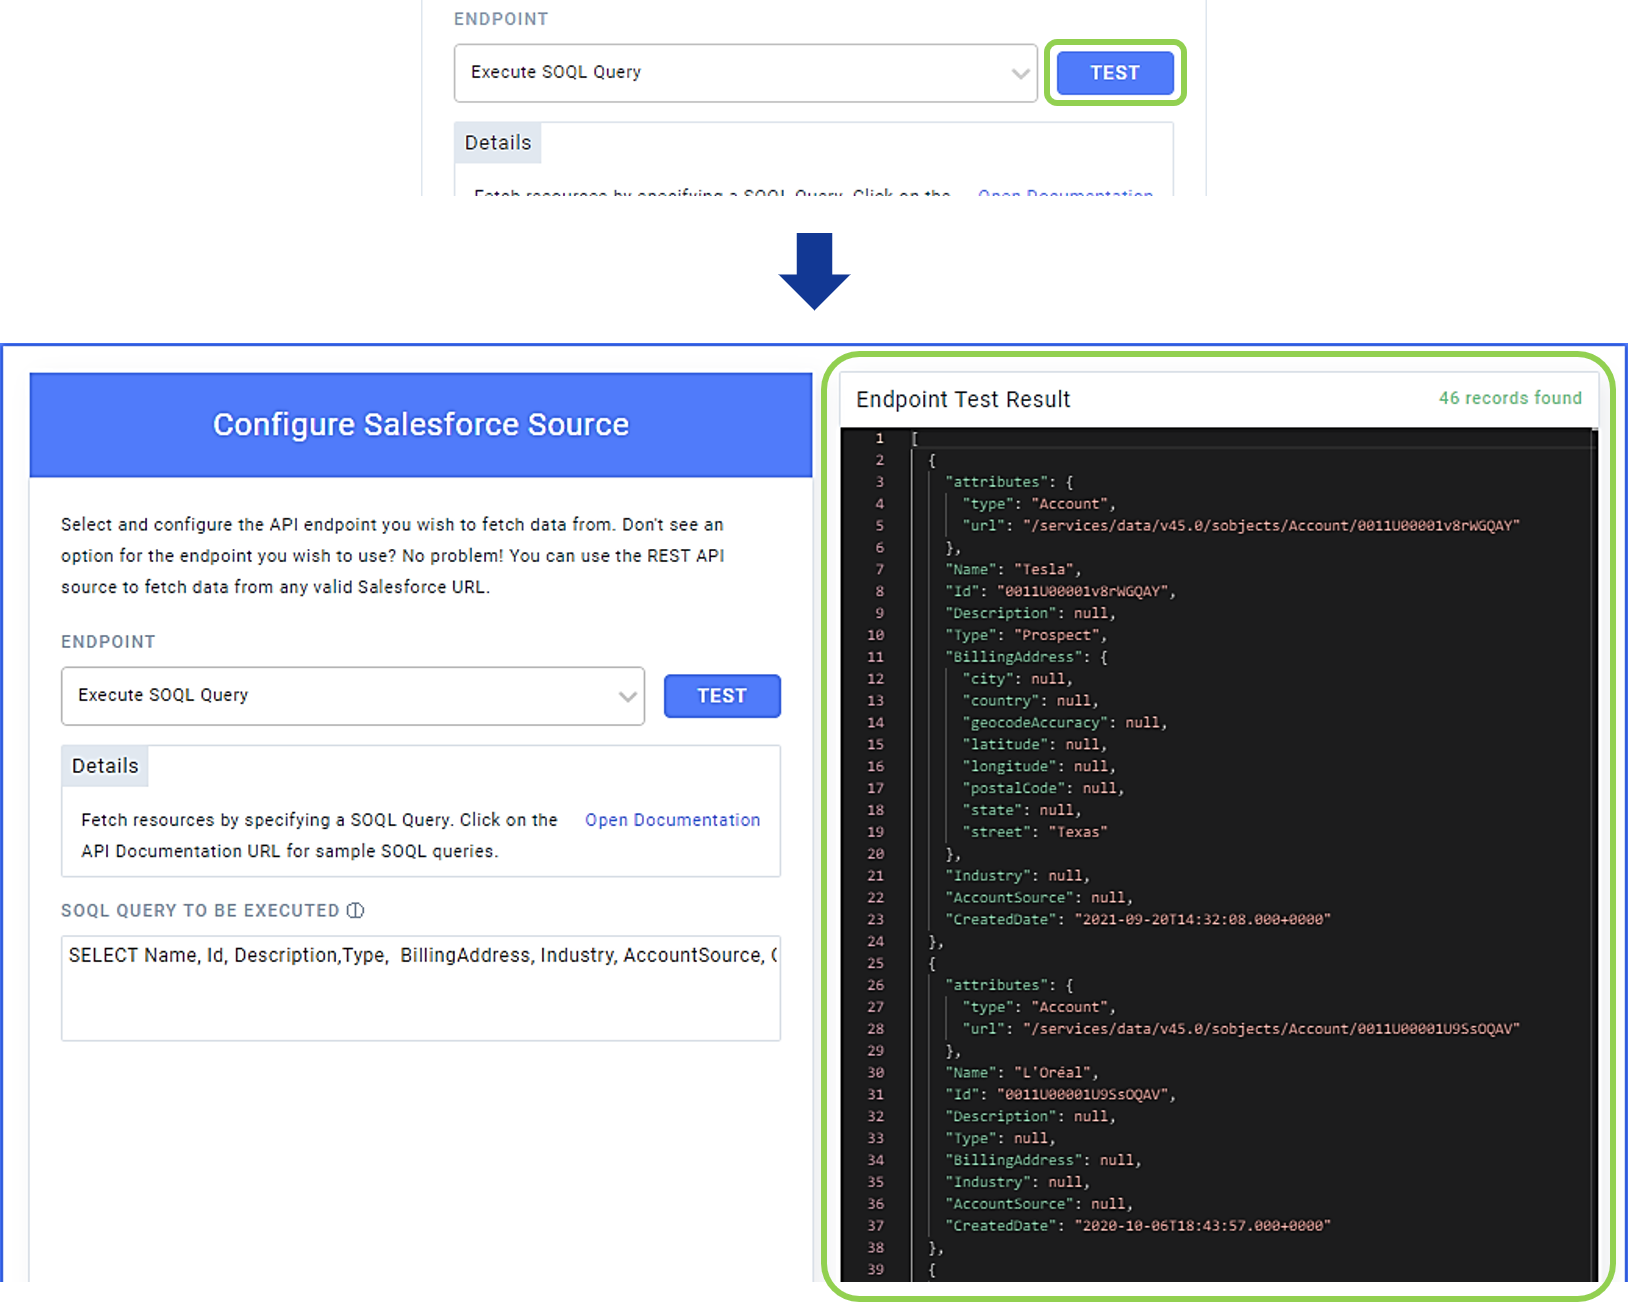
Click
to test the endpoint, and an overview of the SOQL query result will be shown in the Endpoint Test Result pane to the right.
-
Proceed to Section 2.3.
-
-
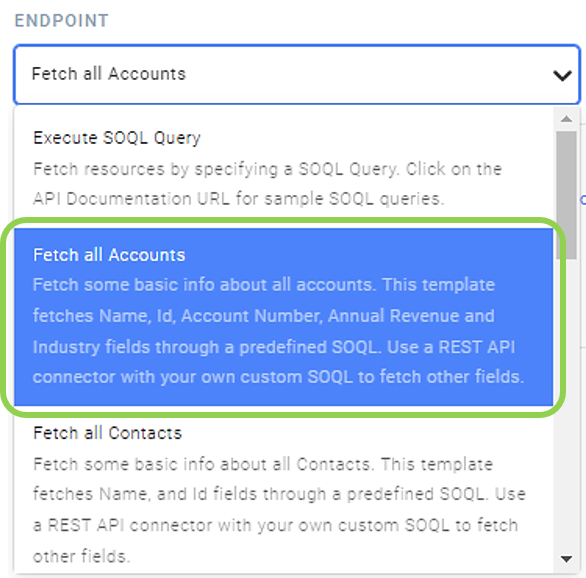
Template – Fetch All Accounts
This template uses a pre-defined SOQL query to fetch basic information—including the name, ID, account number, annual revenue, and industry fields—about all accounts associated with the Salesforce account entered in the previous steps.
-
Select "Fetch All Accounts" from the Endpoint pulldown menu.
-
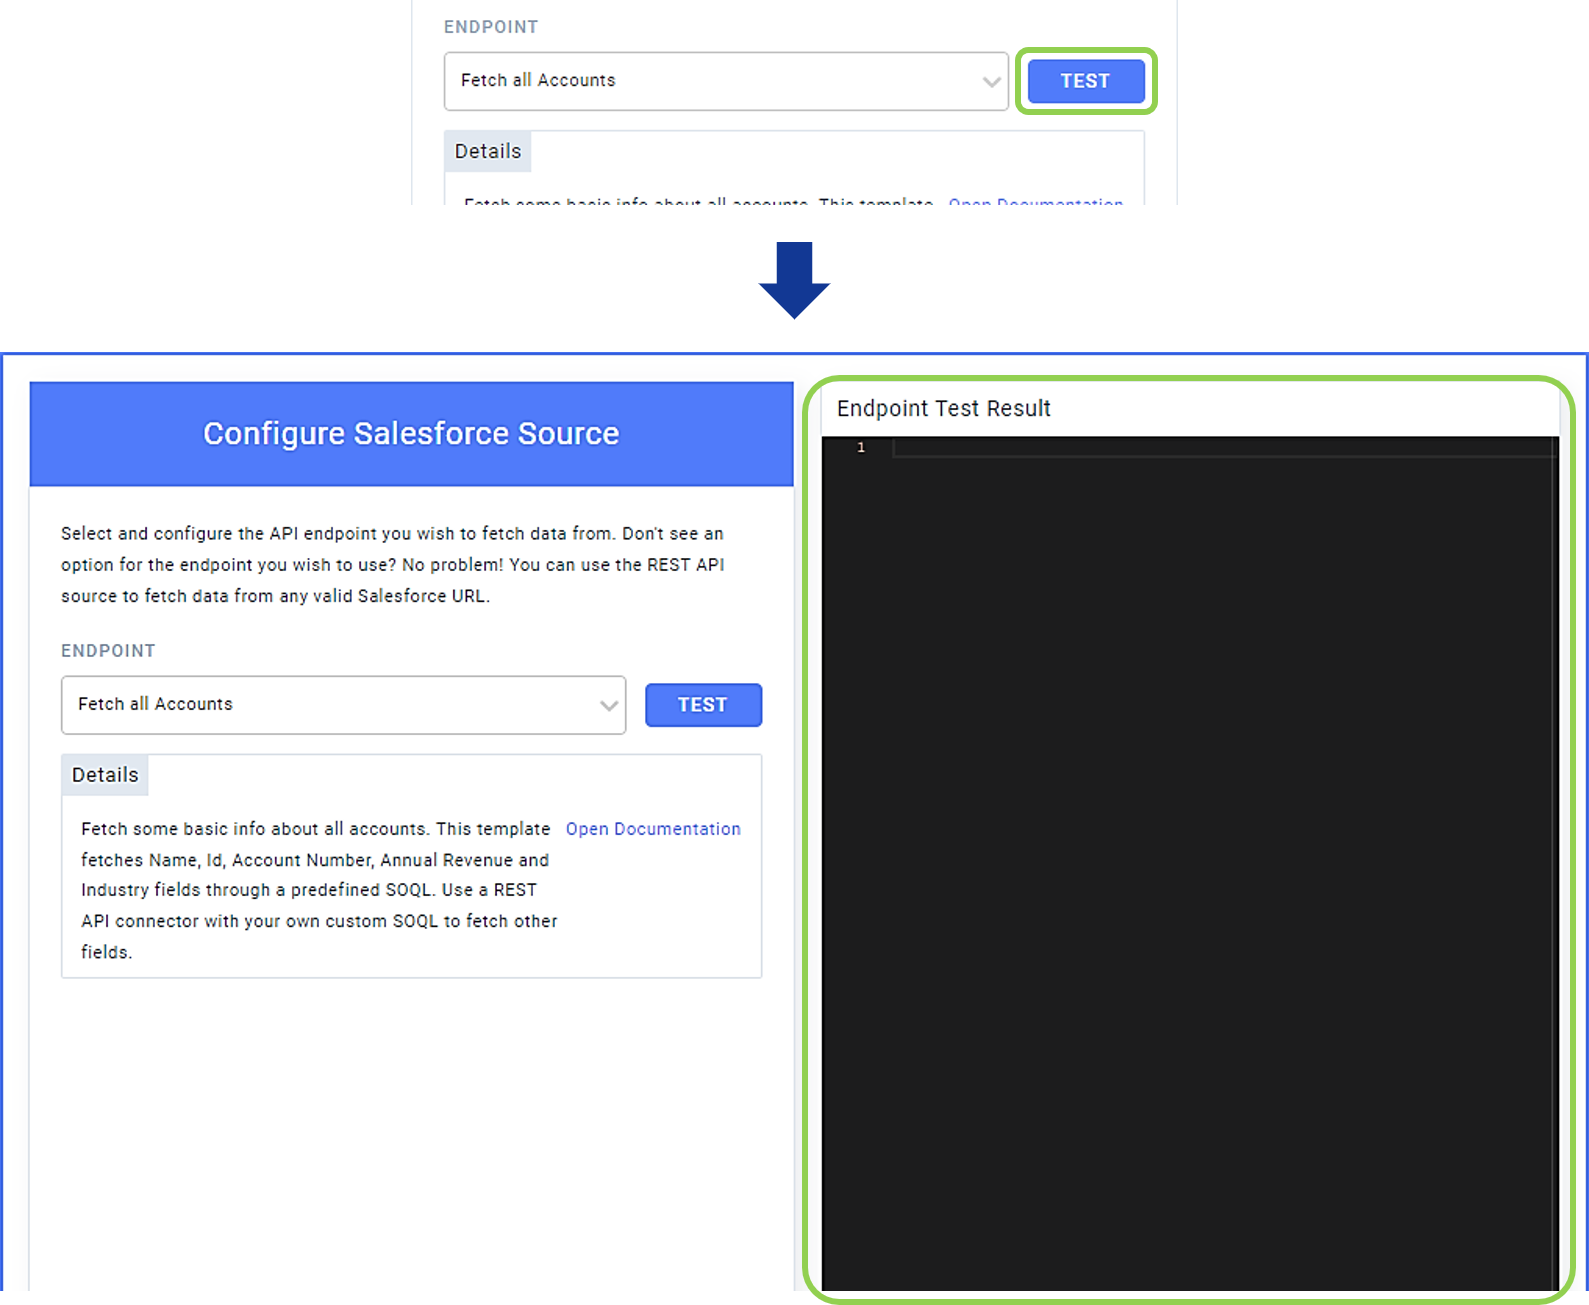
Click
to test the endpoint and produce an overview of the result in the Endpoint Test Result panel on the right.
-
Proceed to Section 2.3.
-
-
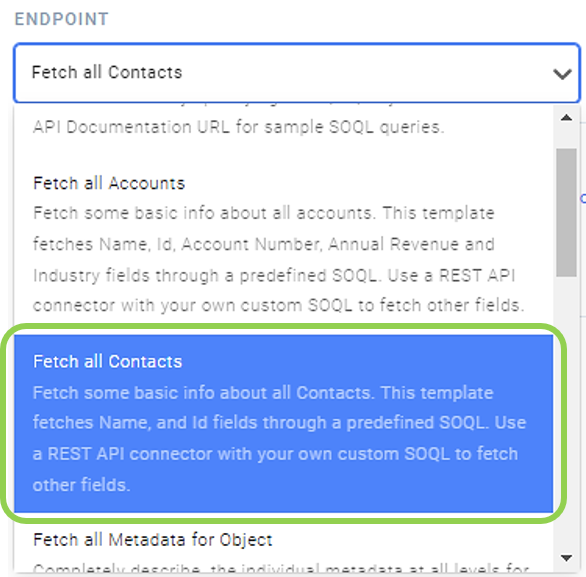
Template – Fetch All Contacts
This template uses a pre-defined SOQL query to fetch information in the name and ID fields for all contacts associated with the Salesforce account entered in the previous steps.
-
Select “Fetch All Contacts” from the Endpoint pulldown menu.
-
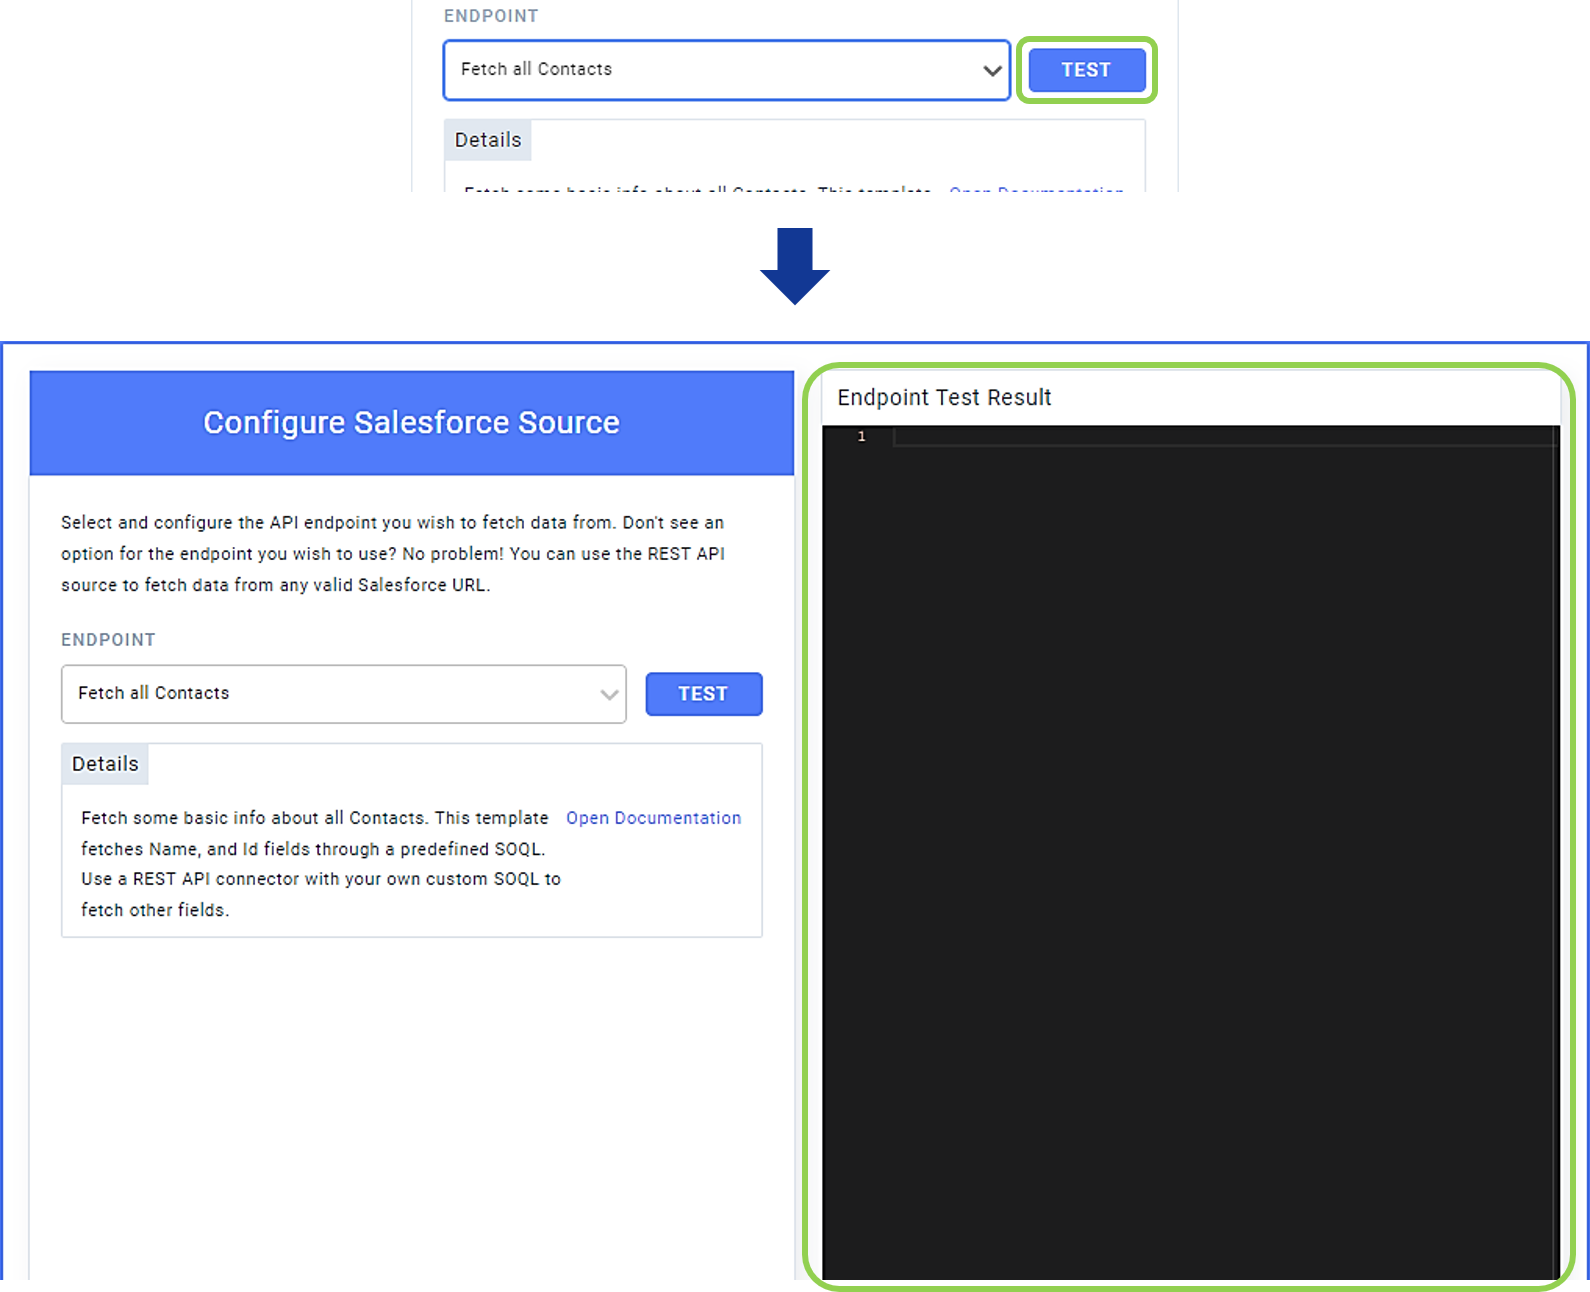
Click
to test the endpoint and produce an overview of the result in the Endpoint Test Result panel on the right.
-
Proceed to Section 2.3.
-
-
Template – Fetch All Metadata for Object
This template uses a pre-defined SOQL query to completely describe all individual pieces of metadata corresponding to the specified Salesforce object, such as fields, URLs, and child relationships.
-
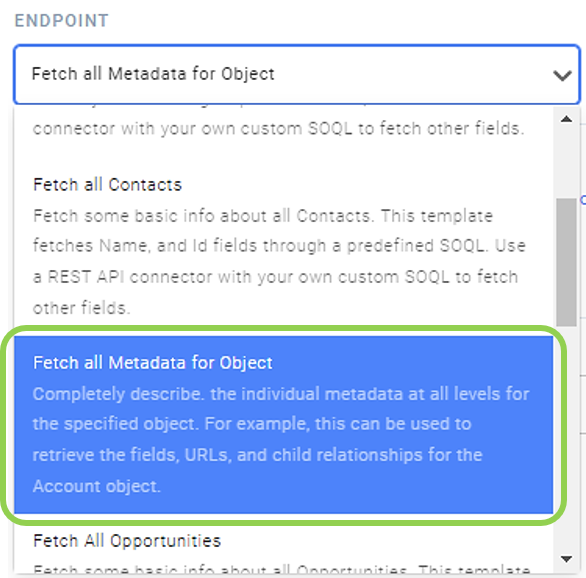
Select “Fetch All Metadata for Object” from the Endpoint pulldown menu.
-
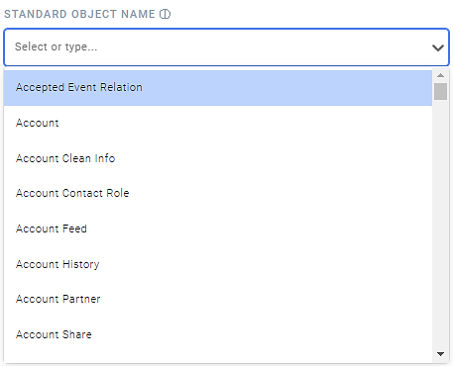
In the Standard Object Name field, type the name of the Salesforce standard object for which metadata should be retrieved, or select the name from the pulldown menu.
-
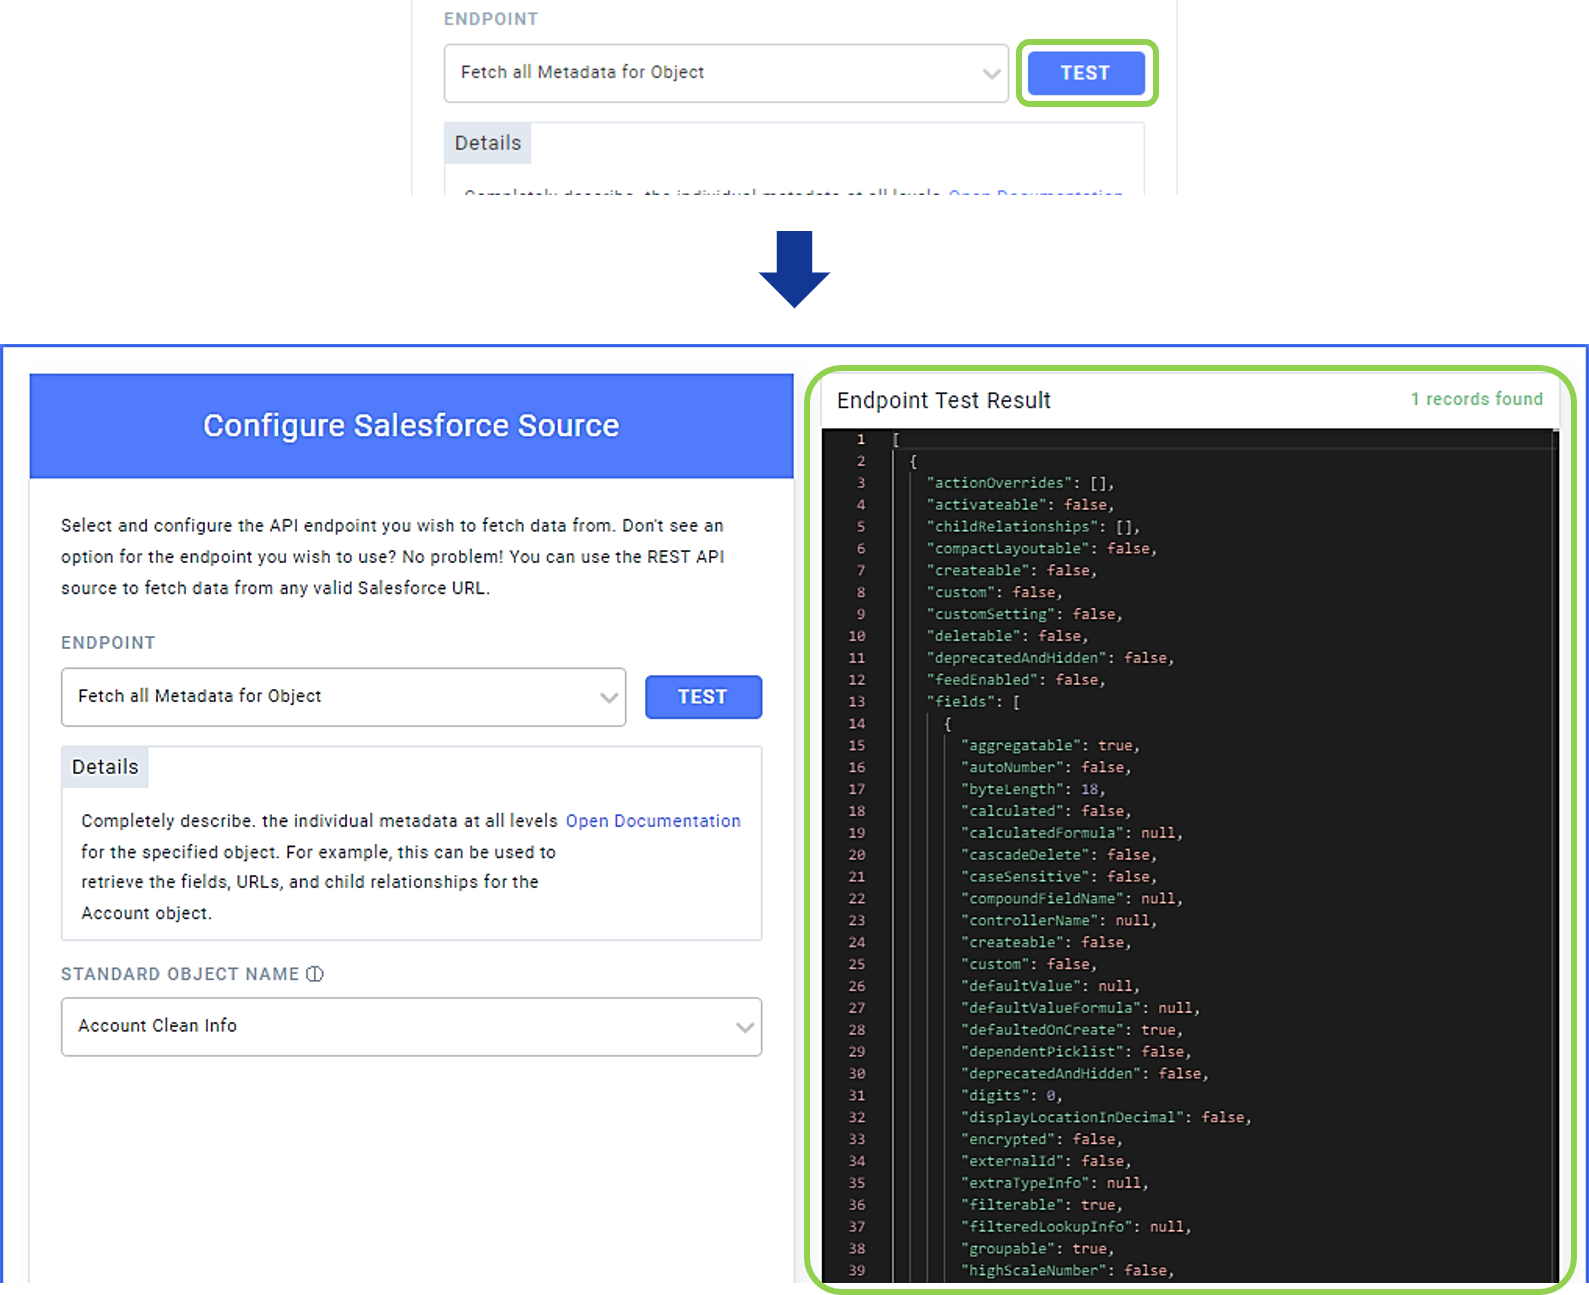
Click
to test the endpoint and produce an overview of the result in the Endpoint Test Result panel on the right.
-
Proceed to Section 2.3.
-
-
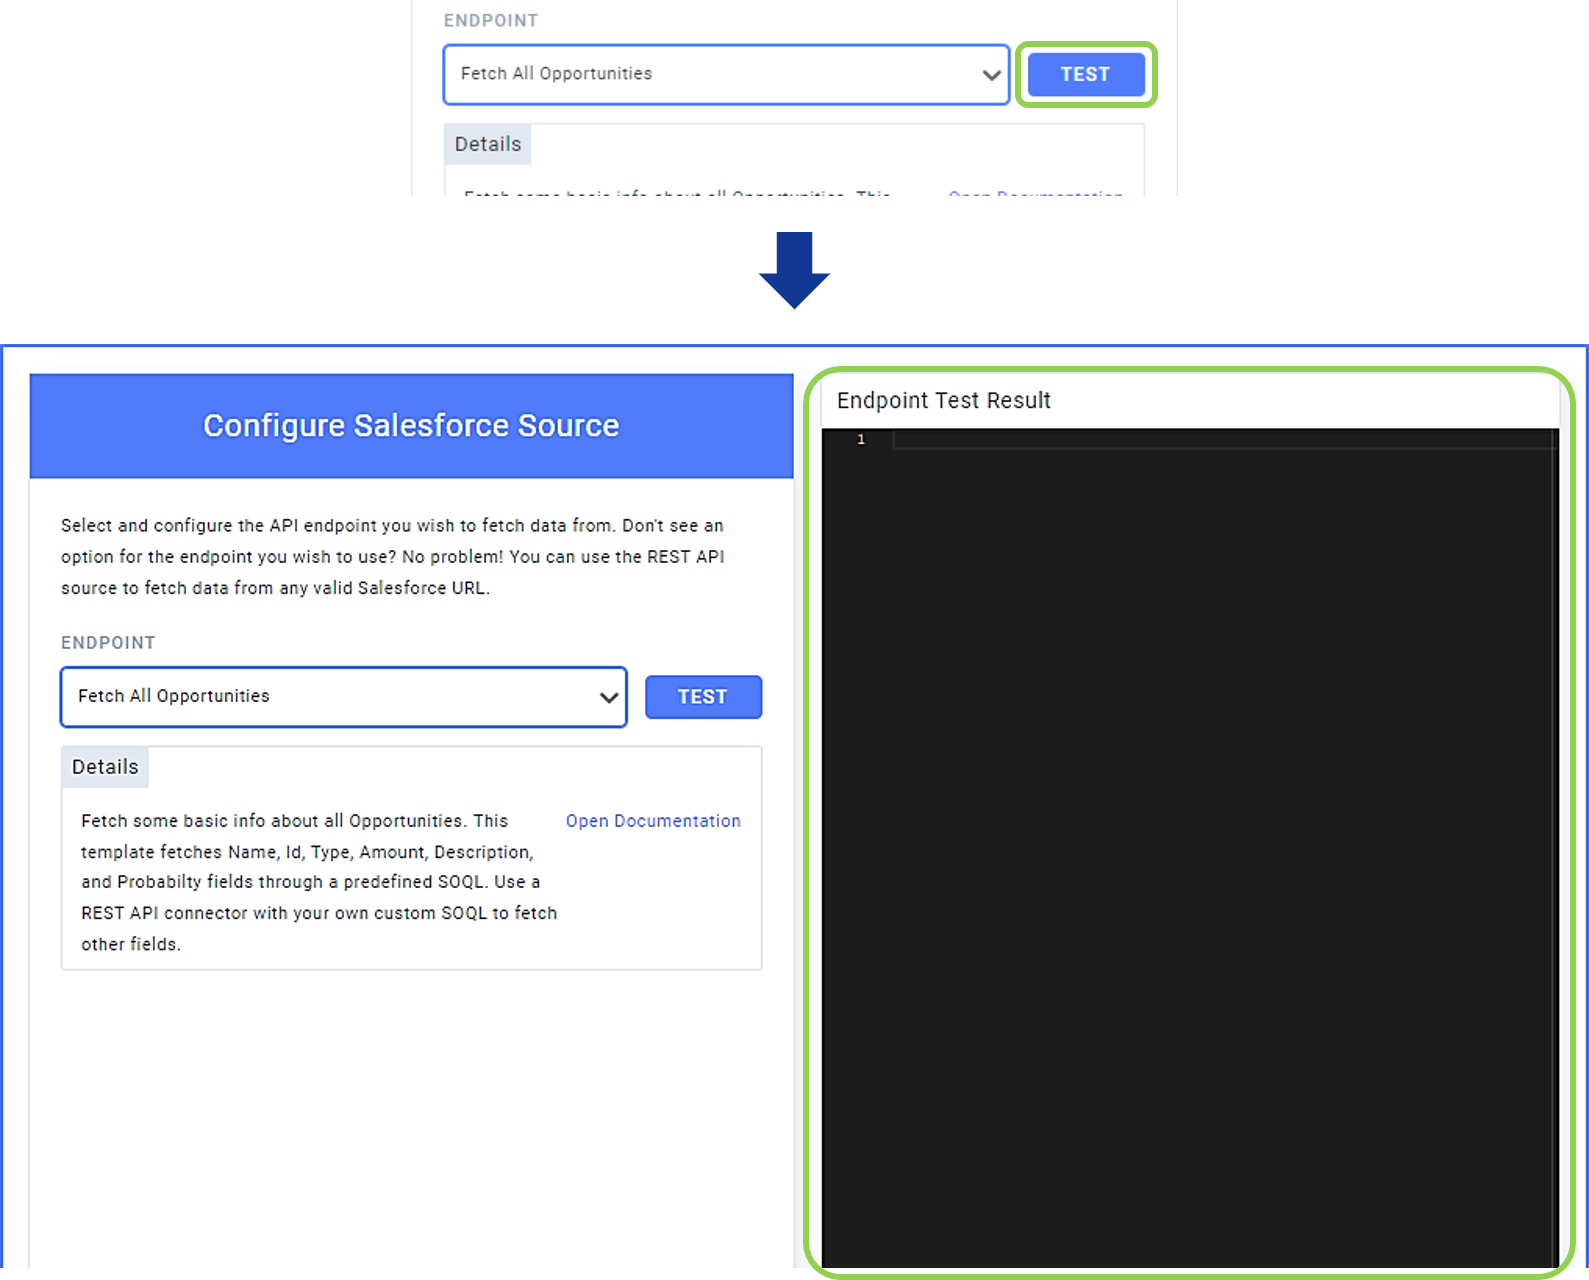
Template – Fetch All Opportunities
This template uses a pre-defined SOQL query to fetch basic information—including the name, ID, type, amount, description, and probability fields—about all opportunities associated with the Salesforce account entered in the previous steps.
-
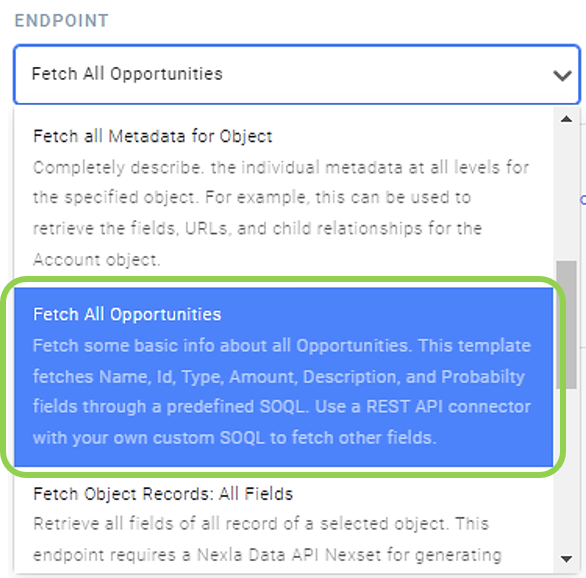
Select “Fetch All Opportunities” from the Endpoint pulldown menu.
-
Click
to test the endpoint and produce an overview of the result in the Endpoint Test Result panel on the right.
-
Proceed to Section 2.3.
-
-
Template – Fetch Object Records: All Fields
This template requires a Nexla Data API Nexset, which is used to generate an SOQL query to retrieve all fields associated with all records in the specified Salesforce object.
-
For this template, another Salesforce source that uses the “Get Fields of Object: API Proxy” template must first be created.
The “Get Fields of Object: API Proxy” data source will retrieve all available fields for the specified object, which this template will then use to fetch information from all fields associated with the object records.
-
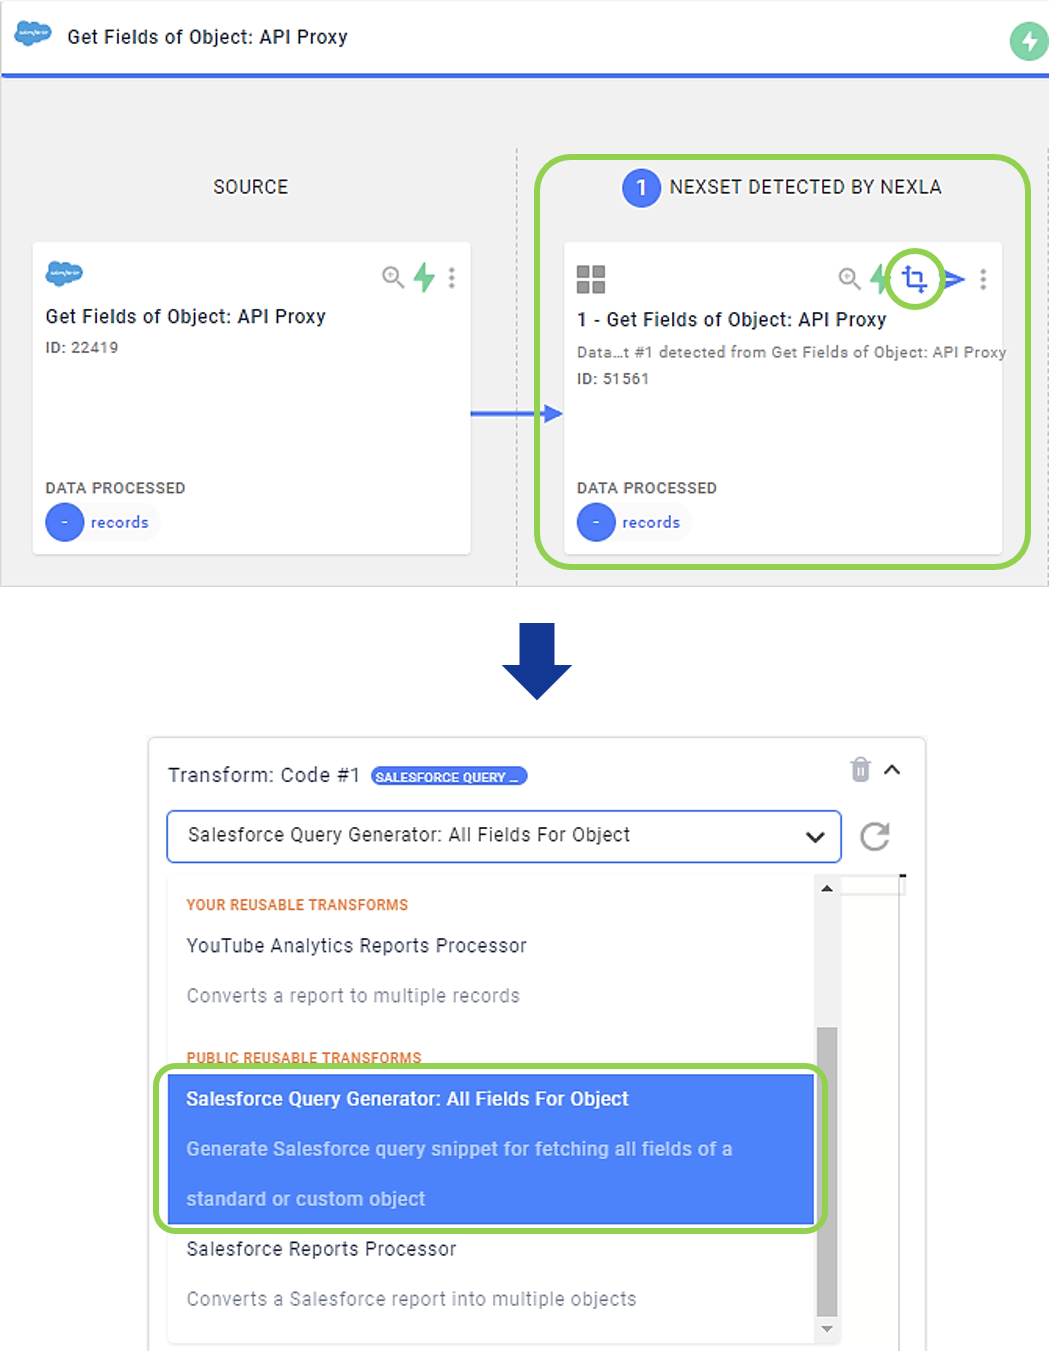
Transform the Nexset detected from the source created in Step 1 using the public reusable record transform “Salesforce Query Generator: All Fields for Object”.
The “Salesforce Query Generator: All Fields for Object” reusable record transform should be accessible to all users in the Nexset Designer. To learn how to apply this and other reusable record transforms, see Reusable Record Transforms.
-
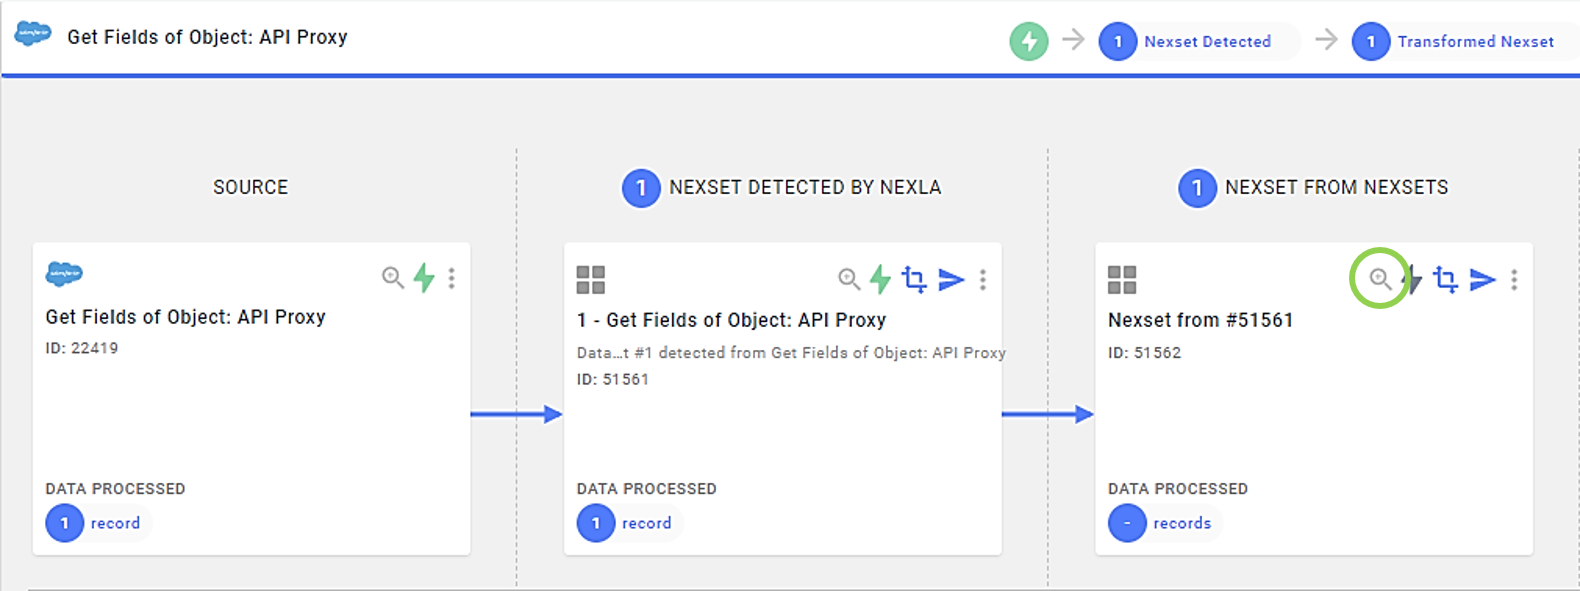
Click
on the transformed Nexset produced from Step 2 to open the Nexset overview, and click
on the right side of the screen.
-
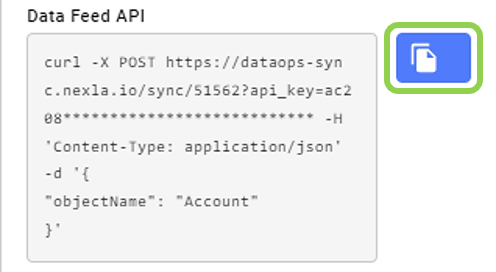
Click
to copy the data feed API URL, and paste this URL in a Notepad file or other easily accessible location.
-
-
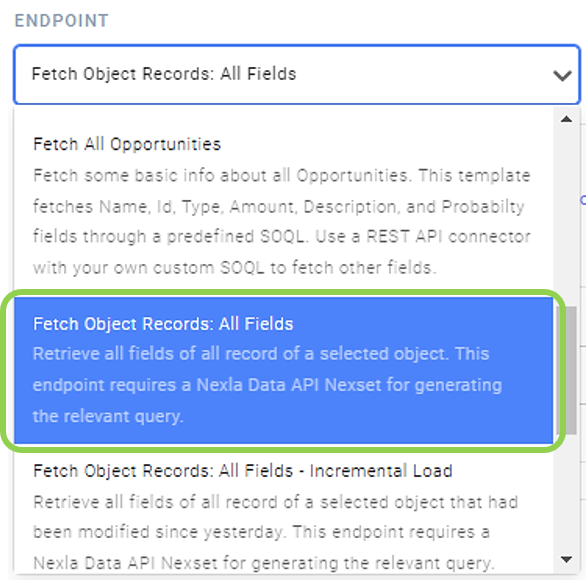
In the Configure screen for the new source to which the Fetch Object Records: All Fields template should be applied, select "Fetch Object Records: All Fields" from the Endpoint pulldown menu.
-
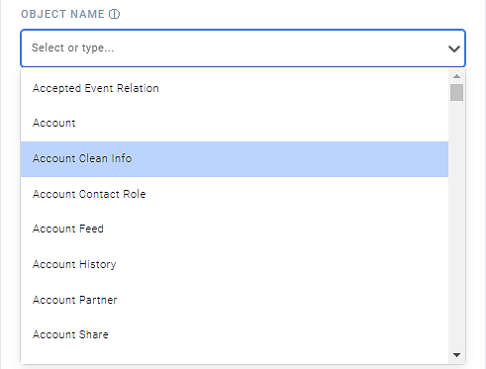
In the Object Name field, type the name of the Salesforce object for which all fields should be retrieved, or select it from the pulldown menu.
-
Paste the copied Nexla data feed API URL that generates SOQL query snippets containing Salesforce fields relevant to the selected object in the Nexla Data Feed URL: API Proxy field.
Ensure that only the URL is pasted into the Nexla Data Feed URL: API Proxy field, omitting any preceding and/or subsequent characters.
The Nexla data feed API URL generates SOQL query snippets containing Salesforce fields relevant to the selected object, which are used in this template to retrieve all fields associated with all records in the Salesforce object selected in Step 4.

-
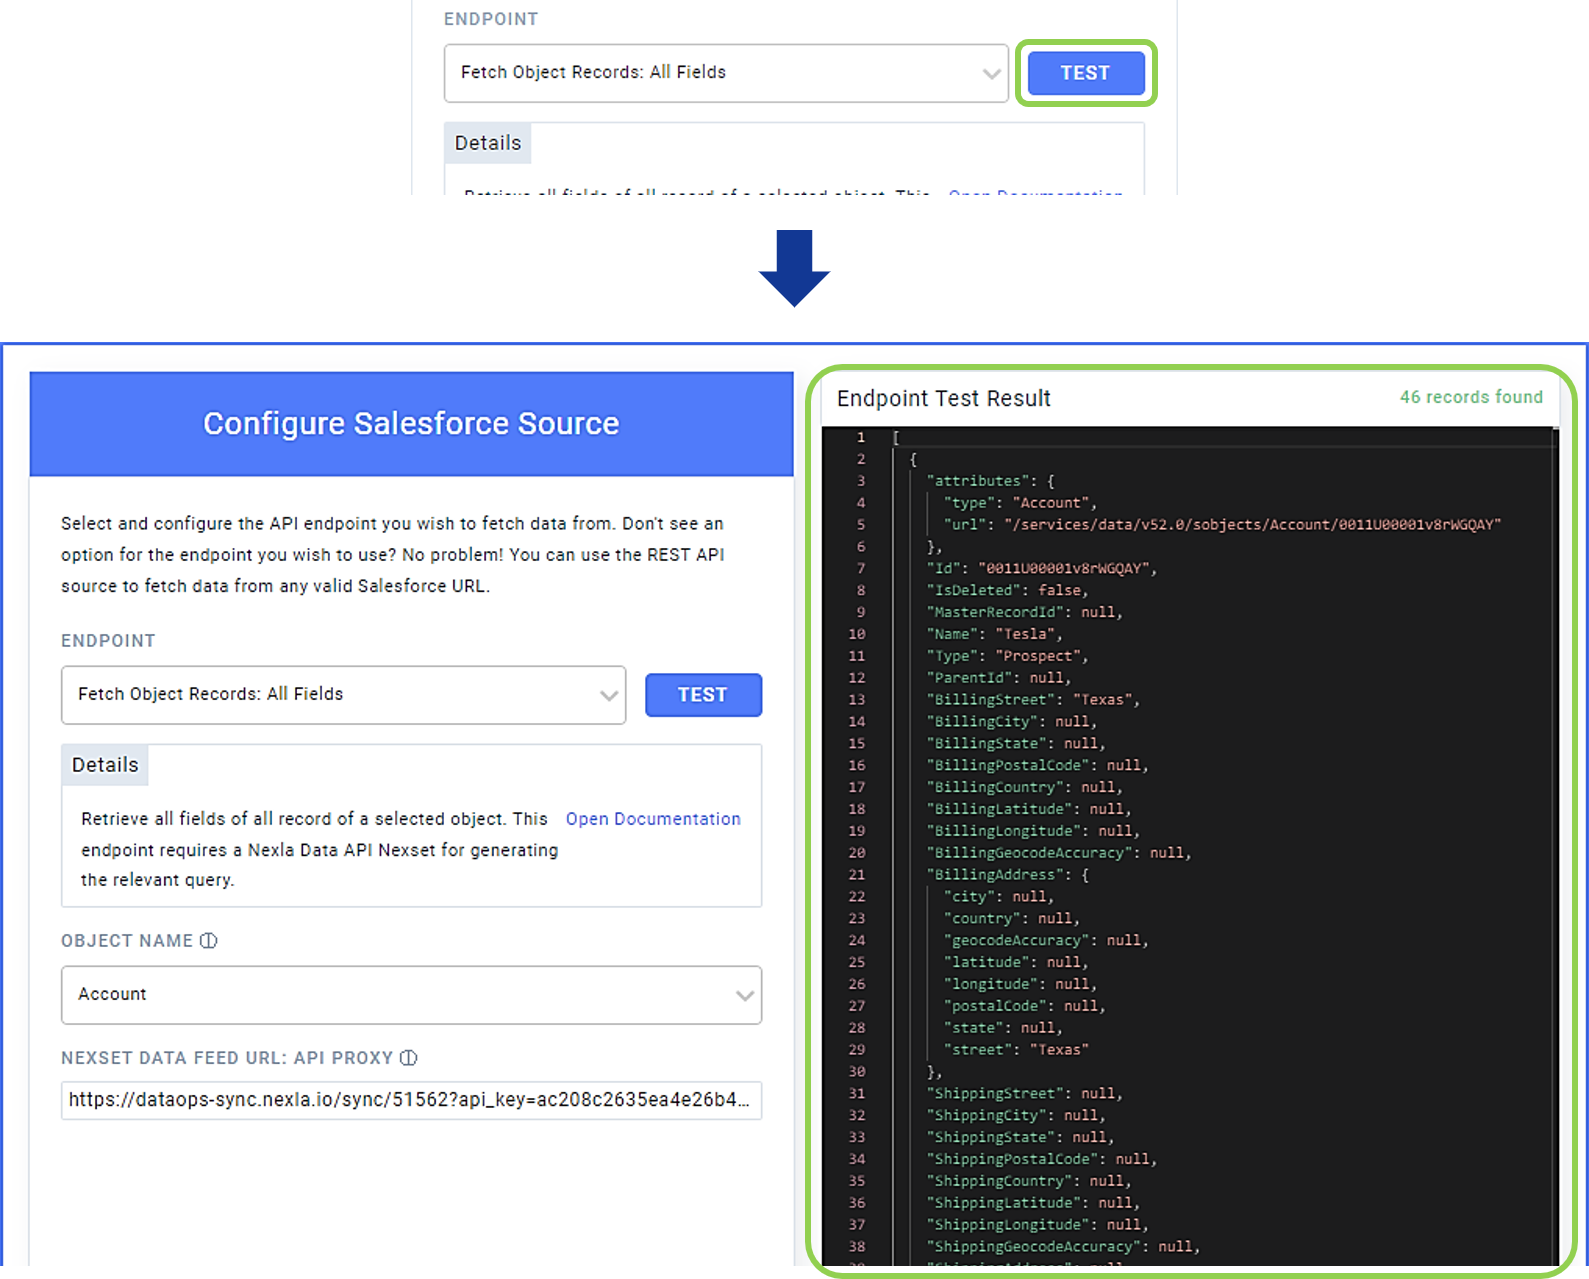
Click
to test the endpoint and produce an overview of the result in the Endpoint Test Result panel on the right.
-
Proceed to Section 2.3.
-
-
Template – Fetch Object Records: All Fields – Incremental Load
This template requires a Nexla Data API Nexset, which is used to generate an SOQL query to retrieve all fields associated with all records in the selected Salesforce object that have been modified since the preceding day.
-
For this template, another Salesforce source that uses the “Get Fields of Object: API Proxy” template must first be created, as described below.
The “Get Fields of Object: API Proxy” data source will retrieve all available fields for the specified object, which this template will then use to fetch information from all fields associated with the object records.
-
Transform the Nexset detected from the source created in Step 1 using the public reusable record transform “Salesforce Query Generator: All Fields for Object”.
The “Salesforce Query Generator: All Fields for Object” reusable record transform should be accessible to all users in the Nexset Designer. To learn how to apply this and other reusable record transforms, see Reusable Record Transforms.

-
Click
on the transformed Nexset produced from Step 2 to open the Nexset overview, and click
on the right side of the screen.

-
Click
to copy the data feed API URL, and paste this URL in a Notepad file or other easily accessible location.

-
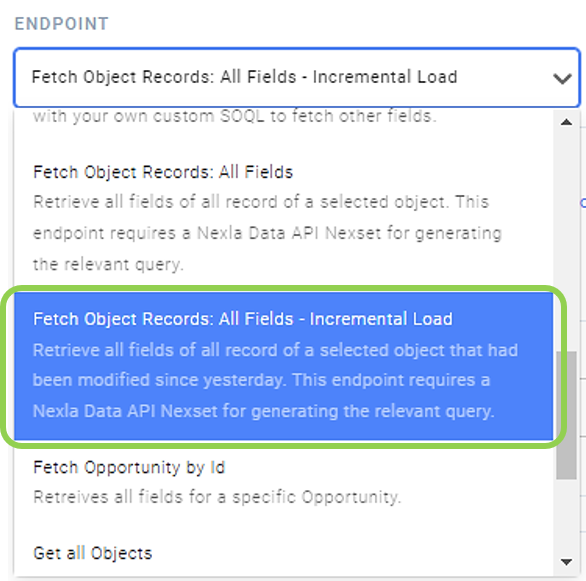
In the Configure screen for the new source to which the Fetch Object Records: All Fields - Incremental Load template should be applied, select "Fetch Object Records: All Fields - Incremental Load" from the Endpoint pulldown menu.
-
In the Object Name field, type the name of the Salesforce object for which all modified fields should be retrieved, or select it from the pulldown menu.

-
Paste the copied Nexla data feed API URL (Step 2b) that generates SOQL query snippets containing Salesforce fields relevant to the selected object in the Nexla Data Feed URL: API Proxy field.
Ensure that only the URL is pasted into the Nexla Data Feed URL: API Proxy field, omitting any preceding and/or subsequent characters.
The Nexla data feed API URL generates SOQL query snippets containing Salesforce fields relevant to the selected object, which are used in this template to retrieve all fields associated with all records in the Salesforce object selected in Step 4.

-
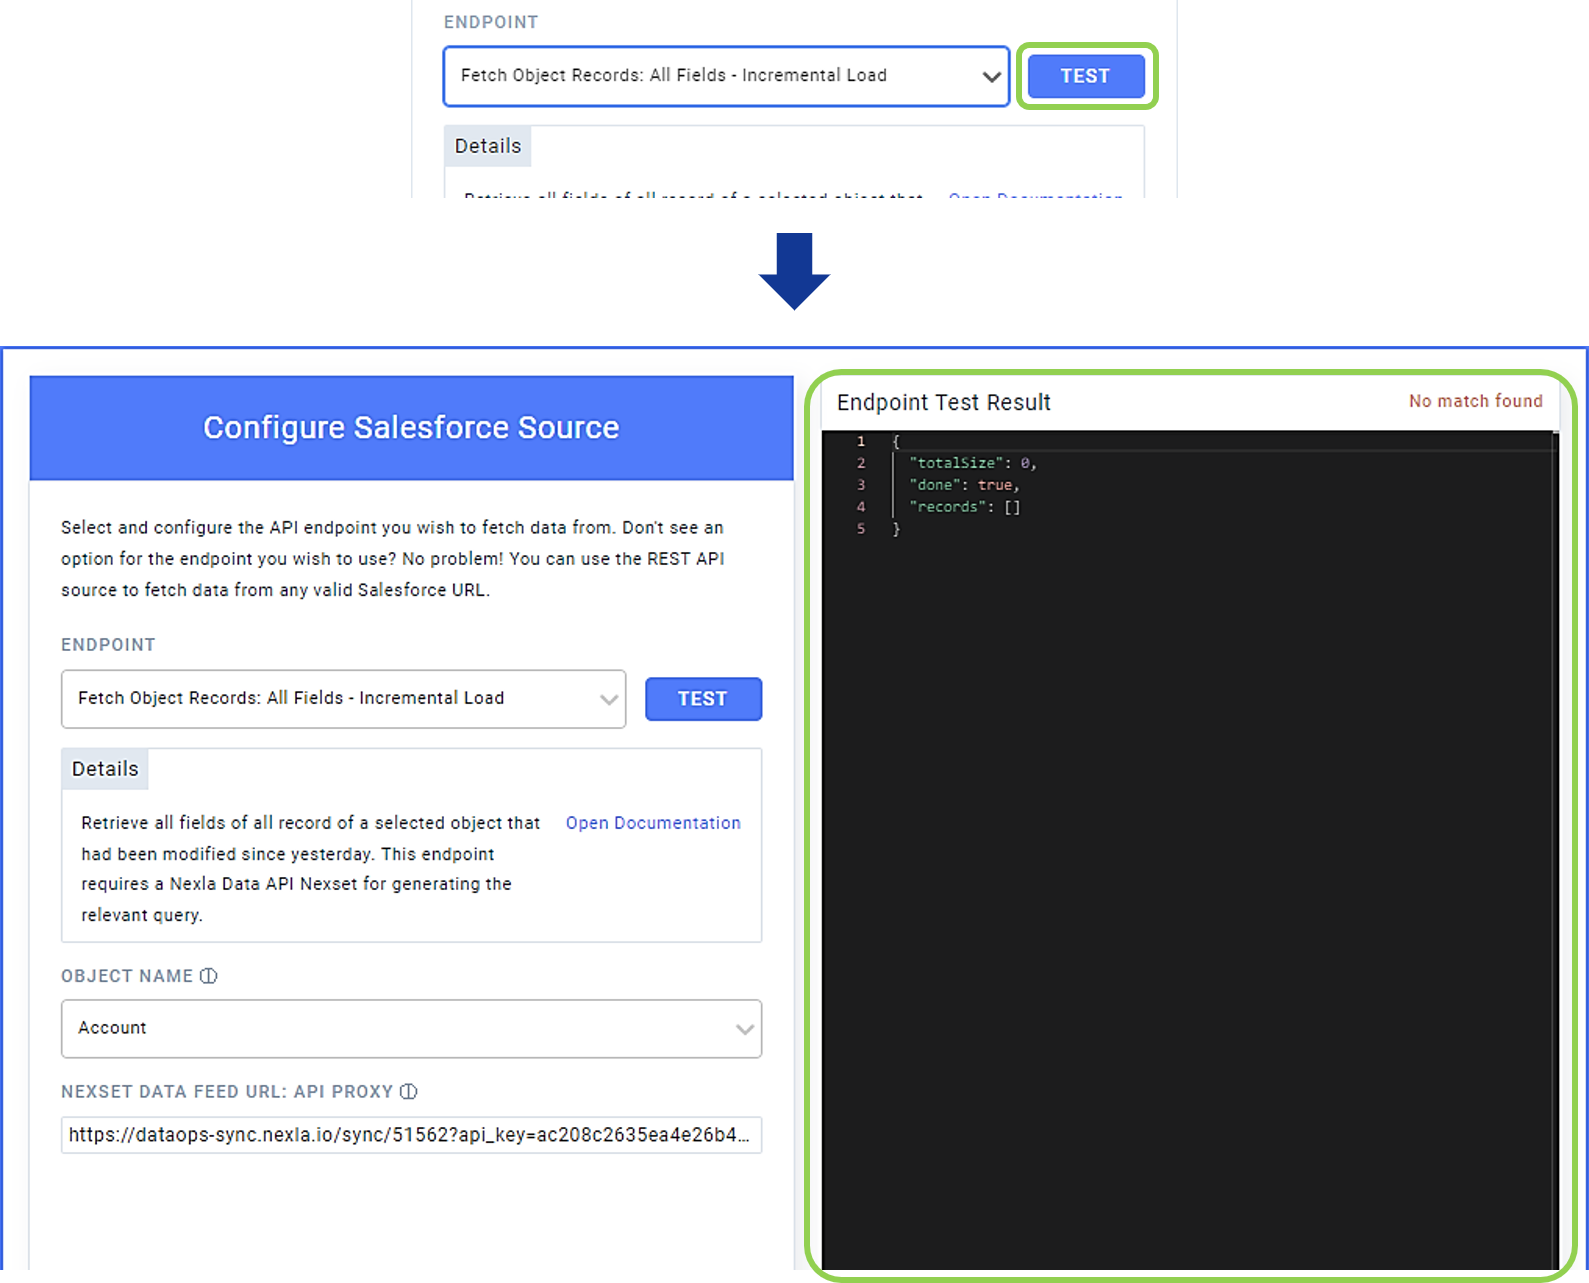
Click
to test the endpoint and produce an overview of the result in the Endpoint Test Result panel on the right.
-
Proceed to Section 2.3.
-
-
Template – Fetch Opportunity by ID
This template uses a pre-defined SOQL query to retrieve information in all fields associated with the specified Salesforce opportunity.
-
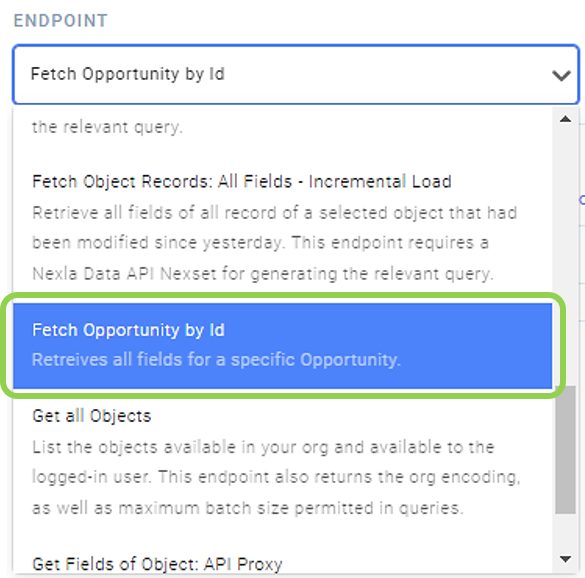
Select “Fetch Opportunity by ID” from the Endpoint pulldown menu.
-
Enter the ID of the Salesforce opportunity for which information should be retrieved in the Opportunity ID field.

-
Click
to test the endpoint and produce an overview of the result in the Endpoint Test Result panel on the right.

-
Proceed to Section 2.3.
-
-
Template – Get All Objects
This template uses a pre-defined SOQL query to retrieve all objects available to the user and organization corresponding to the credential created or selected above. The template also returns the organizational encoding and maximum batch size permitted in queries.
-
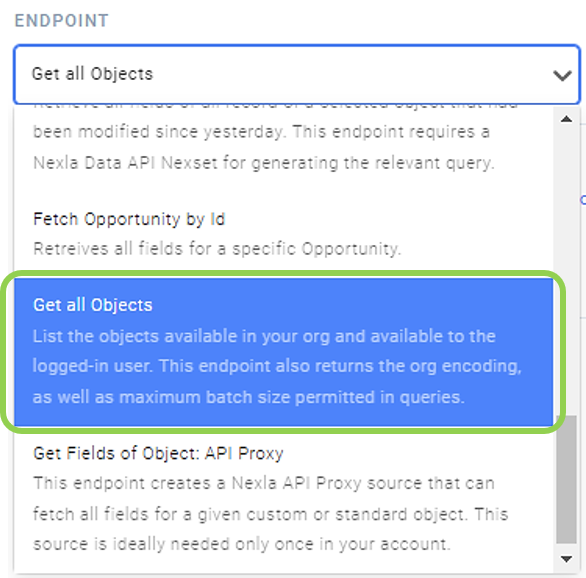
Select “Get All Objects” from the Endpoint pulldown menu.
-
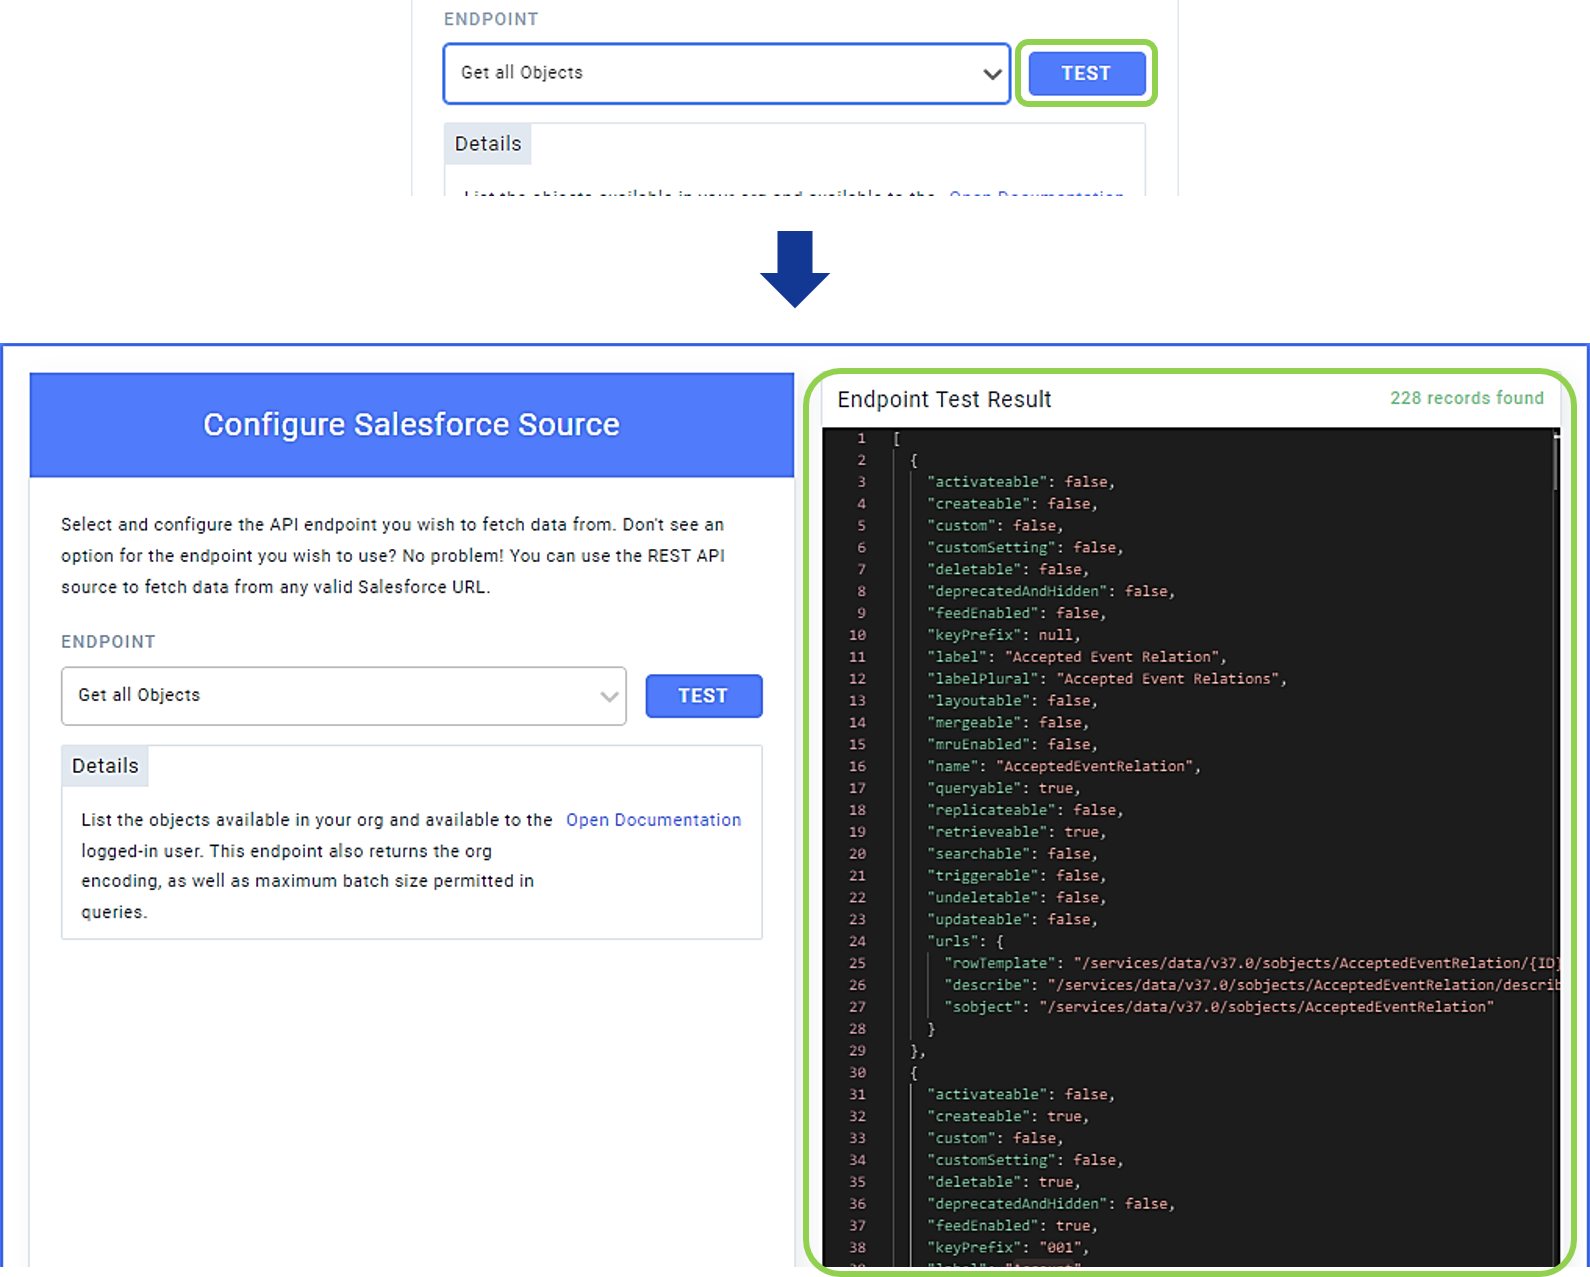
Click
to test the endpoint and produce an overview of the result in the Endpoint Test Result panel on the right.
-
Proceed to Section 2.3.
-
-
Template – Get Fields of Object: API Proxy
This template creates a Nexla API proxy data source that will fetch all fields associated with the specified custom or standard Salesforce object.
-
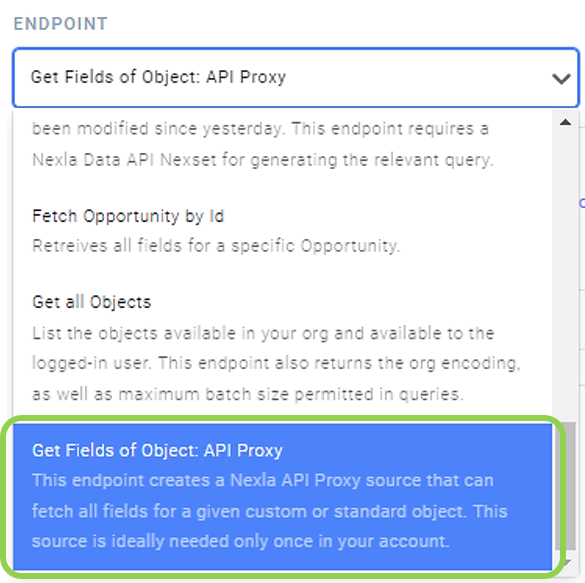
Select “Get Fields of Object: API Proxy” from the Endpoint pulldown menu.
-
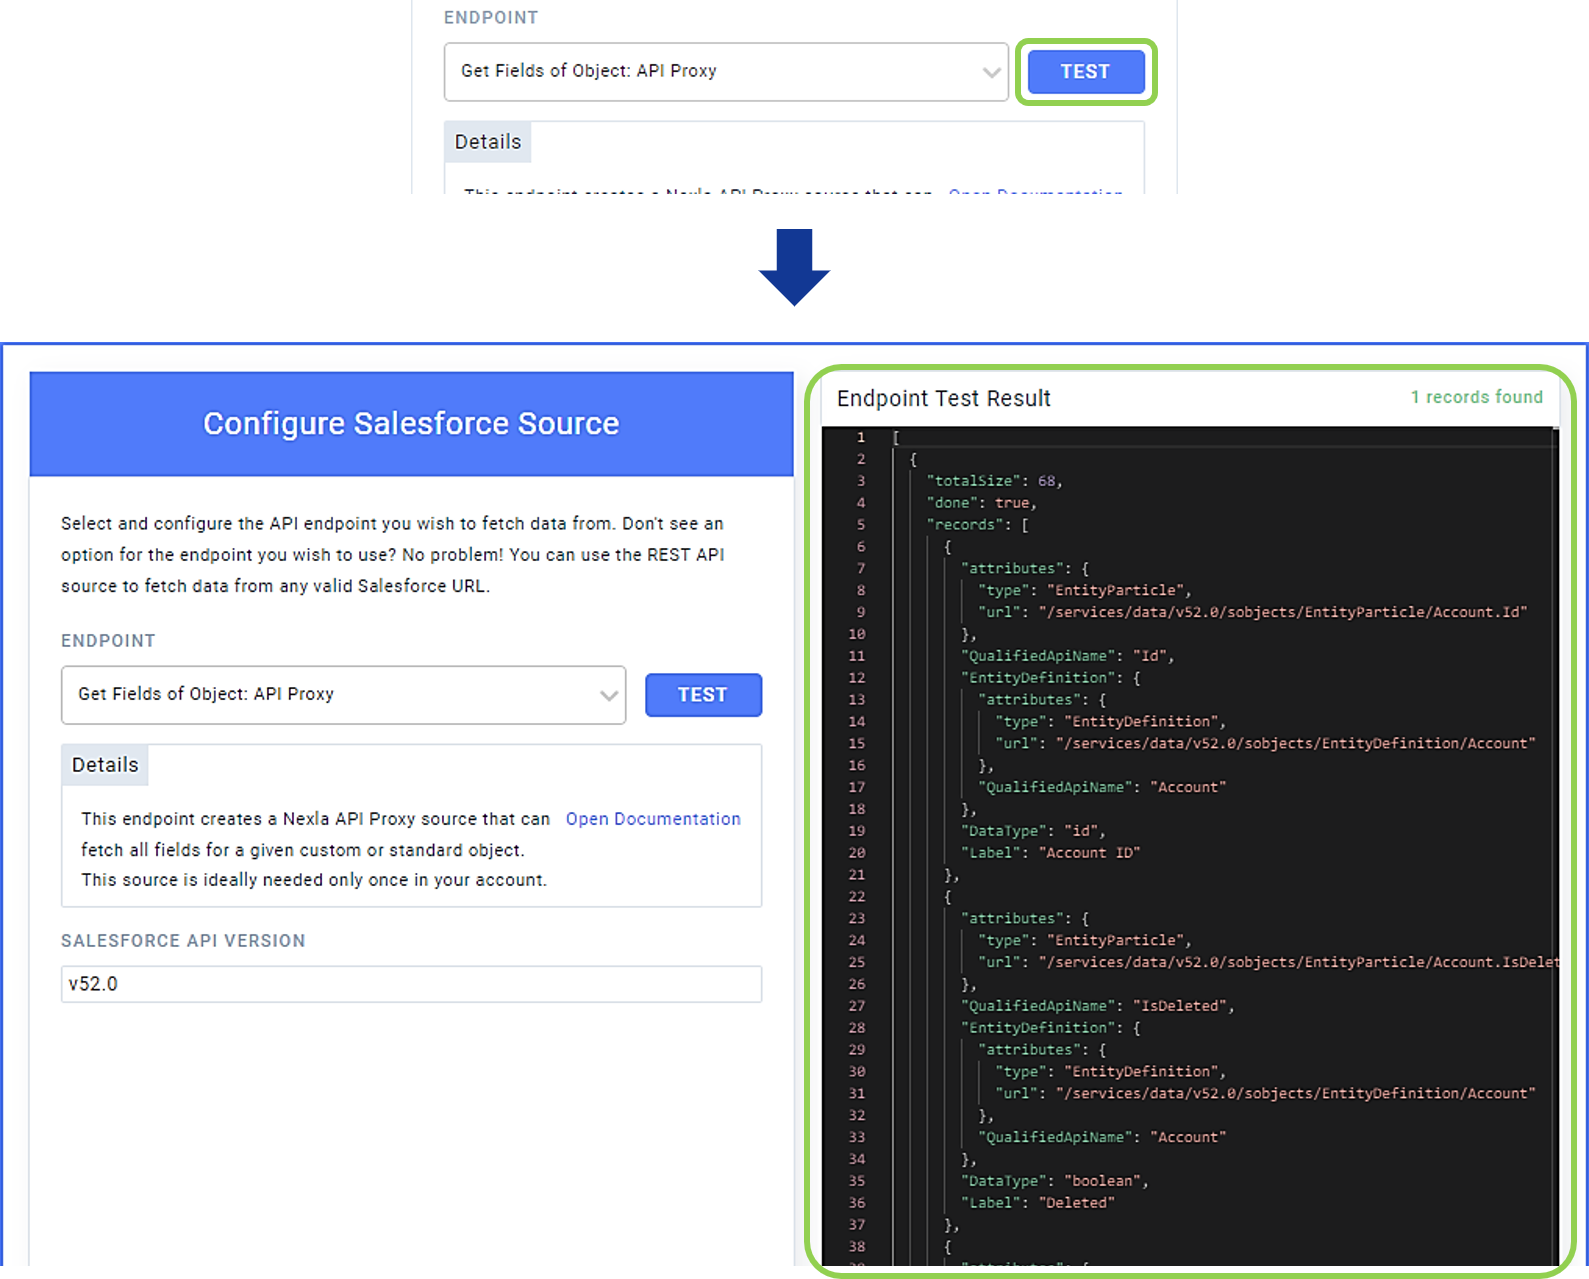
Enter the version number of the Salesforce API proxy that should be generated for use with Nexla in the Salesforce API Version field.

-
Click
to test the endpoint and produce an overview of the result in the Endpoint Test Result panel on the right.
-
Proceed to Section 2.3.
-
2.2 Configure the Salesforce Data Source Using Advanced Settings
In Nexla, settings available under the  tab allow users to configure the Salesforce data source to fetch data from any valid API endpoint. Optionally, multiple API endpoints can also be chained under this tab by adding and configuring multiple steps.
-
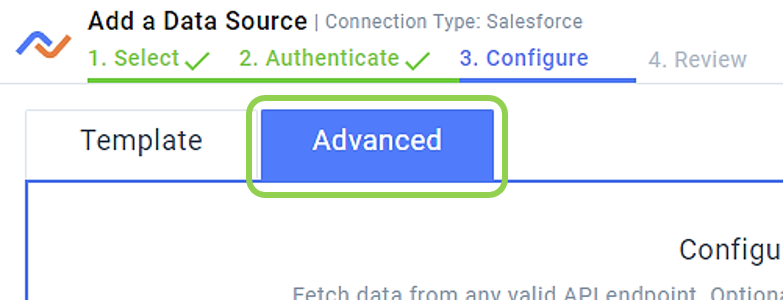
Select the
 tab.
tab.Under the Advanced tab, one API source configuration step is automatically provided, but additional steps can also be configured, as shown in Step 9.
-
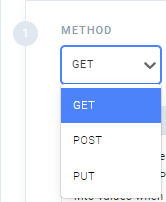
Select the API method that should be used for this source from the Method pulldown menu.
When configuring a Salesforce data source, GET is the method most commonly used.
-
Enter the URL from which data should be fetched in the Set API URL field.

-
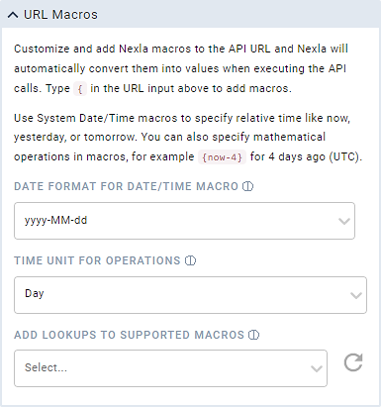
Optional: To customize and add Nexla macros to the API URL entered in Step 3, click
to expand the URL Macros panel and access associated controls.
Nexla automatically converts any added macros into values when it executes the associated API call.
-
To add Nexla macros to the API URL, type
{at the appropriate position in the Set API URL field, and a dropdown menu containing all available pre-built functions will appear.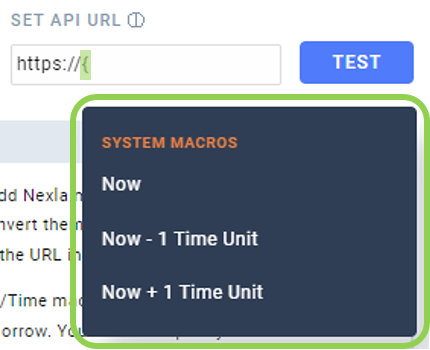
-
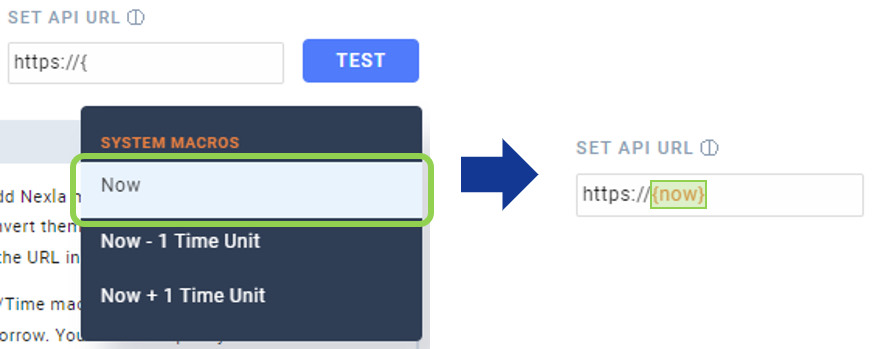
To add a macro from the dropdown menu, click on the macro, and it will be added at the current position in the Set API URL field.
-
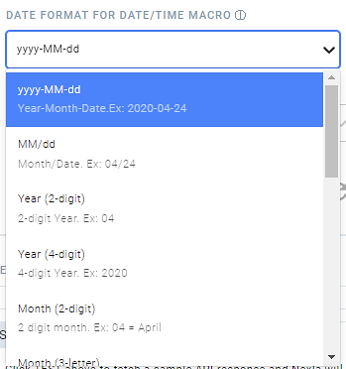
To specify the date-time format to which Nexla should convert date-time macro values, select the desired format from the Date Format for Date/Time Macro pulldown menu.
-
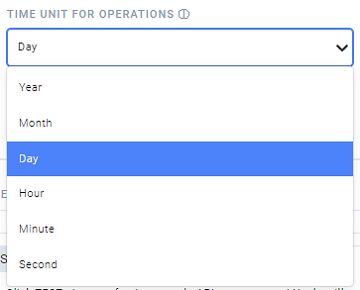
To specify the date or time unit that Nexla should use to perform mathematical operations on date-time macro values, select the desired unit from the Time Unit for Operations pulldown menu.
-
-
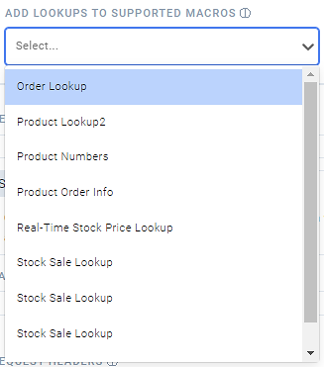
Column values in any Nexla static or dynamic data lookup can also be added as macros in the API call. To add one or more lookup column value macros, select the lookup that should be used to generate the API macros from the Add Lookups to Supported Macros pulldown menu.
-
After selecting the lookup, when
{is typed in the Set API URL field, the key columns will appear below the system macros in the dropdown menu and can be added to the API call by clicking on the desired key column(s).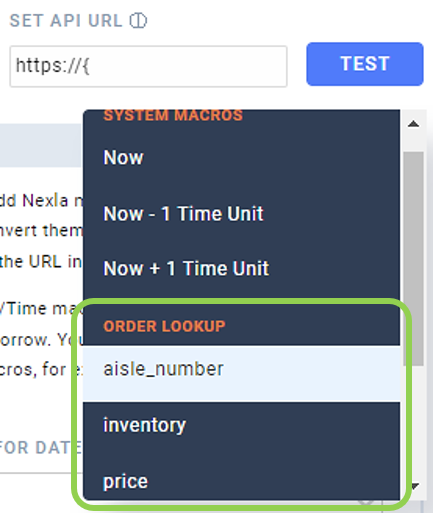
-
-
-
Optional: Specify which part of the received API response that Nexla should treat as relevant data by entering the path to the relevant data in the Set Path to Data in Response field.
For JSON API responses, specify the JSON path that points to the relevant object/array in the response.
For XML API responses, use XPATH to specify the path to the relevant data in the response.

-
Nexla can autogenerate data suggested data paths to be used in this field. To view these suggestions, click
to fetch a sample API response from the API URL entered in Step 3. The generated suggestions will be shown in the Suggestions box.

-
Click on a suggested path to add it to the Set Path to Data in Response field.

-
-
Optional: To configure Nexla to include additional relevant metadata that falls outside of the path entered in Step 5, enter the path to the relevant metadata in the Path to Metadata in Response field.
For JSON API responses, specify the JSON path that points to the relevant metadata in the response.
For XML API responses, use XPATH to specify the path to the relevant metadata in the response.

-
Optional: Enter any request headers that Nexla should send as part of the API call as comma-separated values in the Request Headers field.
Headers present in the credentials entered or selected above do not need to be repeated in this field.

-
Optional: If the API source is paginated, check the box next to
.
-
Optional: To chain one or more additional API calls, click
, and repeat steps 2-8 in this section.
-
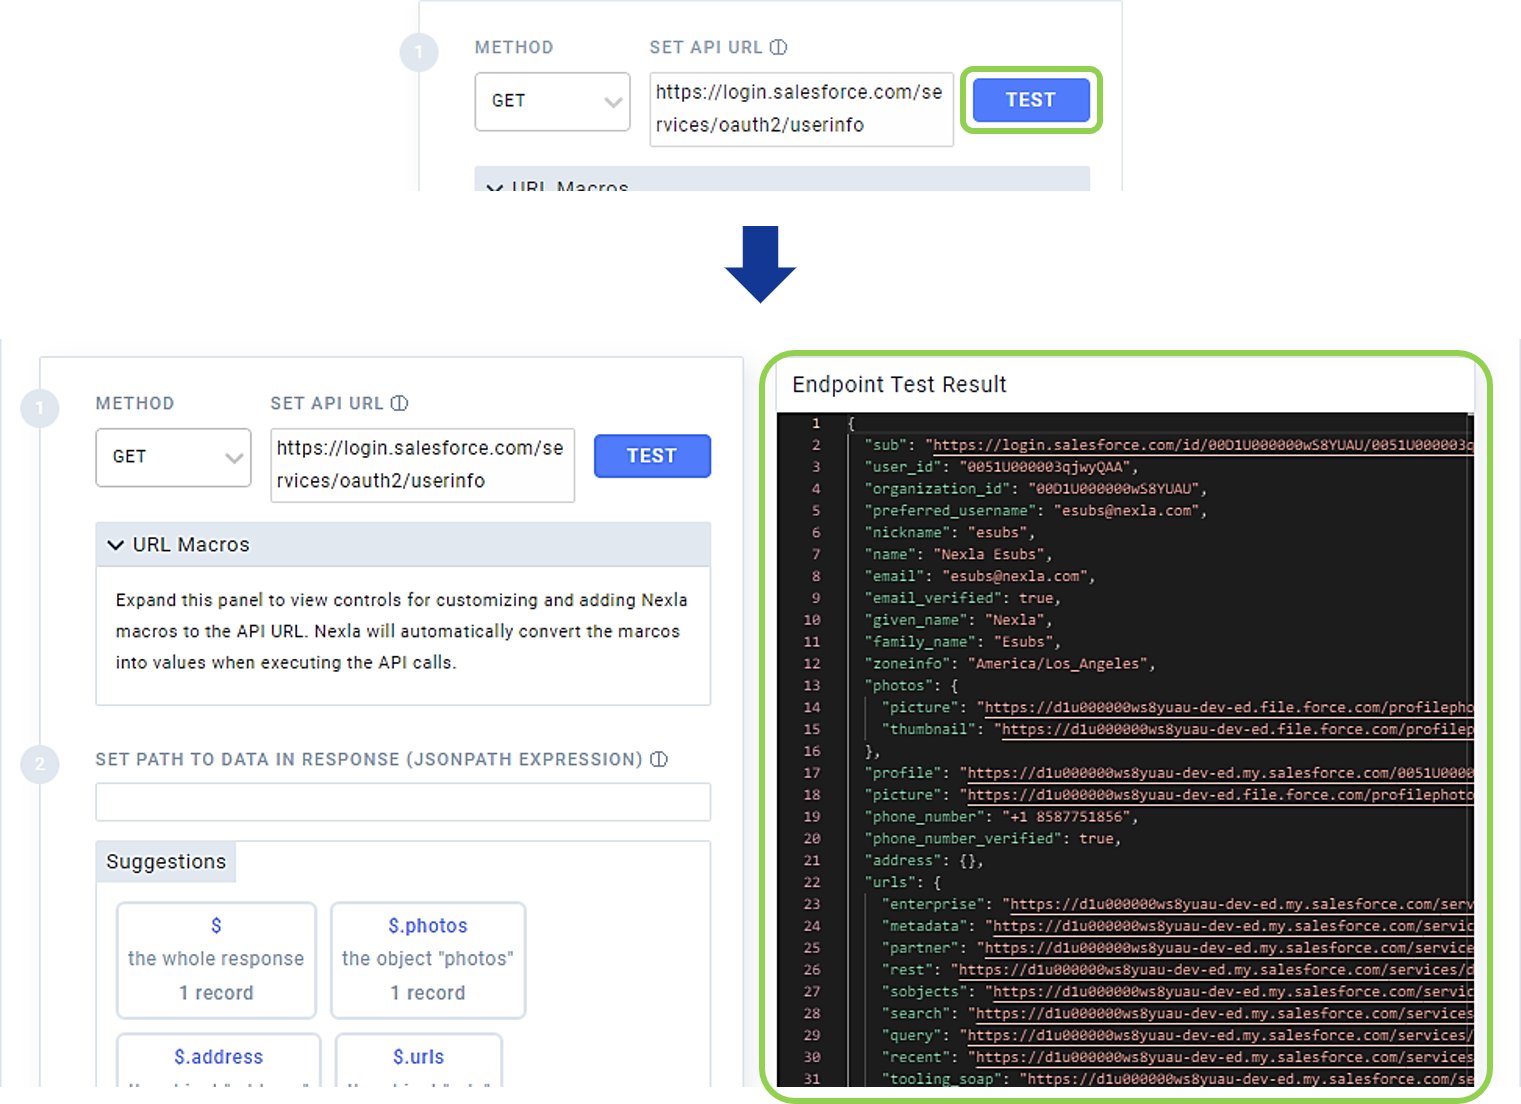
Once configuration is complete, click
to test the endpoint and produce an overview of the result in the Endpoint Test Result panel on the right.
2.3 Schedule Data Source Scanning
-
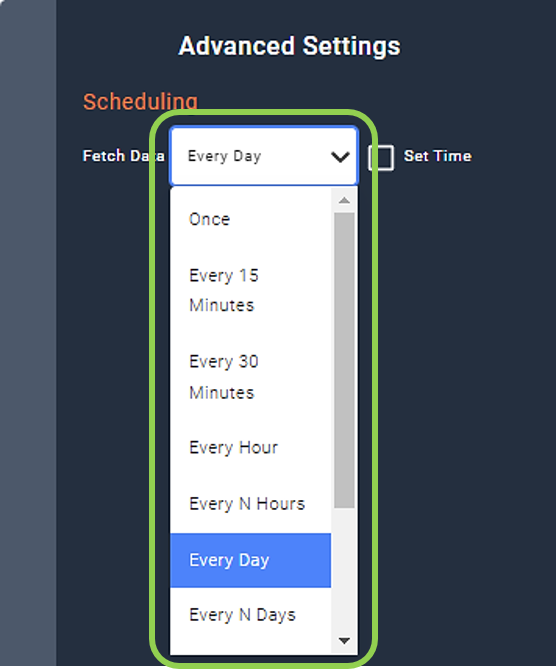
In the Advanced Settings menu on the right, use the Fetch Data pulldown menu to specify how often Nexla should fetch data from the source.
The default setting configures Nexla to fetch any new data from the source once every day.
-
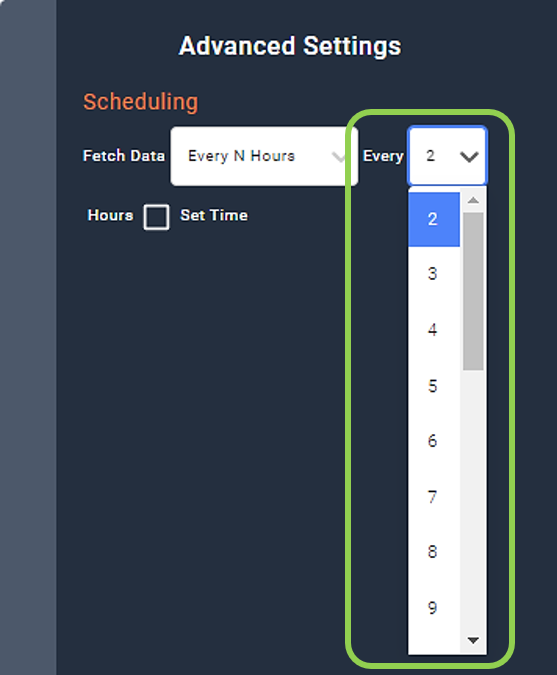
For options such as "Every N Hours" and "Every N Days", use the additional pulldown menu that appears when these options are selected to specify the value of N defining the fetching frequency.
-
-
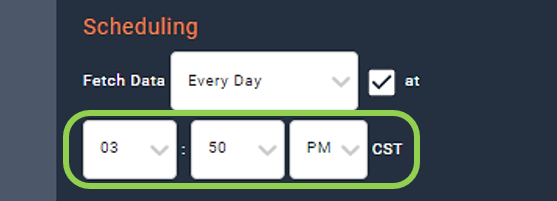
Optional: To set a specific time at which Nexla should fetch any new data from the source, check the
box, and type or use the pulldown menus to enter the desired time.
2.4 Save and Create the Salesforce Data Source
-
Once all of the above steps have been completed, click
in the upper right corner of the screen to save and create the new Salesforce data source.
-
The confirmation page indicates that the Salesforce data source has been successfully added.

-
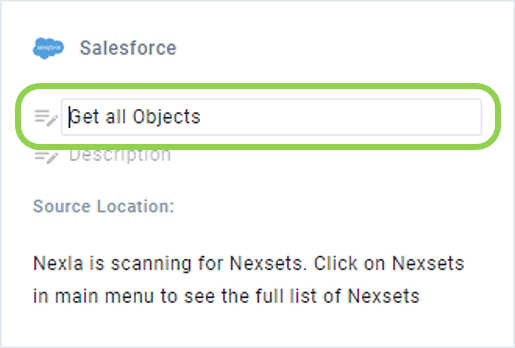
Optional: Edit the name of the newly added data source by clicking on the name field and entering the desired text.
-
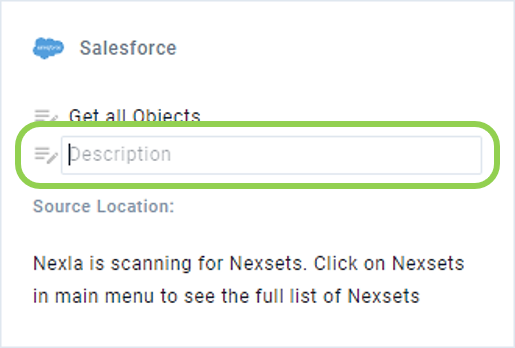
Optional: Add a description of the data source by clicking on the
field below the data source name and entering the desired text.
-
-
To return to My Data Sources, click
 in the upper right corner.
 -
To view the newly created data source, click
 .
. -
To view Nexsets detected in the newly added source, click
 .
.
-