Connect to Google BigQuery (Legacy UI)
Nexla's bi-directional connectors can both send data to and receive data from any data system. This means that once a user has created or gained access to a credential for any data system, building any data flow to ingest data from or send data to a location within that data system requires only a few simple steps.
1. Credentials
This section provides information about and step-by-step instructions for creating a new Google BigQuery credential in Nexla.
Important: During data movement to/from BigQuery, Nexla will write temporary data in a location within your GCS. Therefore, the user associated with the credential provided in Step 2 below will need the following roles in the Google Cloud Project:
- Storage Object Creator
- Storage Object Viewer
1.1 Add a New Google BigQuery Credential
-
After selecting the data source/destination type, in the
screen, click
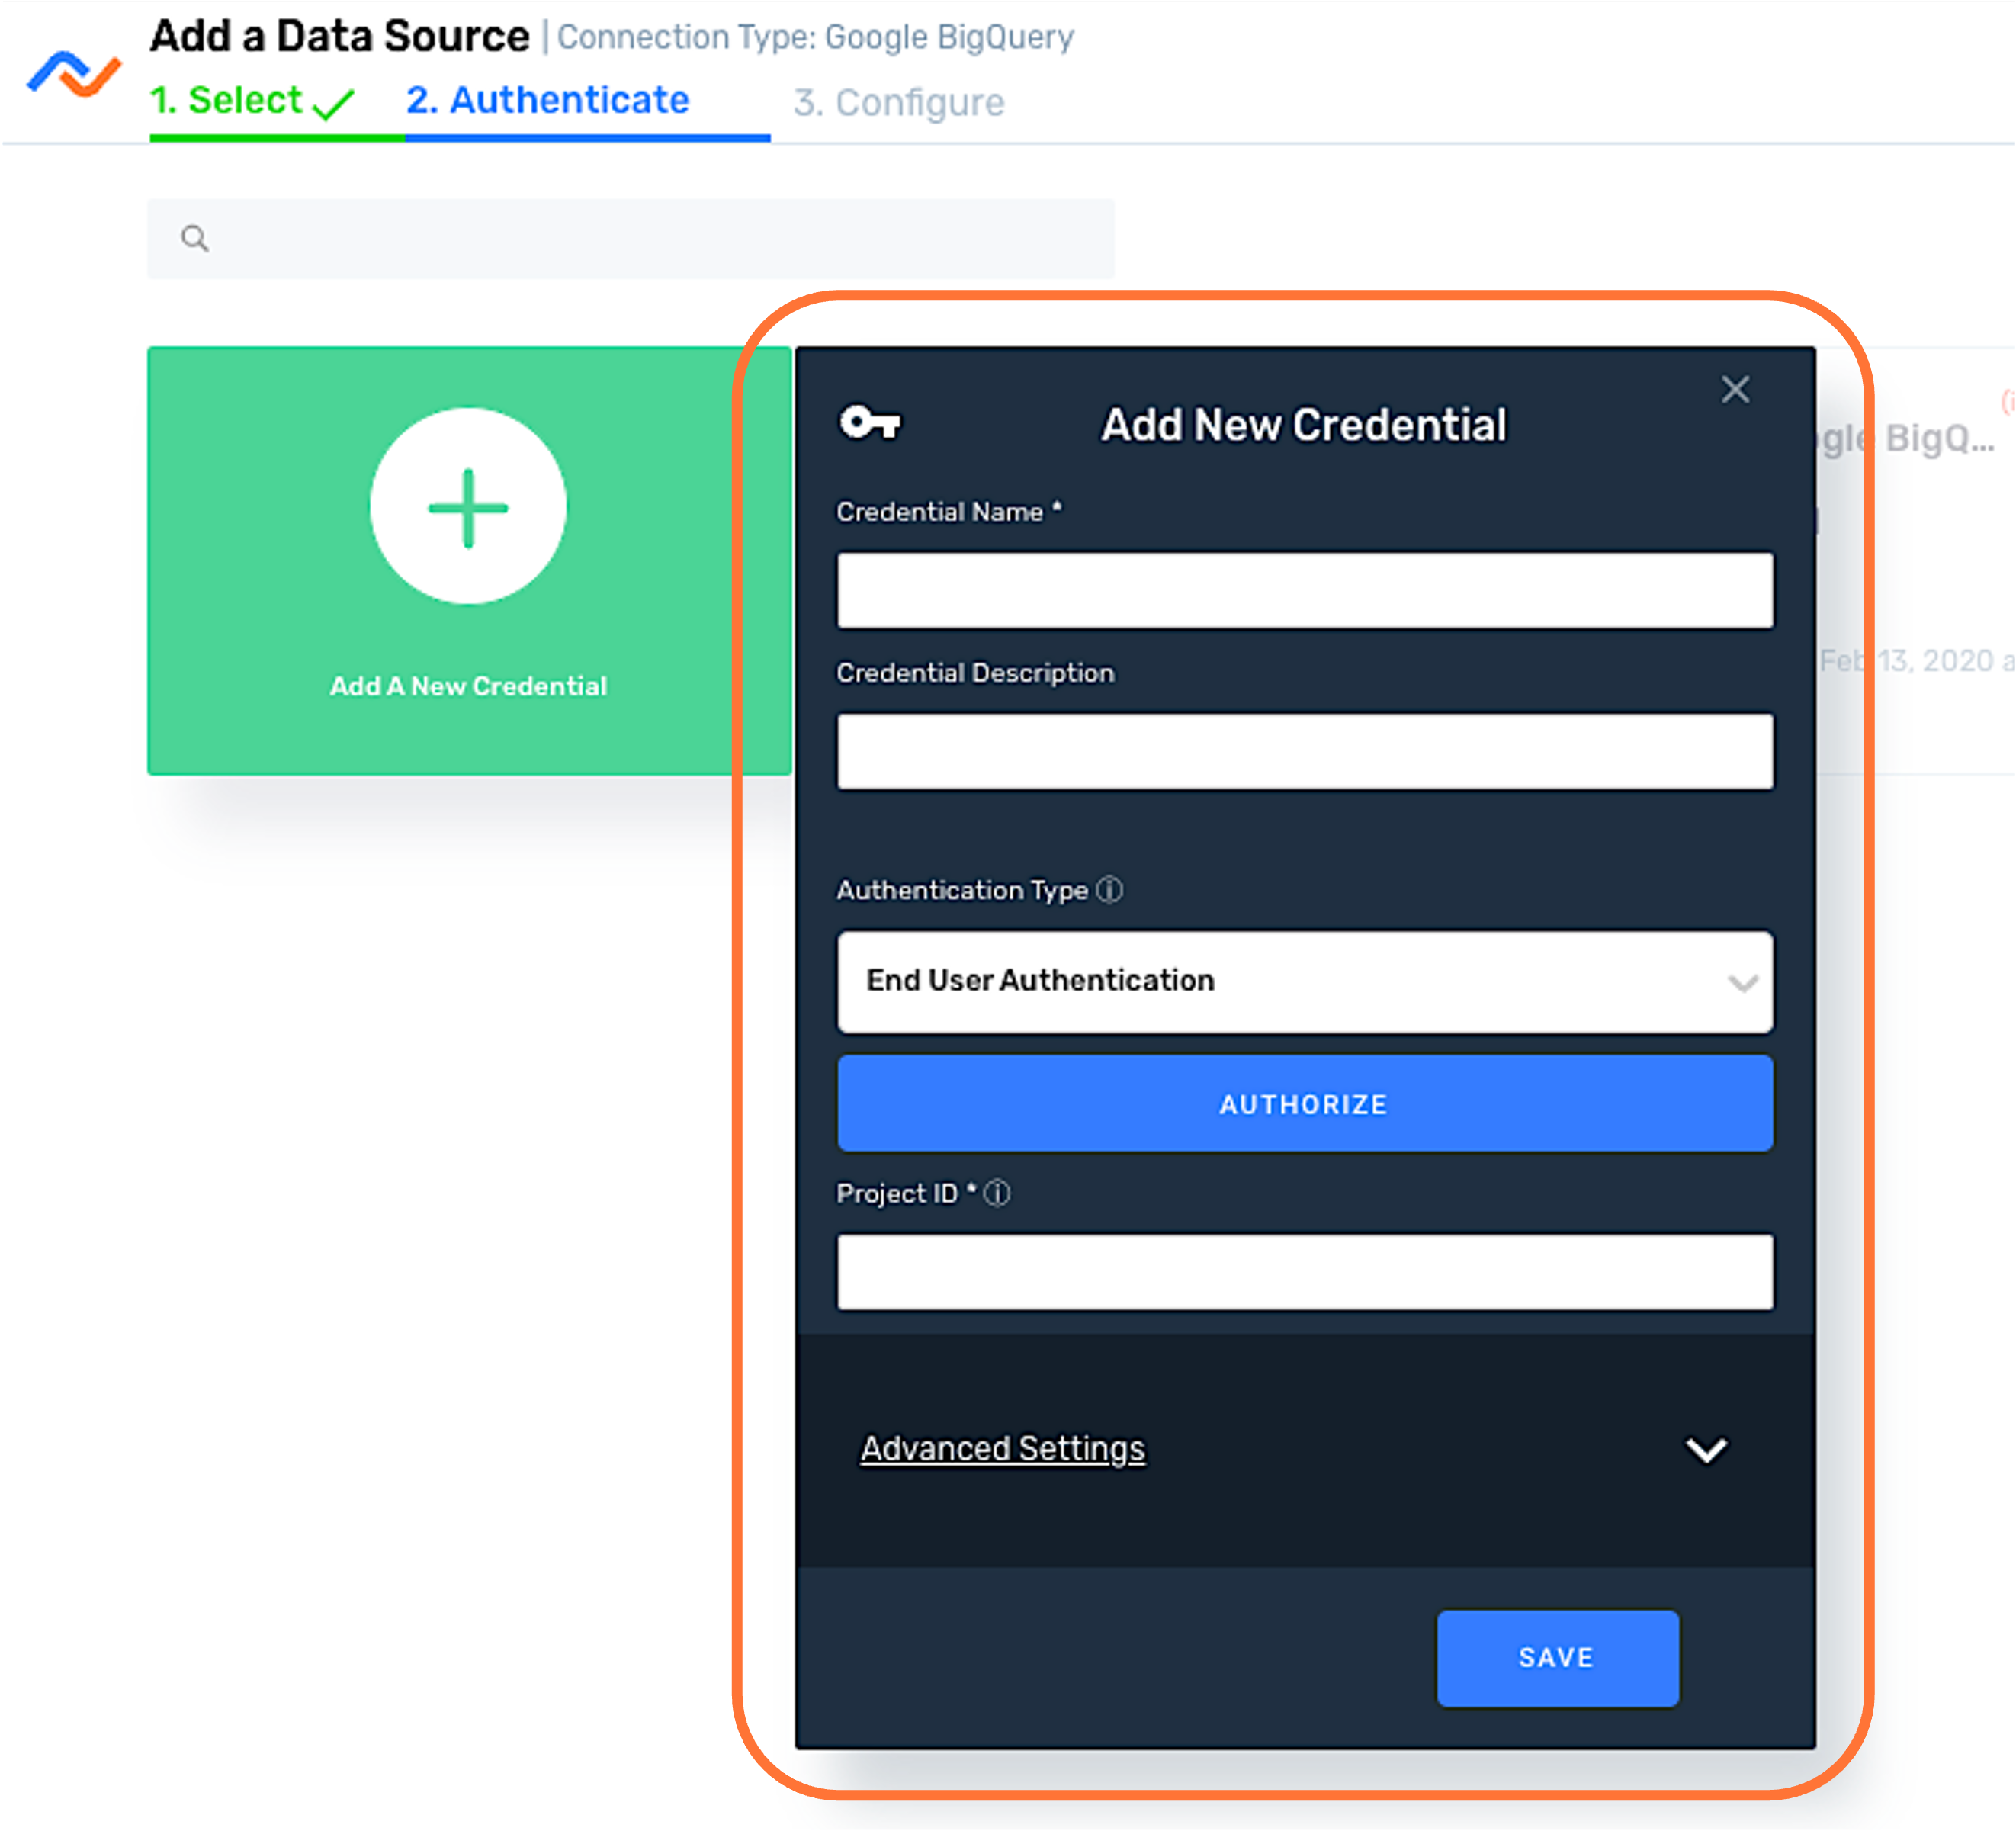
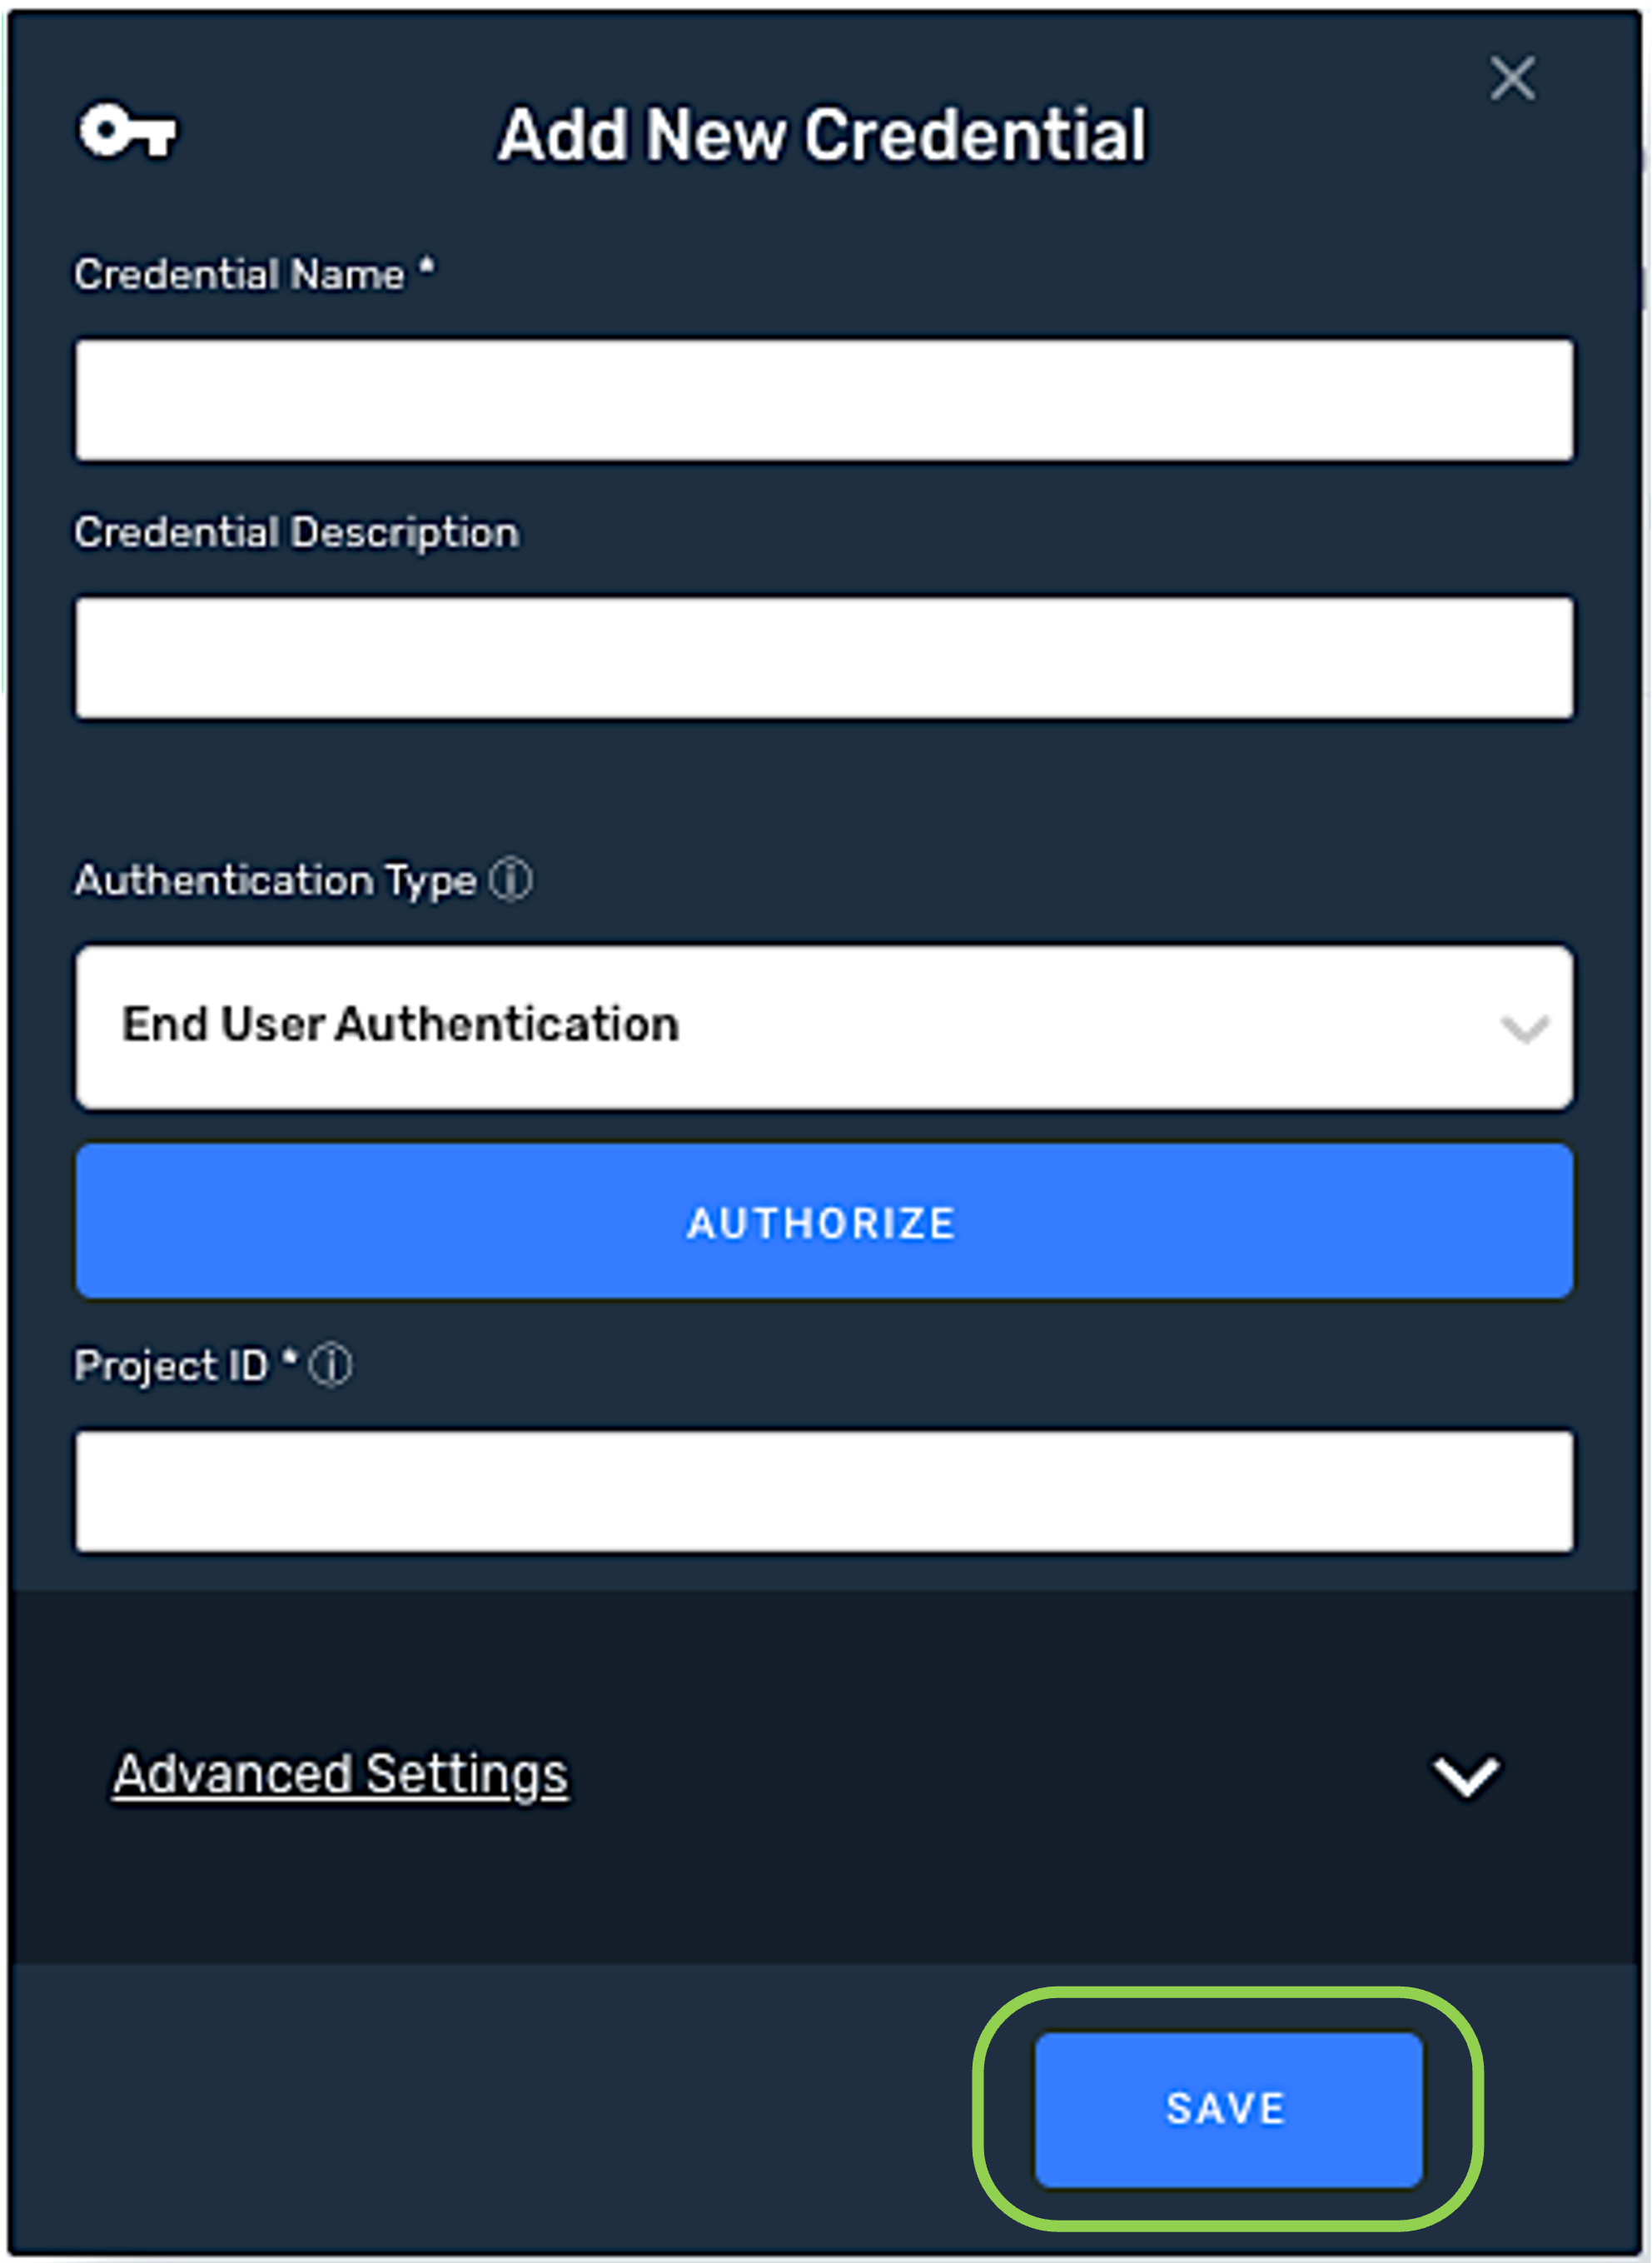
 . This will open the Add New Credential window.
-
Enter a name for the credential in the Credential Name field.

-
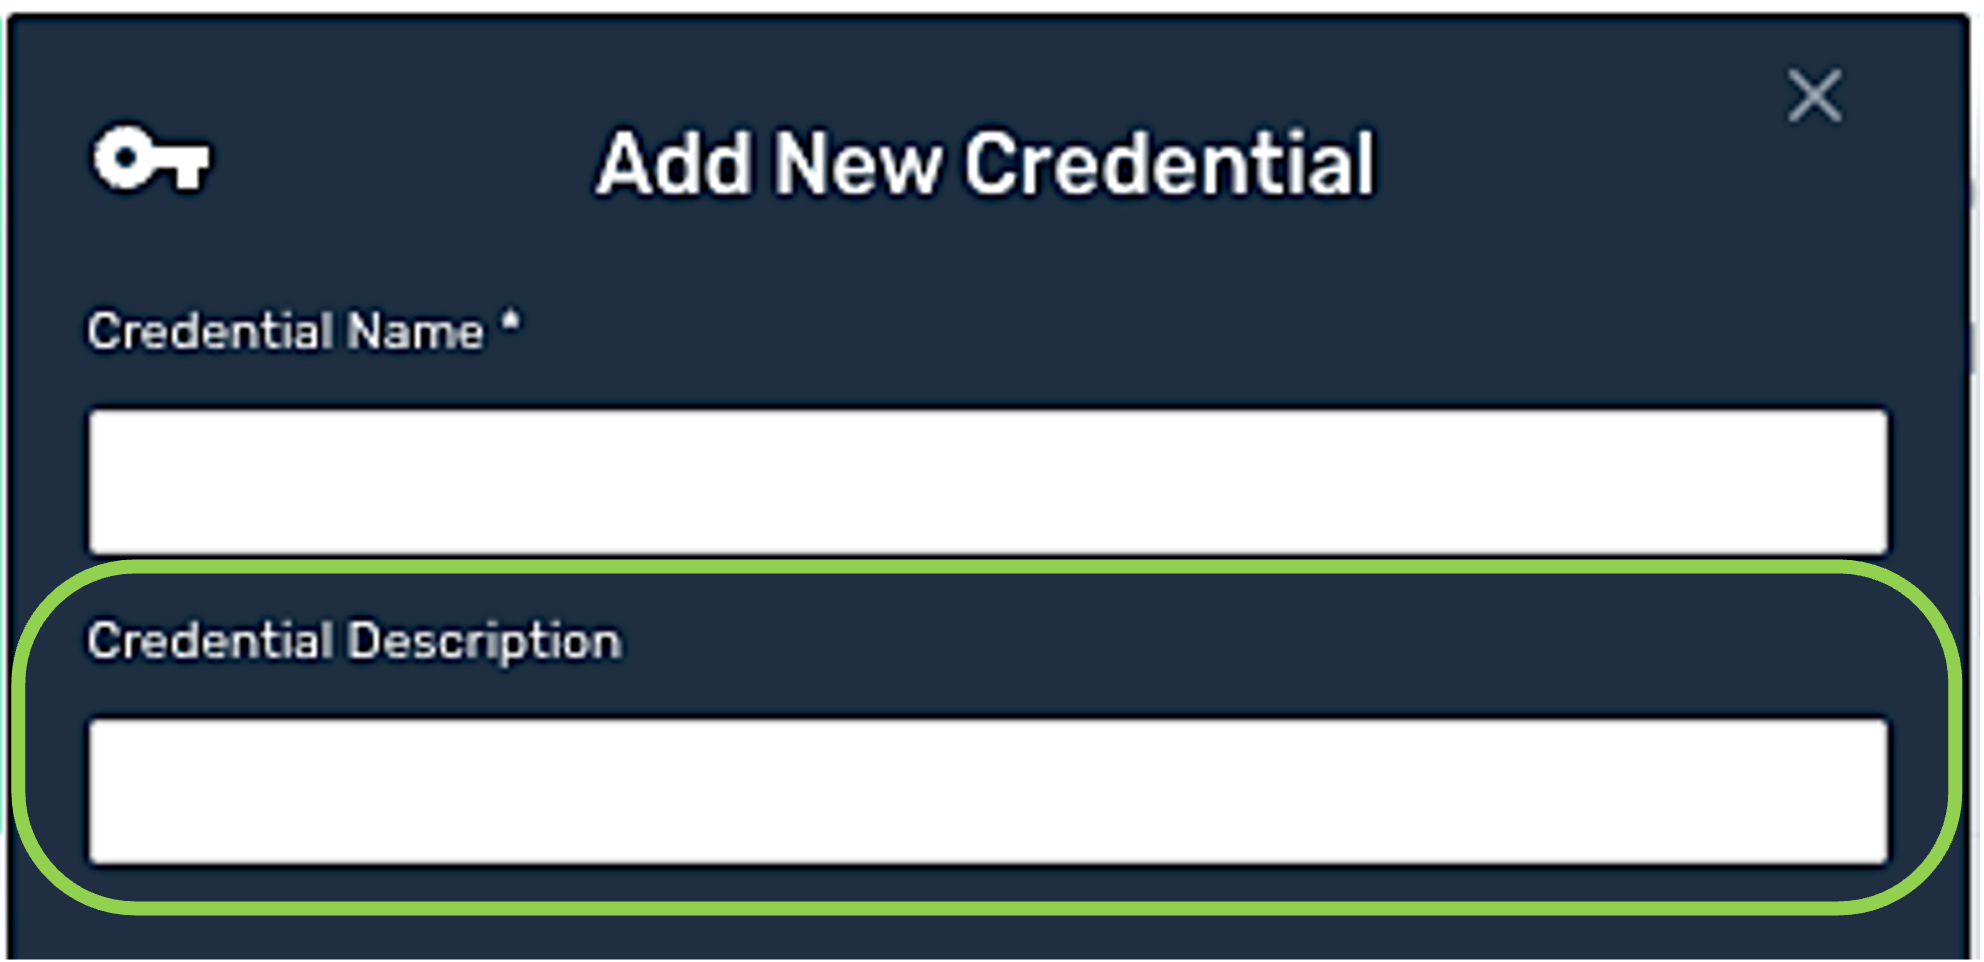
Optional: Enter a description for the credential in the Credential Description field.
-
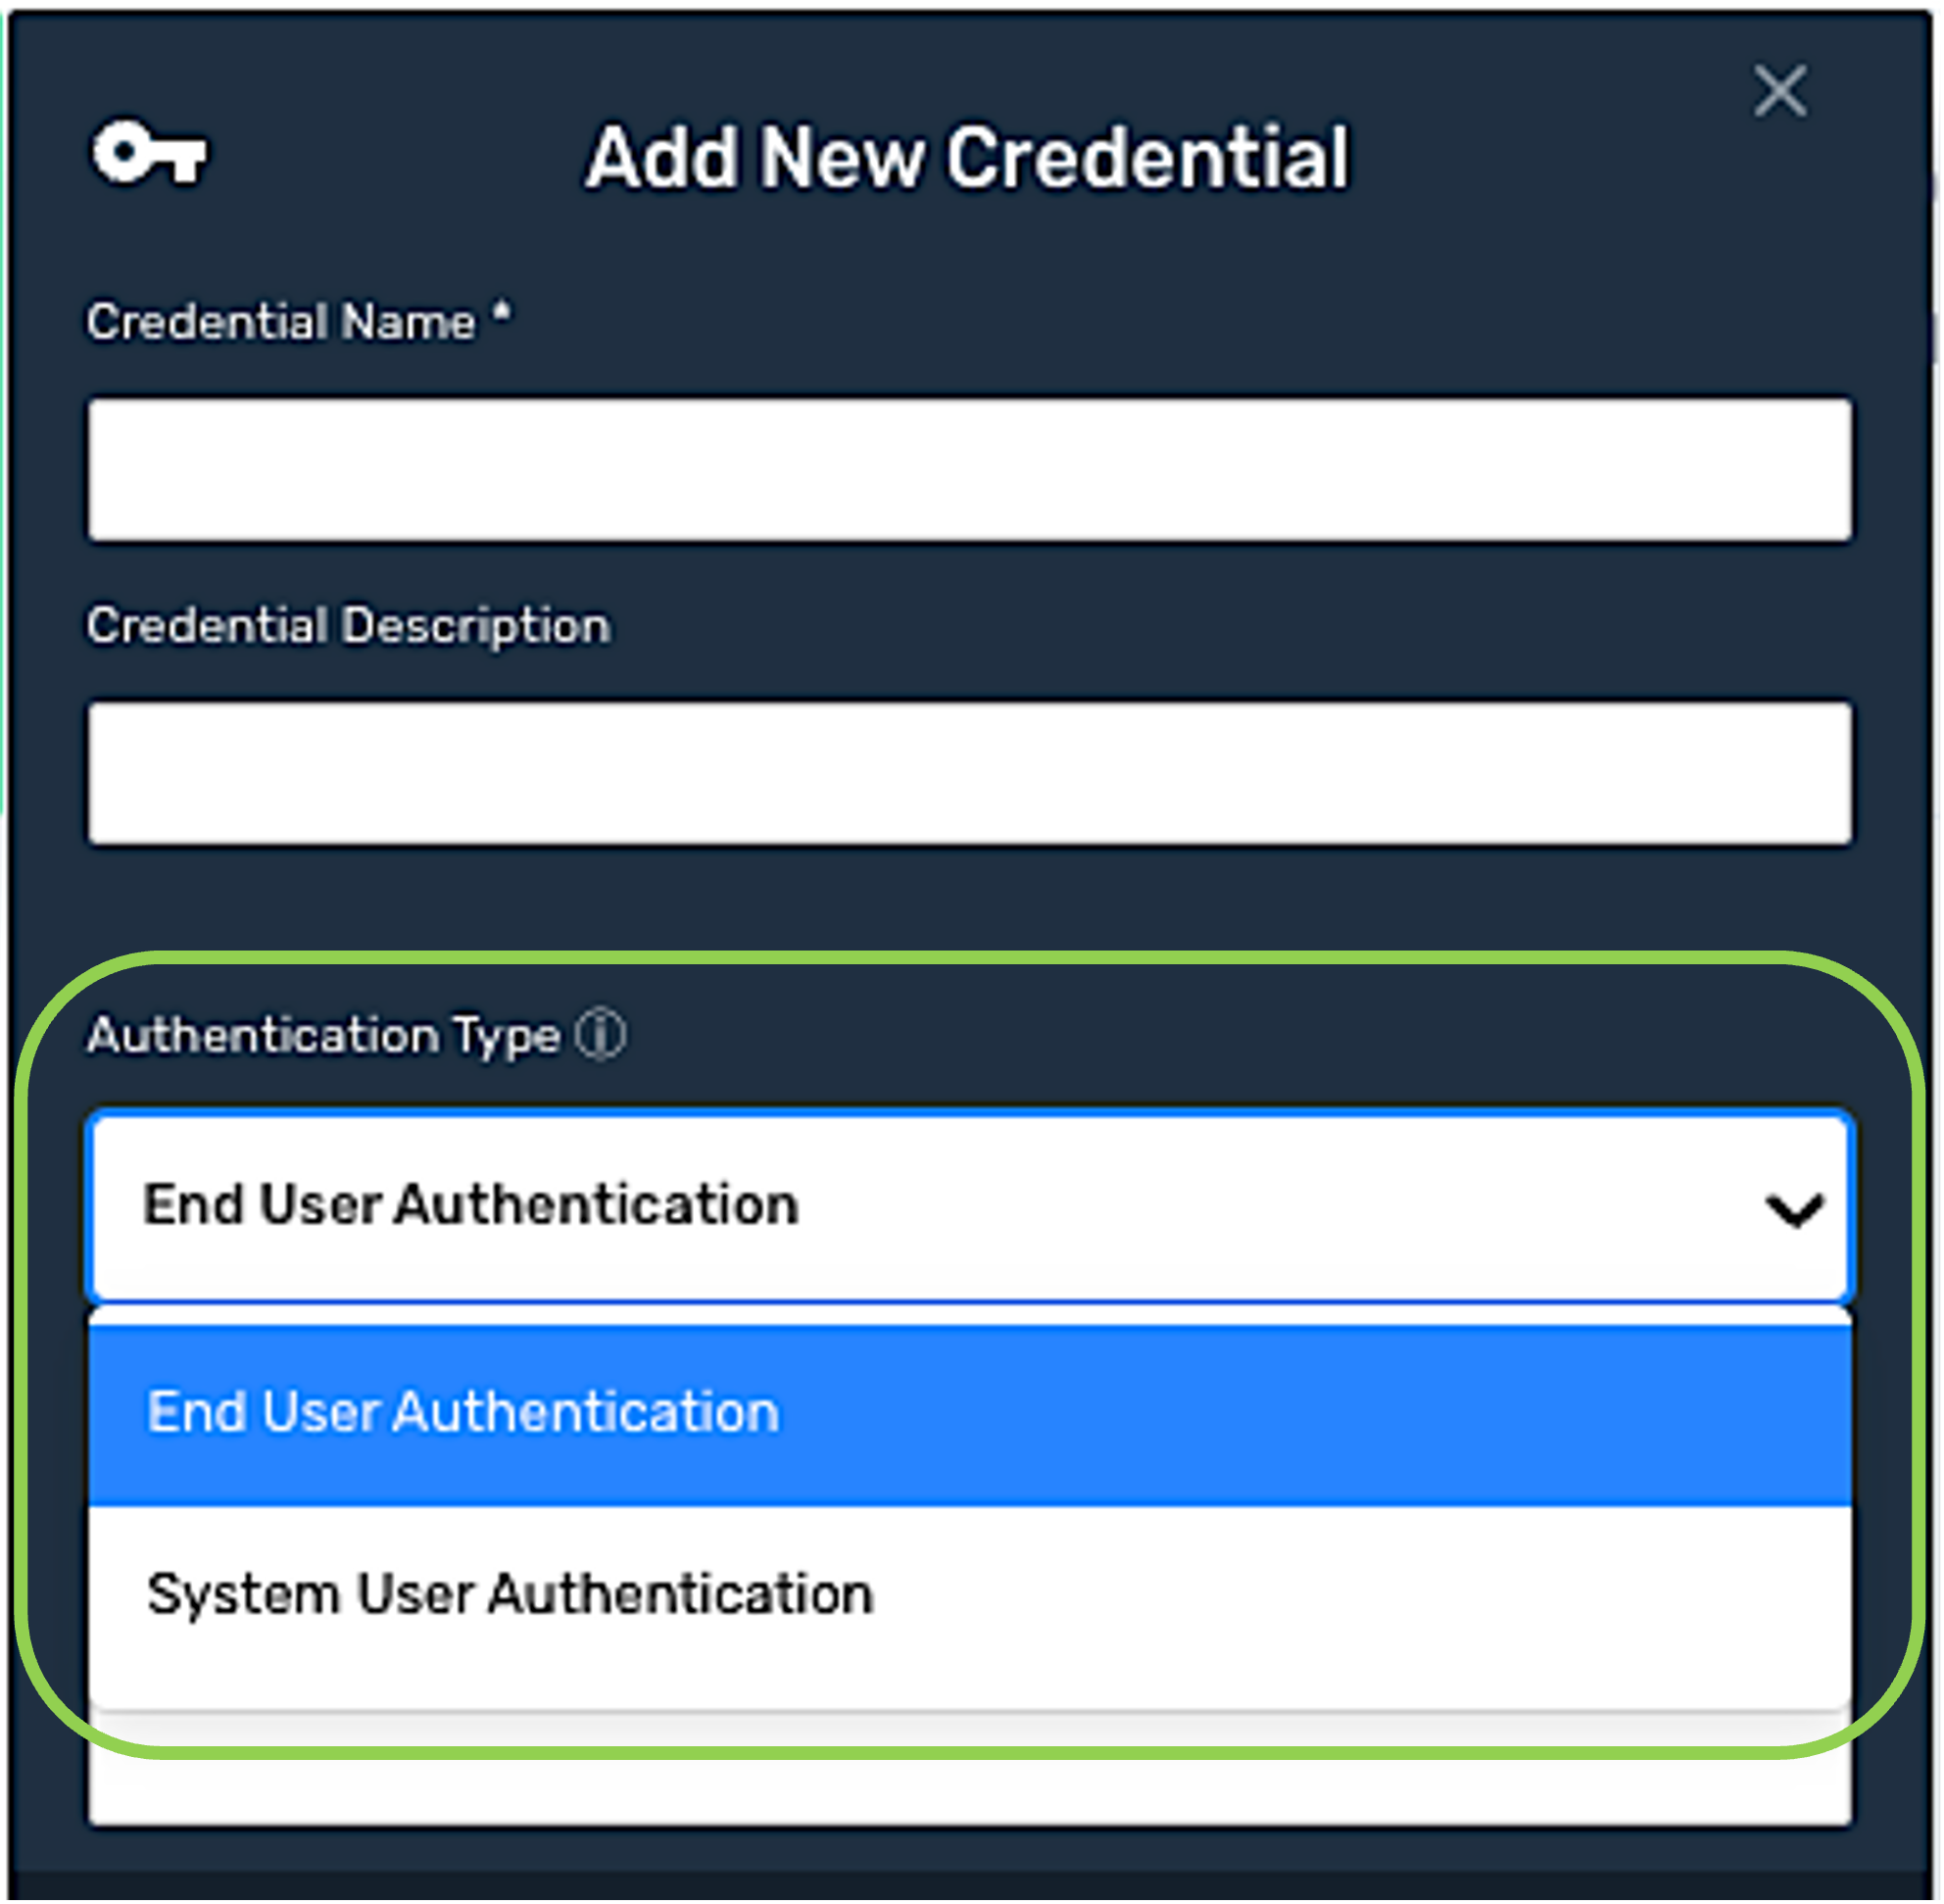
Select the method that Nexla should use to authenticate to the BigQuery account from the Authentication Type pulldown menu.
The System User Authentication method is recommended, as it is best-suited for accessing your own data. It is also tied to the service account instead of individual user accounts.
1.2 End User Authentication
-
Click
.
-
In the pop-up window that appears, select the Google account associated with the BigQuery account.
-
Click
to allow Nexla to access the account.
-
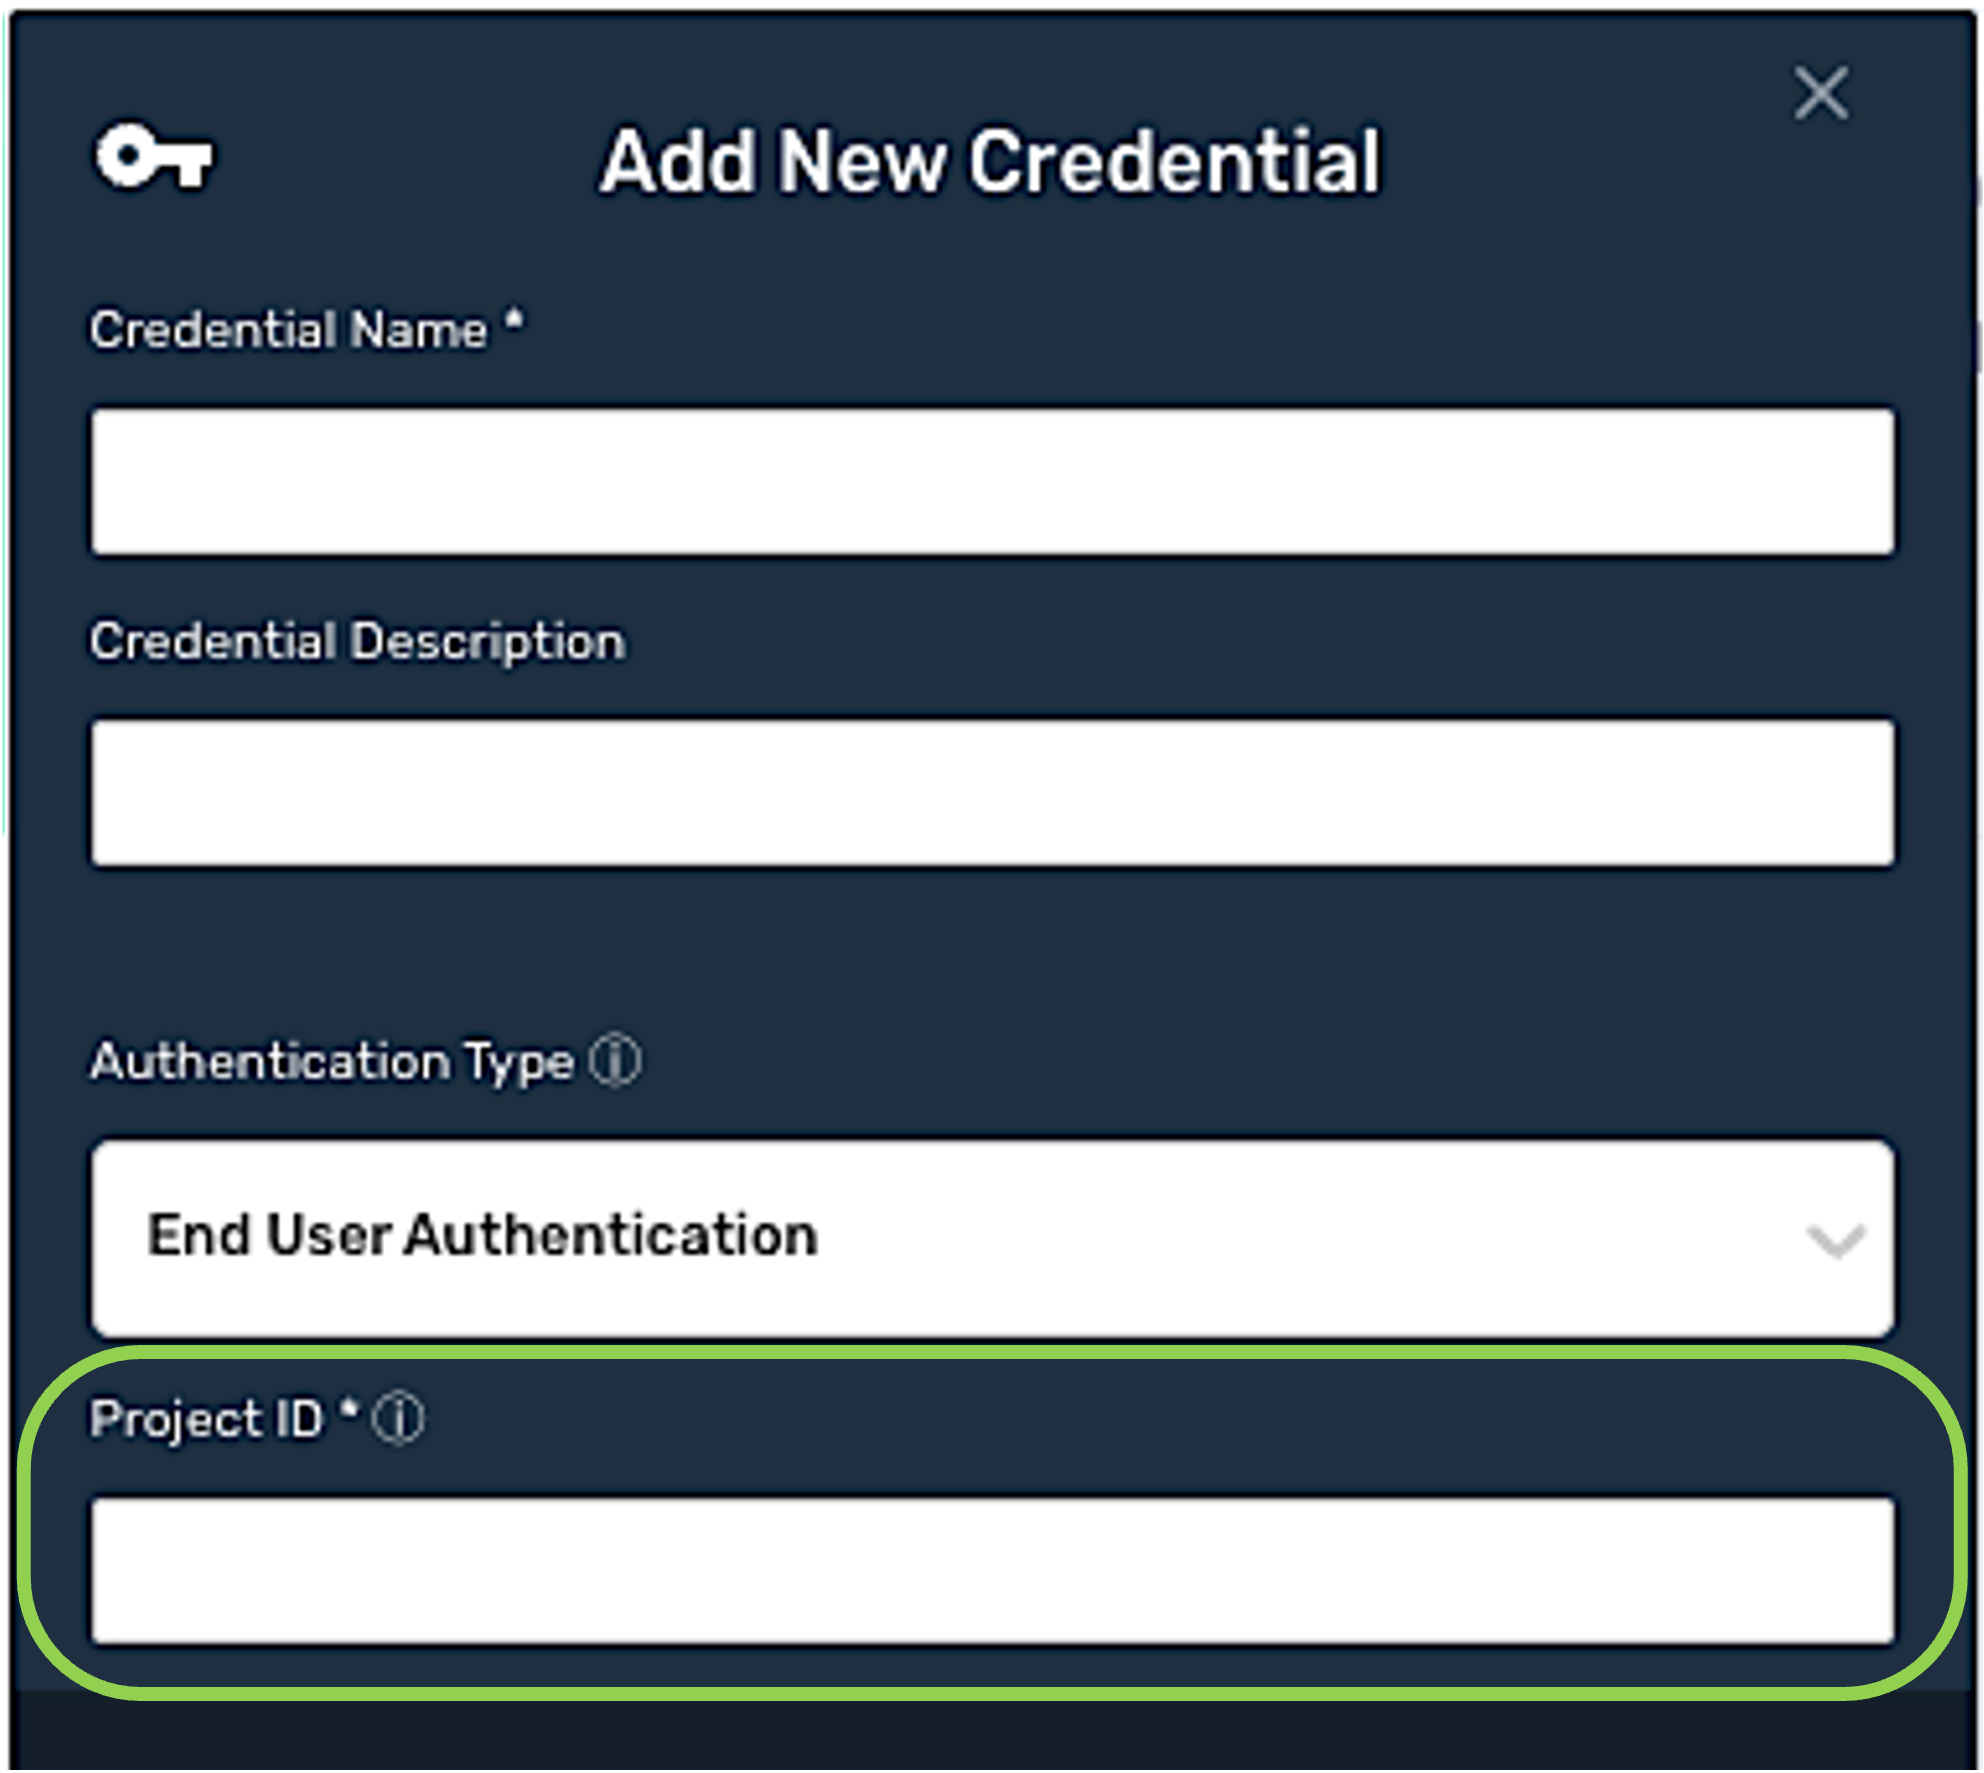
Enter the project ID to the BigQuery database from which files should be read in the Project ID field.
-
Section 1.4 provides information about advanced settings available for Google BigQuery credentials along with step-by-step instructions for configuring each setting.
-
To configure any desired additional advanced settings for this credential, continue to Section 1.4, and complete the relevant steps.
-
To create this credential without configuring any advanced settings, continue to Section 1.5.
-
1.3 System User Authentication
-
Click
.
-
Select and upload the service account credentials JSON file generated by Google Cloud IAM.
-
Section 1.4 provides information about advanced settings available for Google BigQuery credentials along with step-by-step instructions for configuring each setting.
-
To configure any desired additional advanced settings for this credential, continue to Section 1.4, and complete the relevant steps.
-
To create this credential without configuring any advanced settings, continue to Section 1.5.
-
1.4 Advanced Settings
This section covers optional advanced credential settings. To create the Google BigQuery credential without configuring advanced settings, skip to Section 1.5.
-
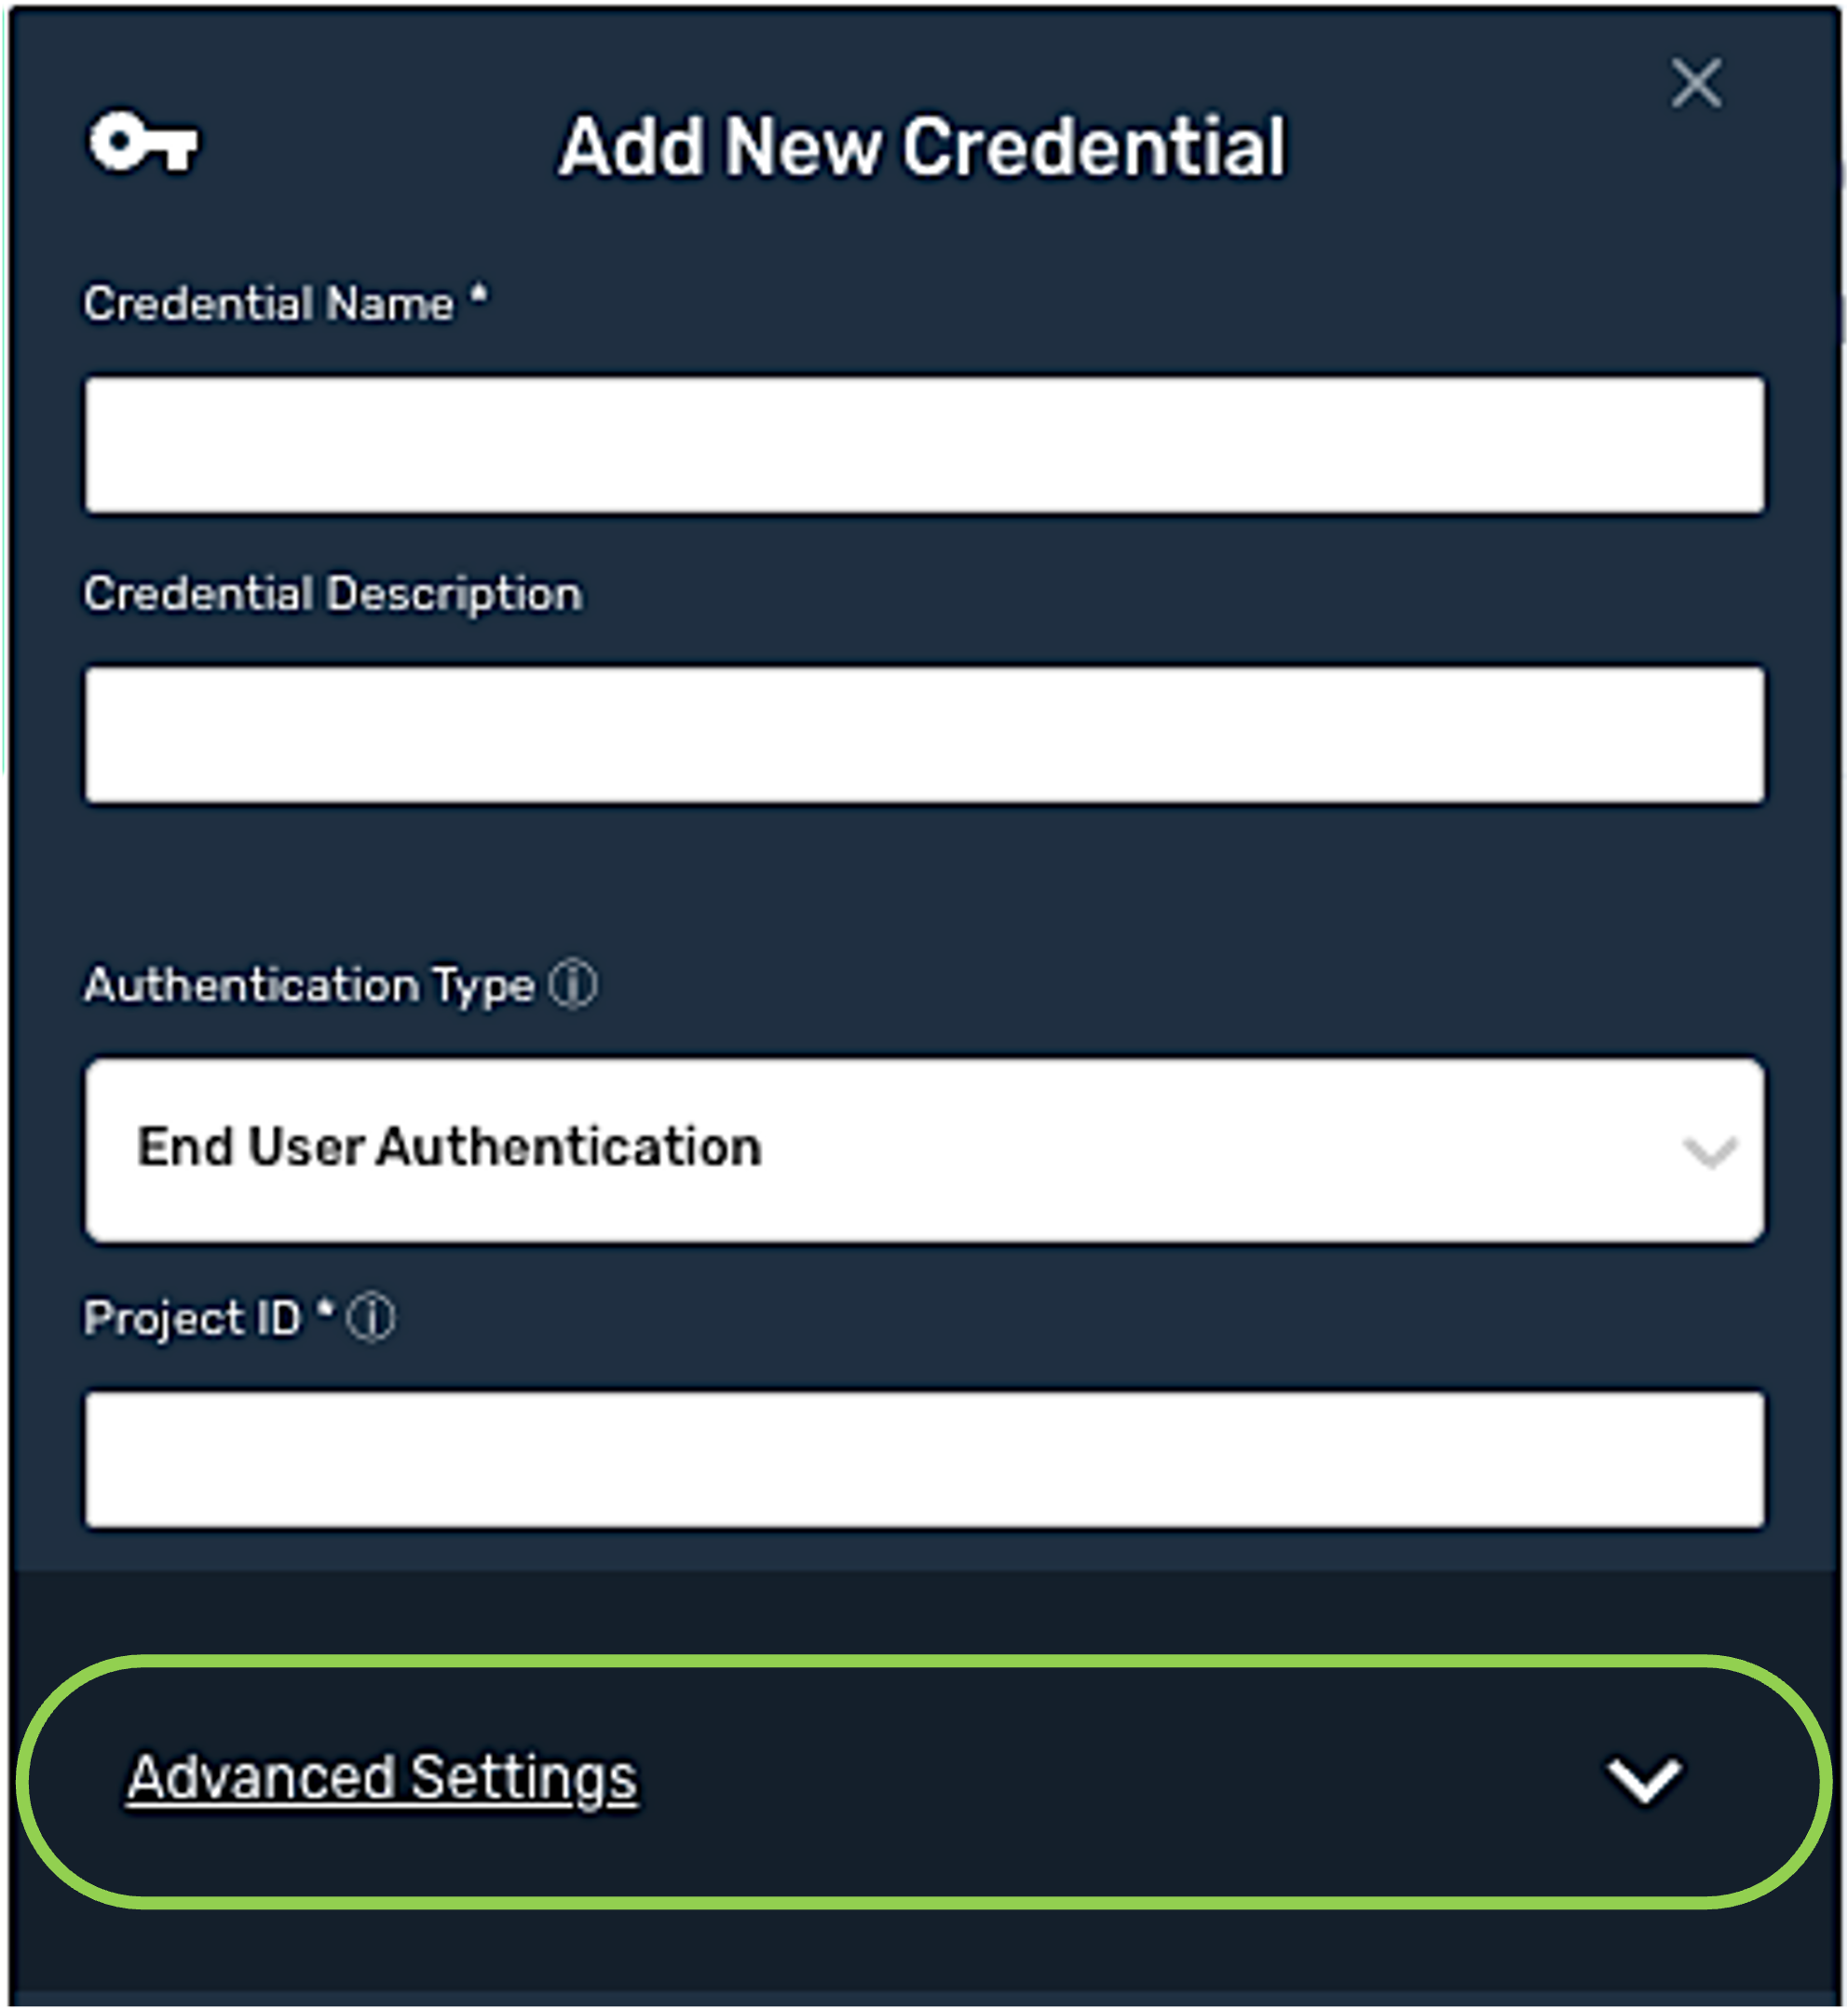
Click
to access additional available settings for the BigQuery credential.
-
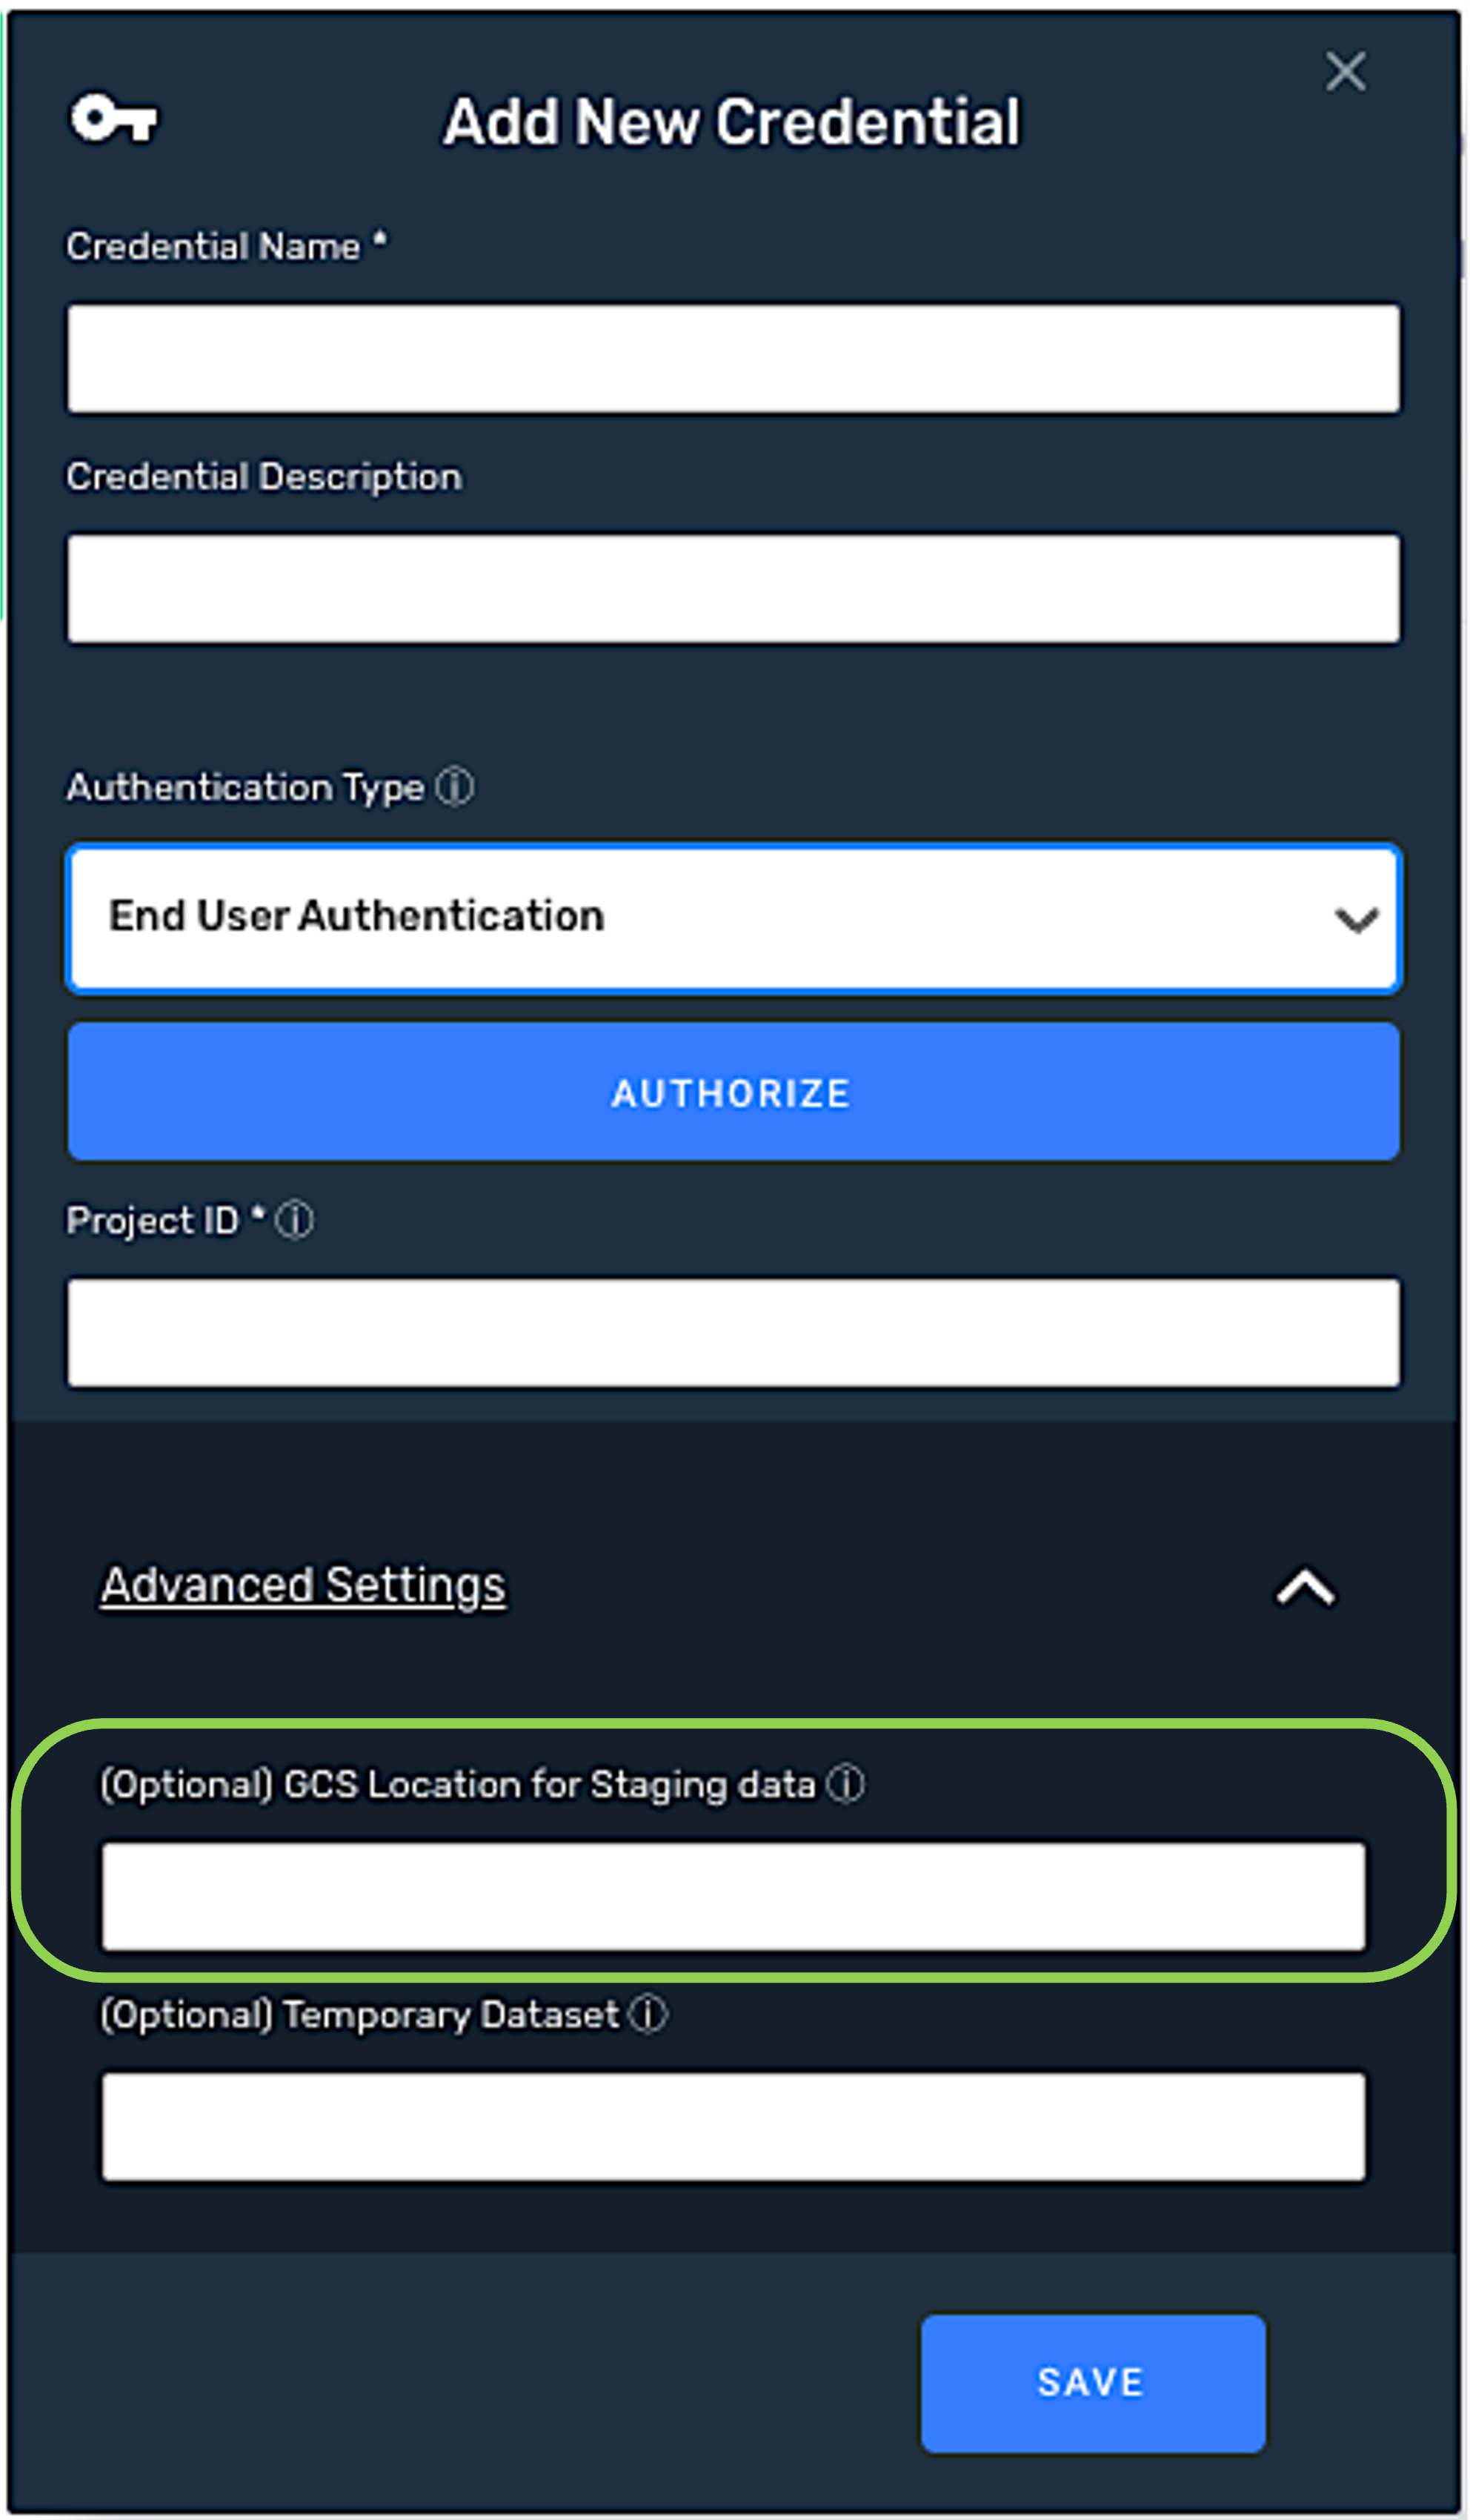
GCS Location for Staging Data
Before moving data to/from BigQuery, Nexla sometimes stages the data in a temporary GCS location, which is automatically created by the platform if the user account associated with the credential has bucket/path creation permissions.
-
To override bucket creation and specify a GCS location where Nexla will create temporary staging files, enter the location in the GCS Location for Staging Data field.
-
-
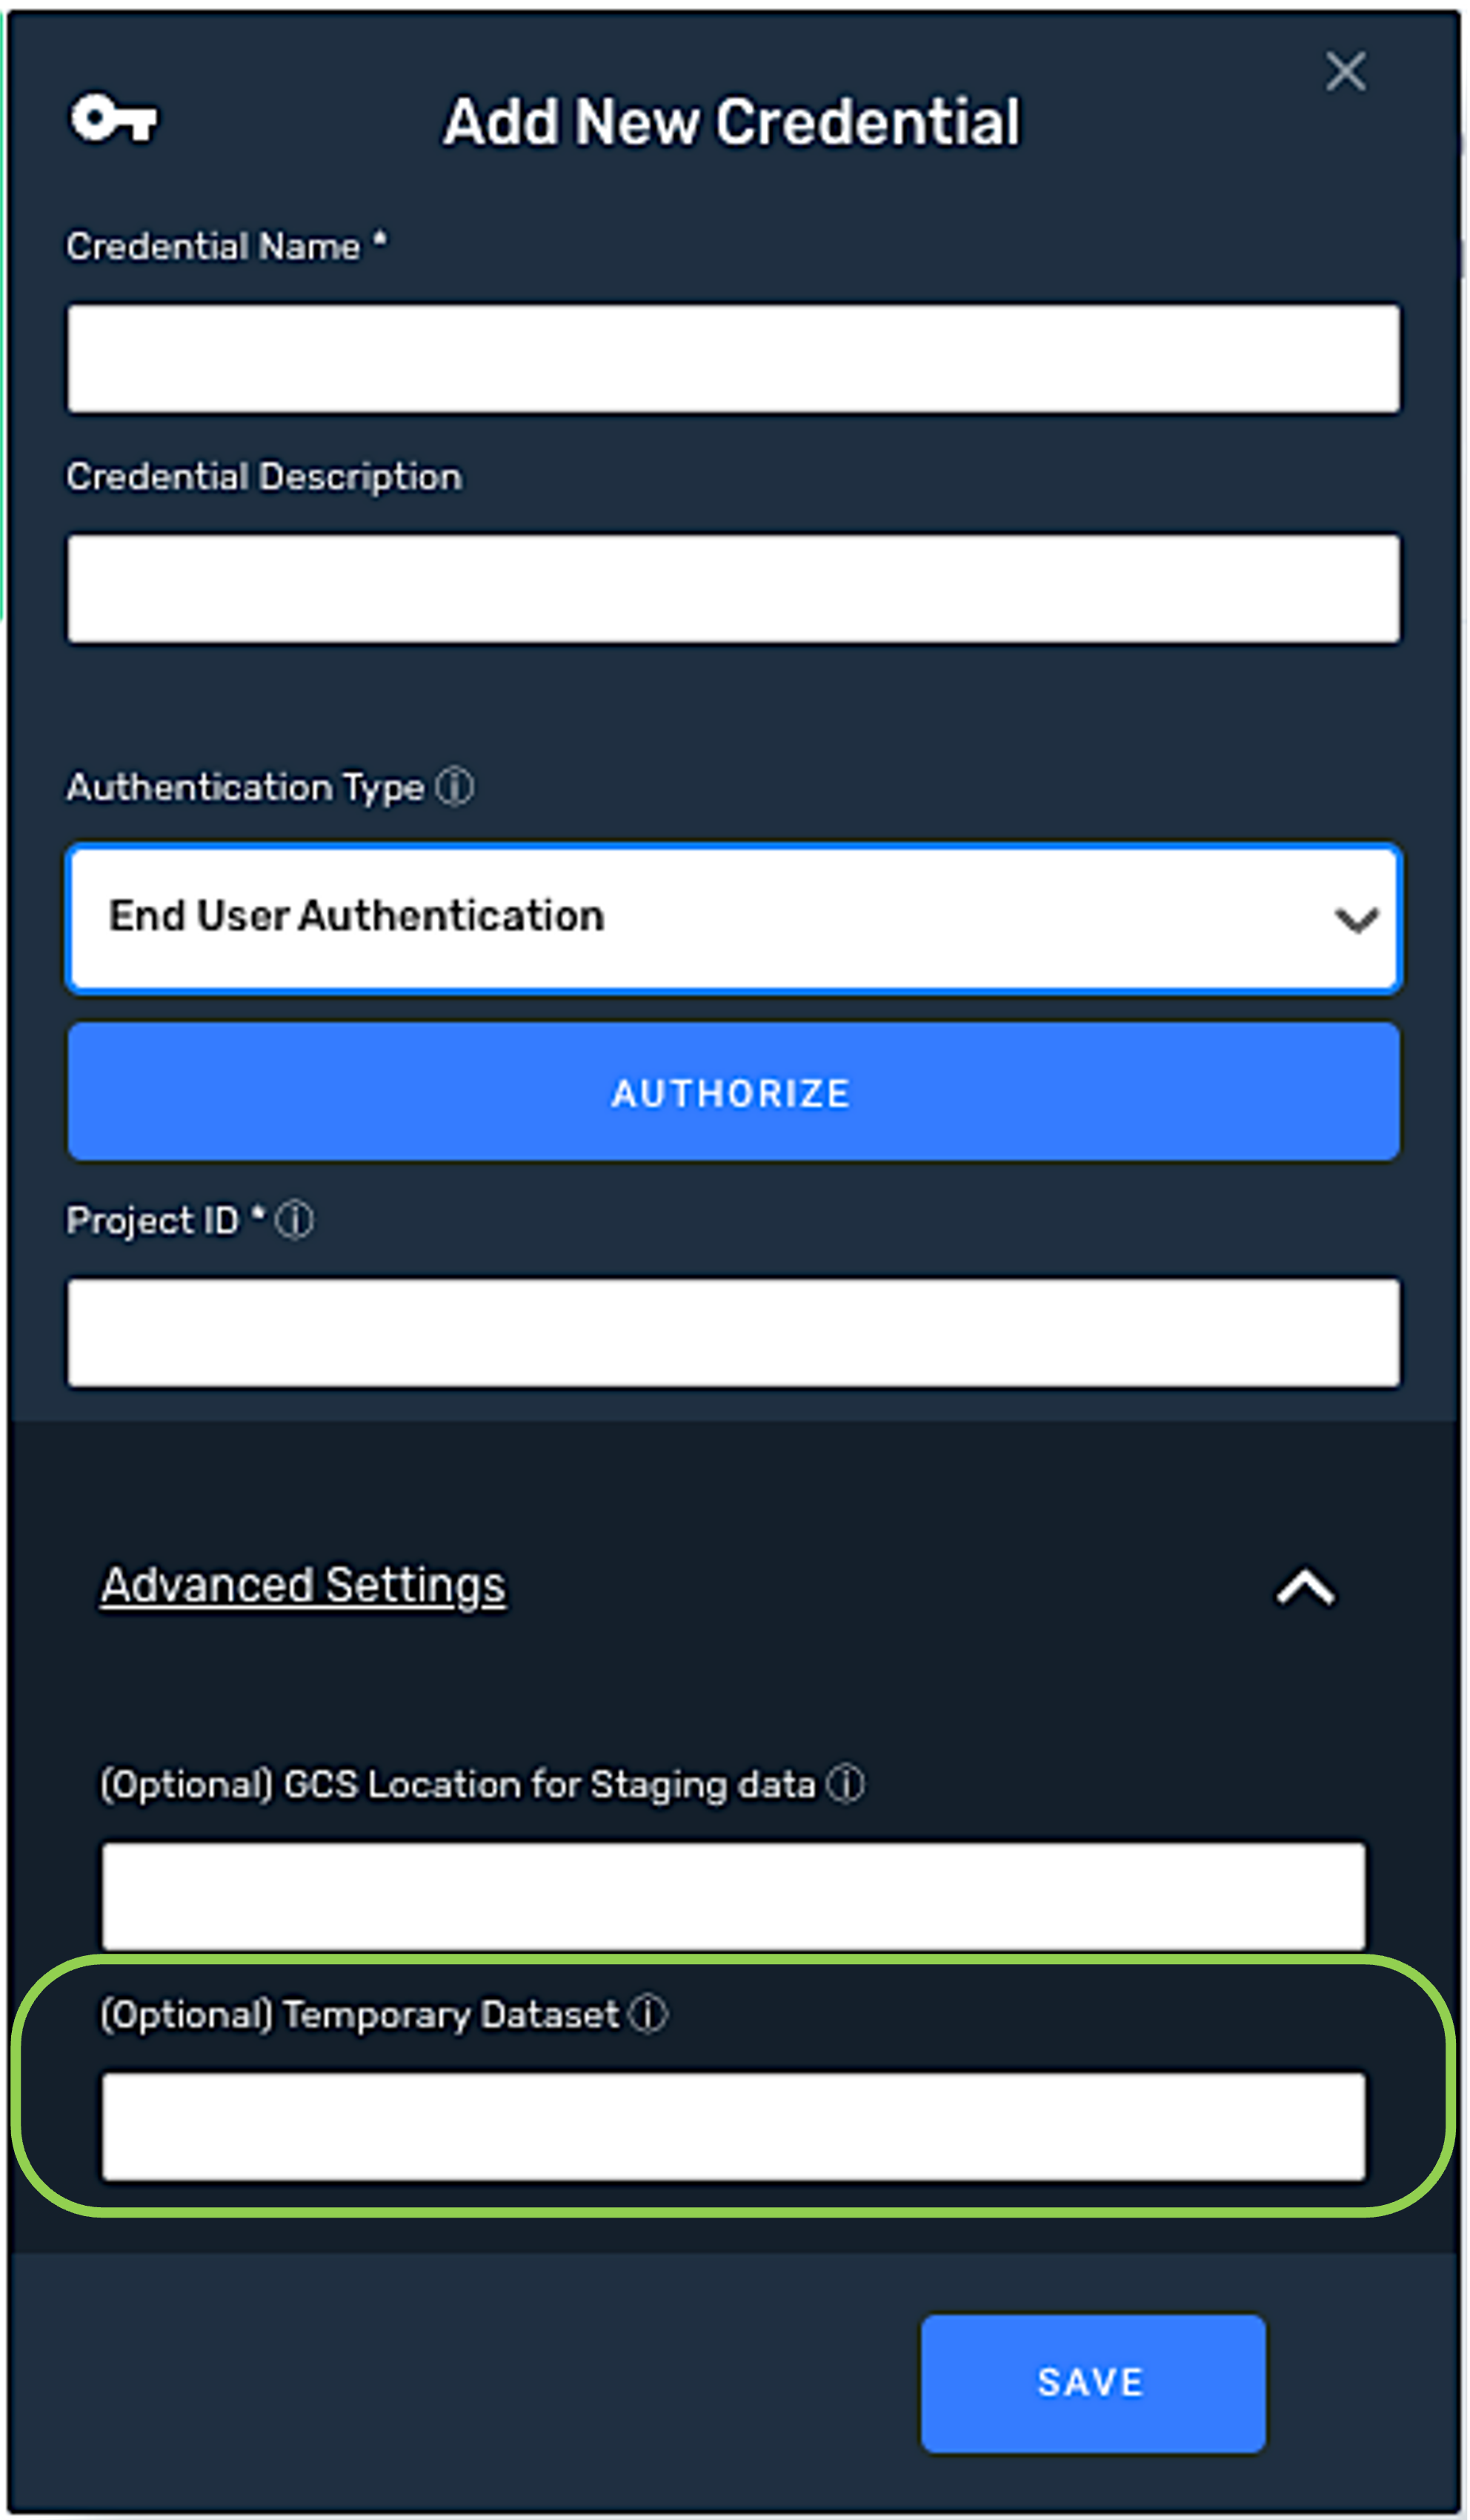
Data Staging
Before moving data to/from BigQuery, Nexla sometimes stages the data in a temporary dataset, which is automatically created by the platform if the user account associated with the credential has dataset creation permissions.
-
To override dataset creation and specify an existing dataset for use, enter that dataset in the Temporary Dataset field.
-
1.5 Save and Create the Google BigQuery Credential
-
Once all of the relevant steps in the above sections have been completed, click
at the bottom of the Add New Credential screen to save the credential and all entered information.
-
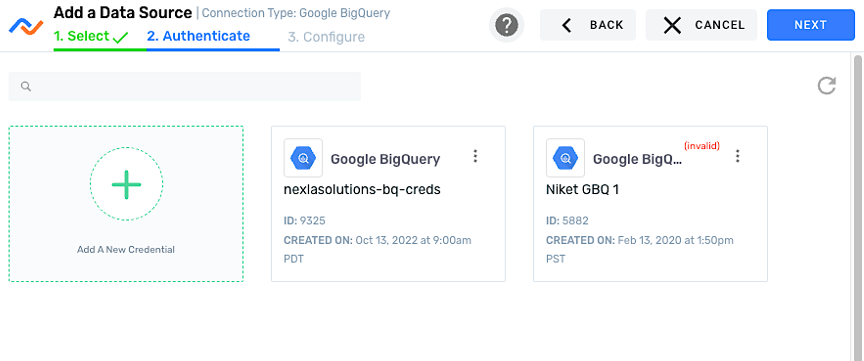
The newly added credential will now appear in a tile on the
screen and can be selected for use with a new data source or destination.
2. Add a Dropbox Data Source
-
Log into Nexla with your provided credentials to view the Nexla Dashboard.
If you need credentials, contact support@nexla.com.
-
Select
 from the menu on the left.
 -
Click
 in the upper right corner to begin adding a new data source.
 -
Select
 , and click
 in the upper right corner of the screen to begin adding Google Drive data source.
2.1 Configure the Database Source
In Nexla, the Google BigQuery database source can be selected using either Table Mode or Query Mode.
Table Mode allows users to specify the database source through a simple selection method. This mode is equivalent to running a simple, optimized SELECT operation on any database table. To use this mode for configuration, see Section 2.2.
Query Mode allows users to perform a complex query to specify the database source. This mode provides a free-form query editor that can be used to perform any complex query written using the syntax and convention supported by the underlying database and/or warehouse. To use this mode for configuration, see Section 2.3.
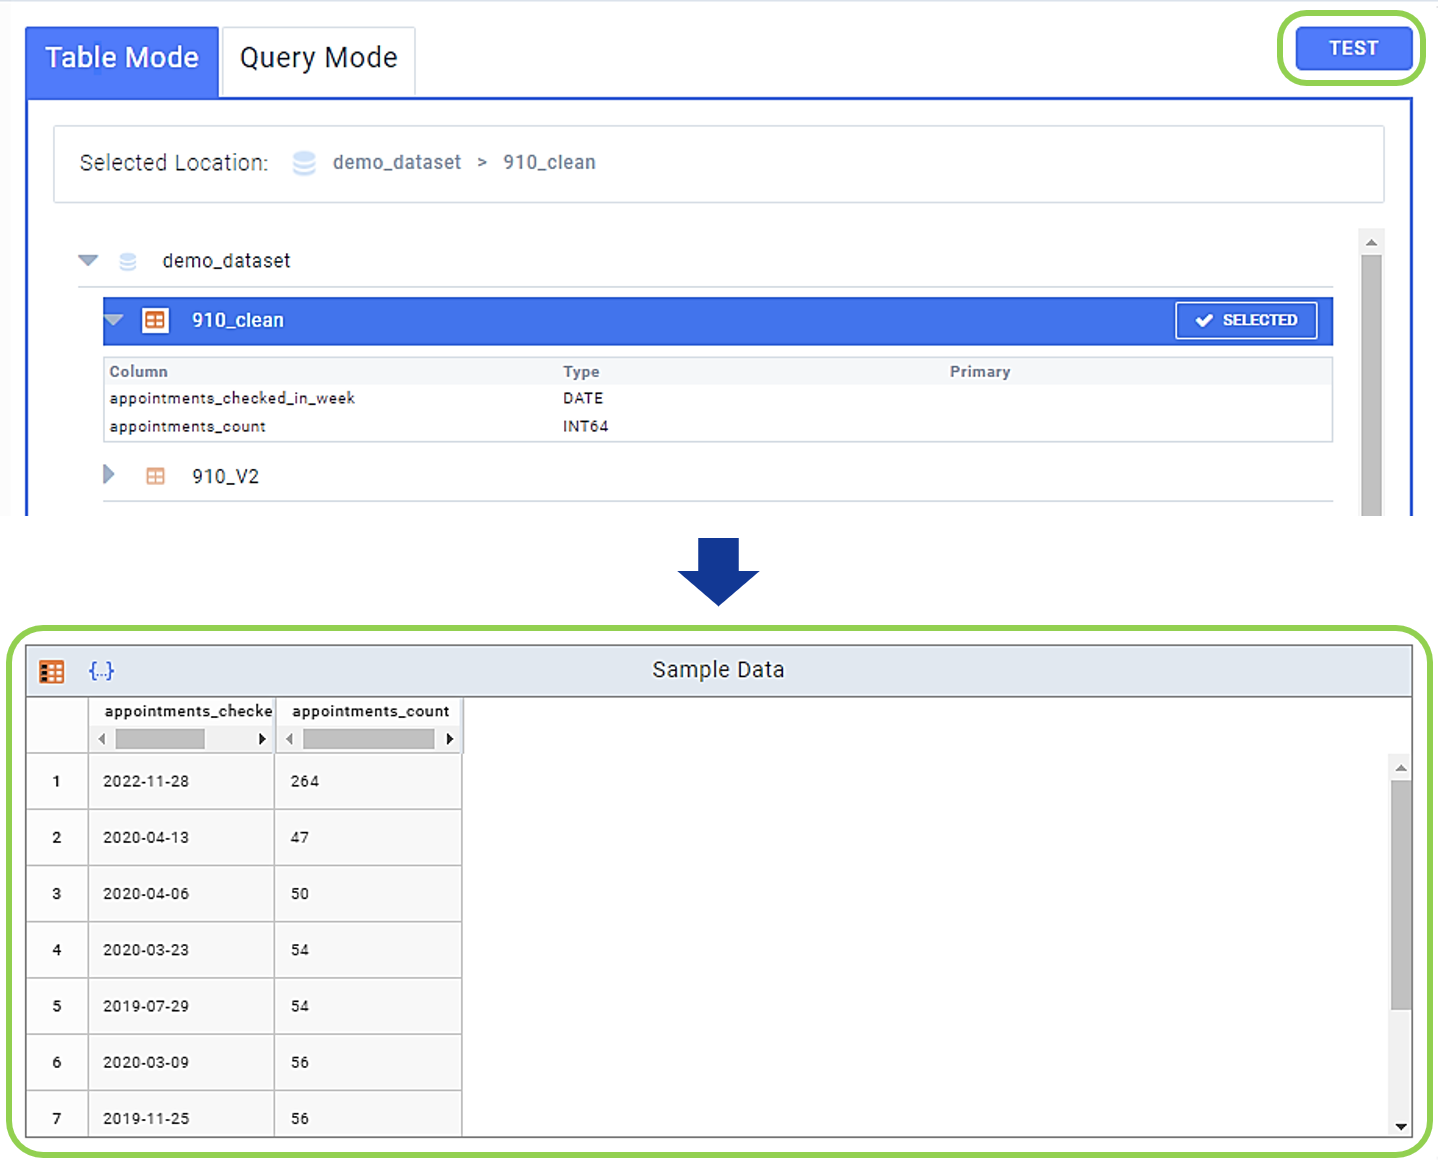
2.2 Table Mode
-
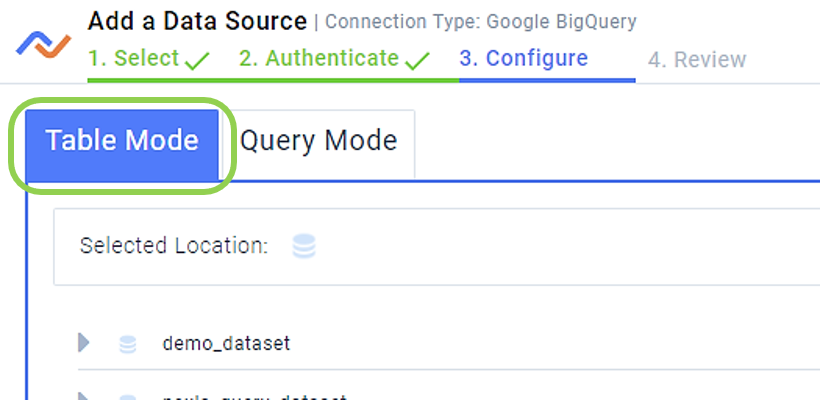
To configure the BigQuery source using Table Mode, ensure that the
 tab is selected.
-
Find the BigQuery location from which Nexla should read data. Expand files as necessary by clicking the
icon next to each.
-
To select a file, hover over it, and click the
button that appears.
Once a file is selected, the button will display
, and the path of the selected location will be shown at the top of the list.

-
Optional: Click the
button to the right of the mode-selection tabs to generate preview samples of data from the selected source at the bottom of the screen.
2.3 Query Mode
-
To configure the BigQuery source using Query Mode, select the
 tab.
tab.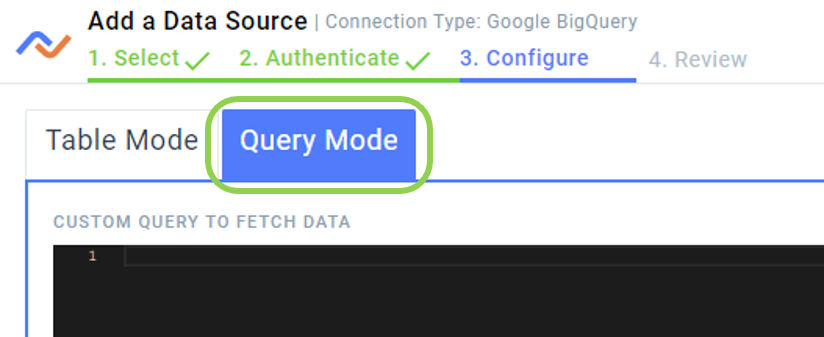
-
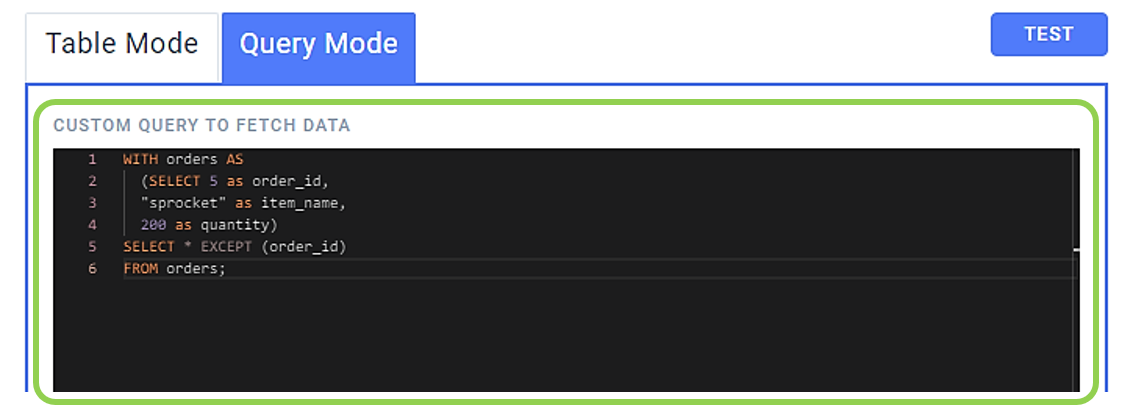
Enter the query specifying the database location from which Nexla should read data in the Custom Query to Fetch Data field, adhering to the Google BigQuery SQL syntax and convention.
In this mode, Nexla supports any query that can be written following the BigQuery syntax and convention, regardless of complexity.
For more information about Google BigQuery SQL syntax, see this BigQuery document.
-
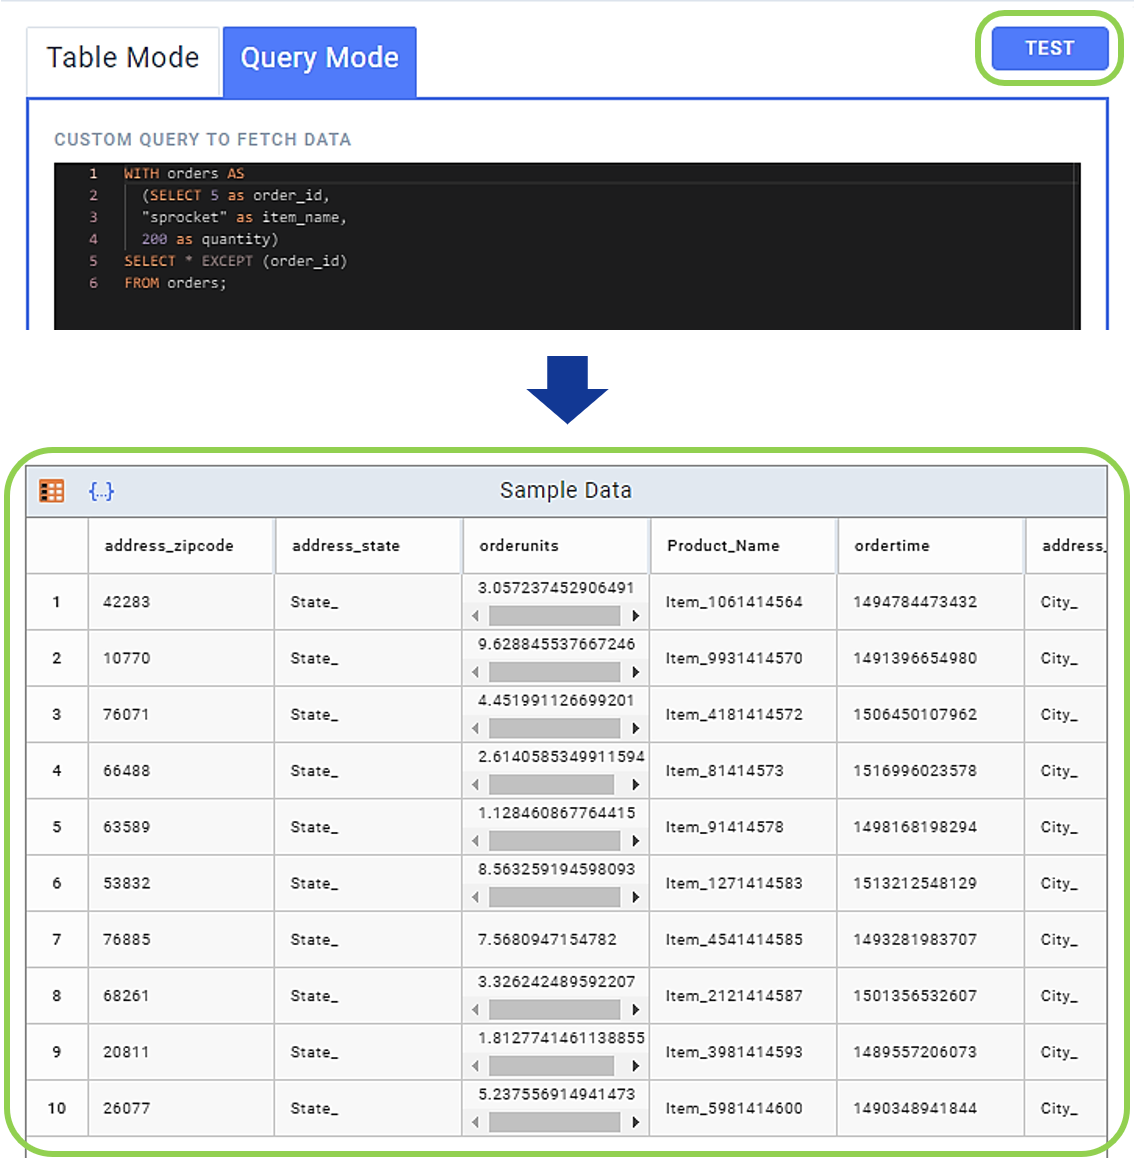
Optional: Click the
button to the right of the mode-selection tabs to generate preview samples of the data selected according to the entered query at the bottom of the screen.
2.4 Schedule Data Source Scanning
-
In the Advanced Settings menu on the right, use the Fetch Data pulldown menu to specify how often Nexla should fetch data from the source.
The default setting configures Nexla to fetch any new data from the source once every day.
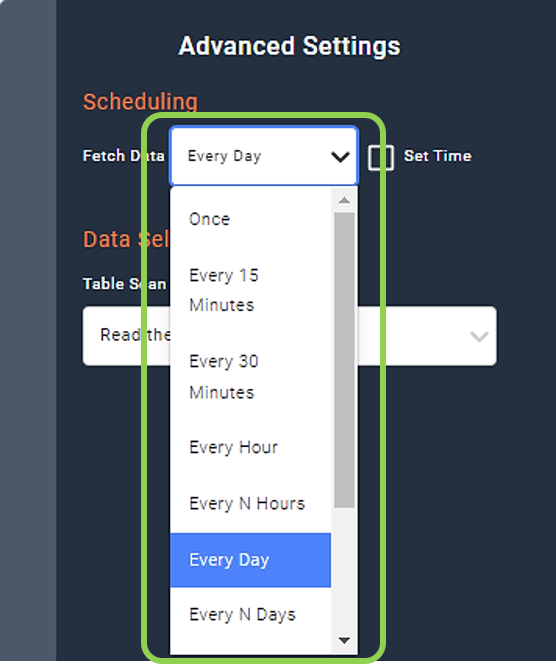
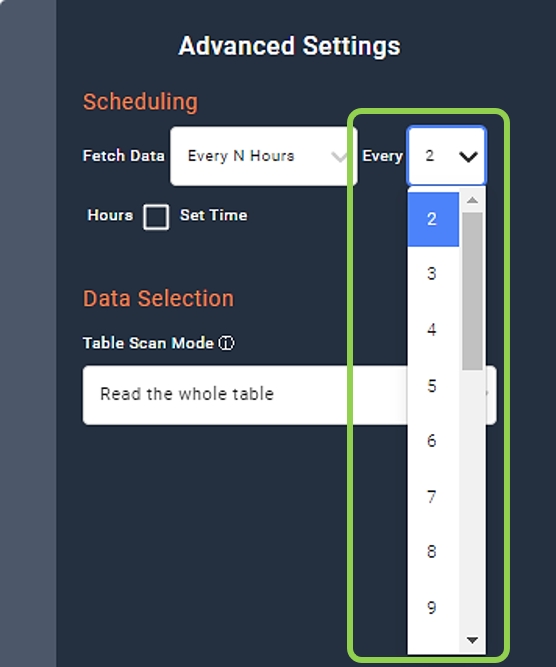
- For options such as "Every N Hours" and "Every N Days", use the additional pulldown menu that appears when these options are selected to specify the value of N defining the fetching frequency.
-
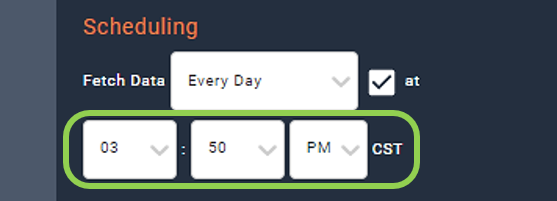
Optional: To set a specific time at which Nexla should fetch any new data from the source, check the
box, and type or use the pulldown menus to enter the desired time.
2.5 Save and Create the BigQuery Data Source
-
Once all of the above steps have been completed, click
in the upper right corner of the screen to save and create the new BigQuery data source.
-
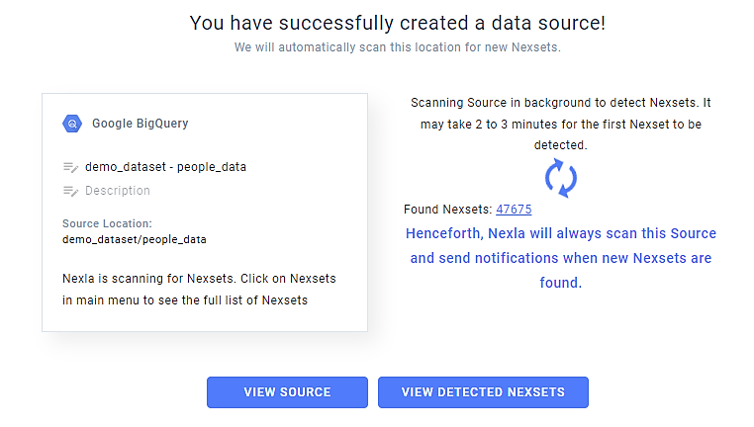
The confirmation page indicates that the Google BigQuery database has been successfully created as a data source.
-
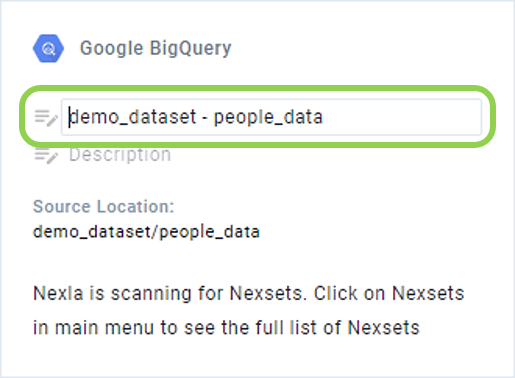
Optional: Edit the name of the newly added data source by clicking on the name field and entering the desired text.
-
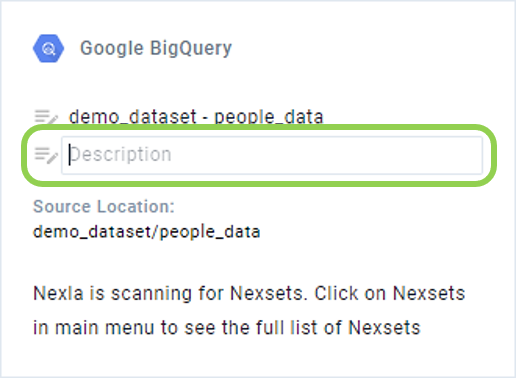
Optional: Add a description of the data source by clicking on the
field below the data source name and entering the desired text.
-
- To return to My Data Sources, click
 in the upper right corner of the screen.
- To return to My Data Sources, click
-
To view the newly created data source, click
 .
. -
To view Nexsets detected in the newly added source, click
 .
.