Connect to Google Drive (Legacy UI)
Nexla's bi-directional connectors can both send data to and receive data from any data system. This means that once a user has created or gained access to a credential for any data system, building any data flow to ingest data from or send data to a location within that data system requires only a few simple steps.
1. Credentials
This section provides information about and step-by-step instructions for creating a new Google Drive credential in Nexla.
1.1 Add a New Google Drive Credential
-
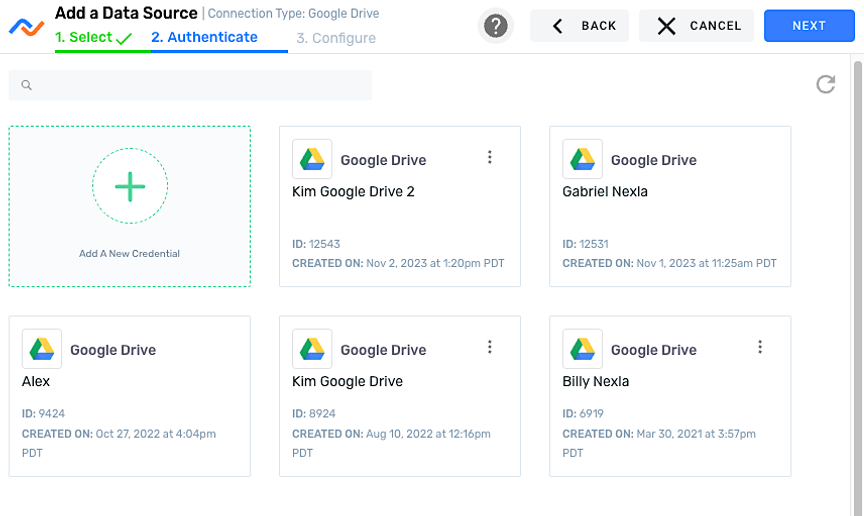
After selecting the data source/destination type, in the
screen, click
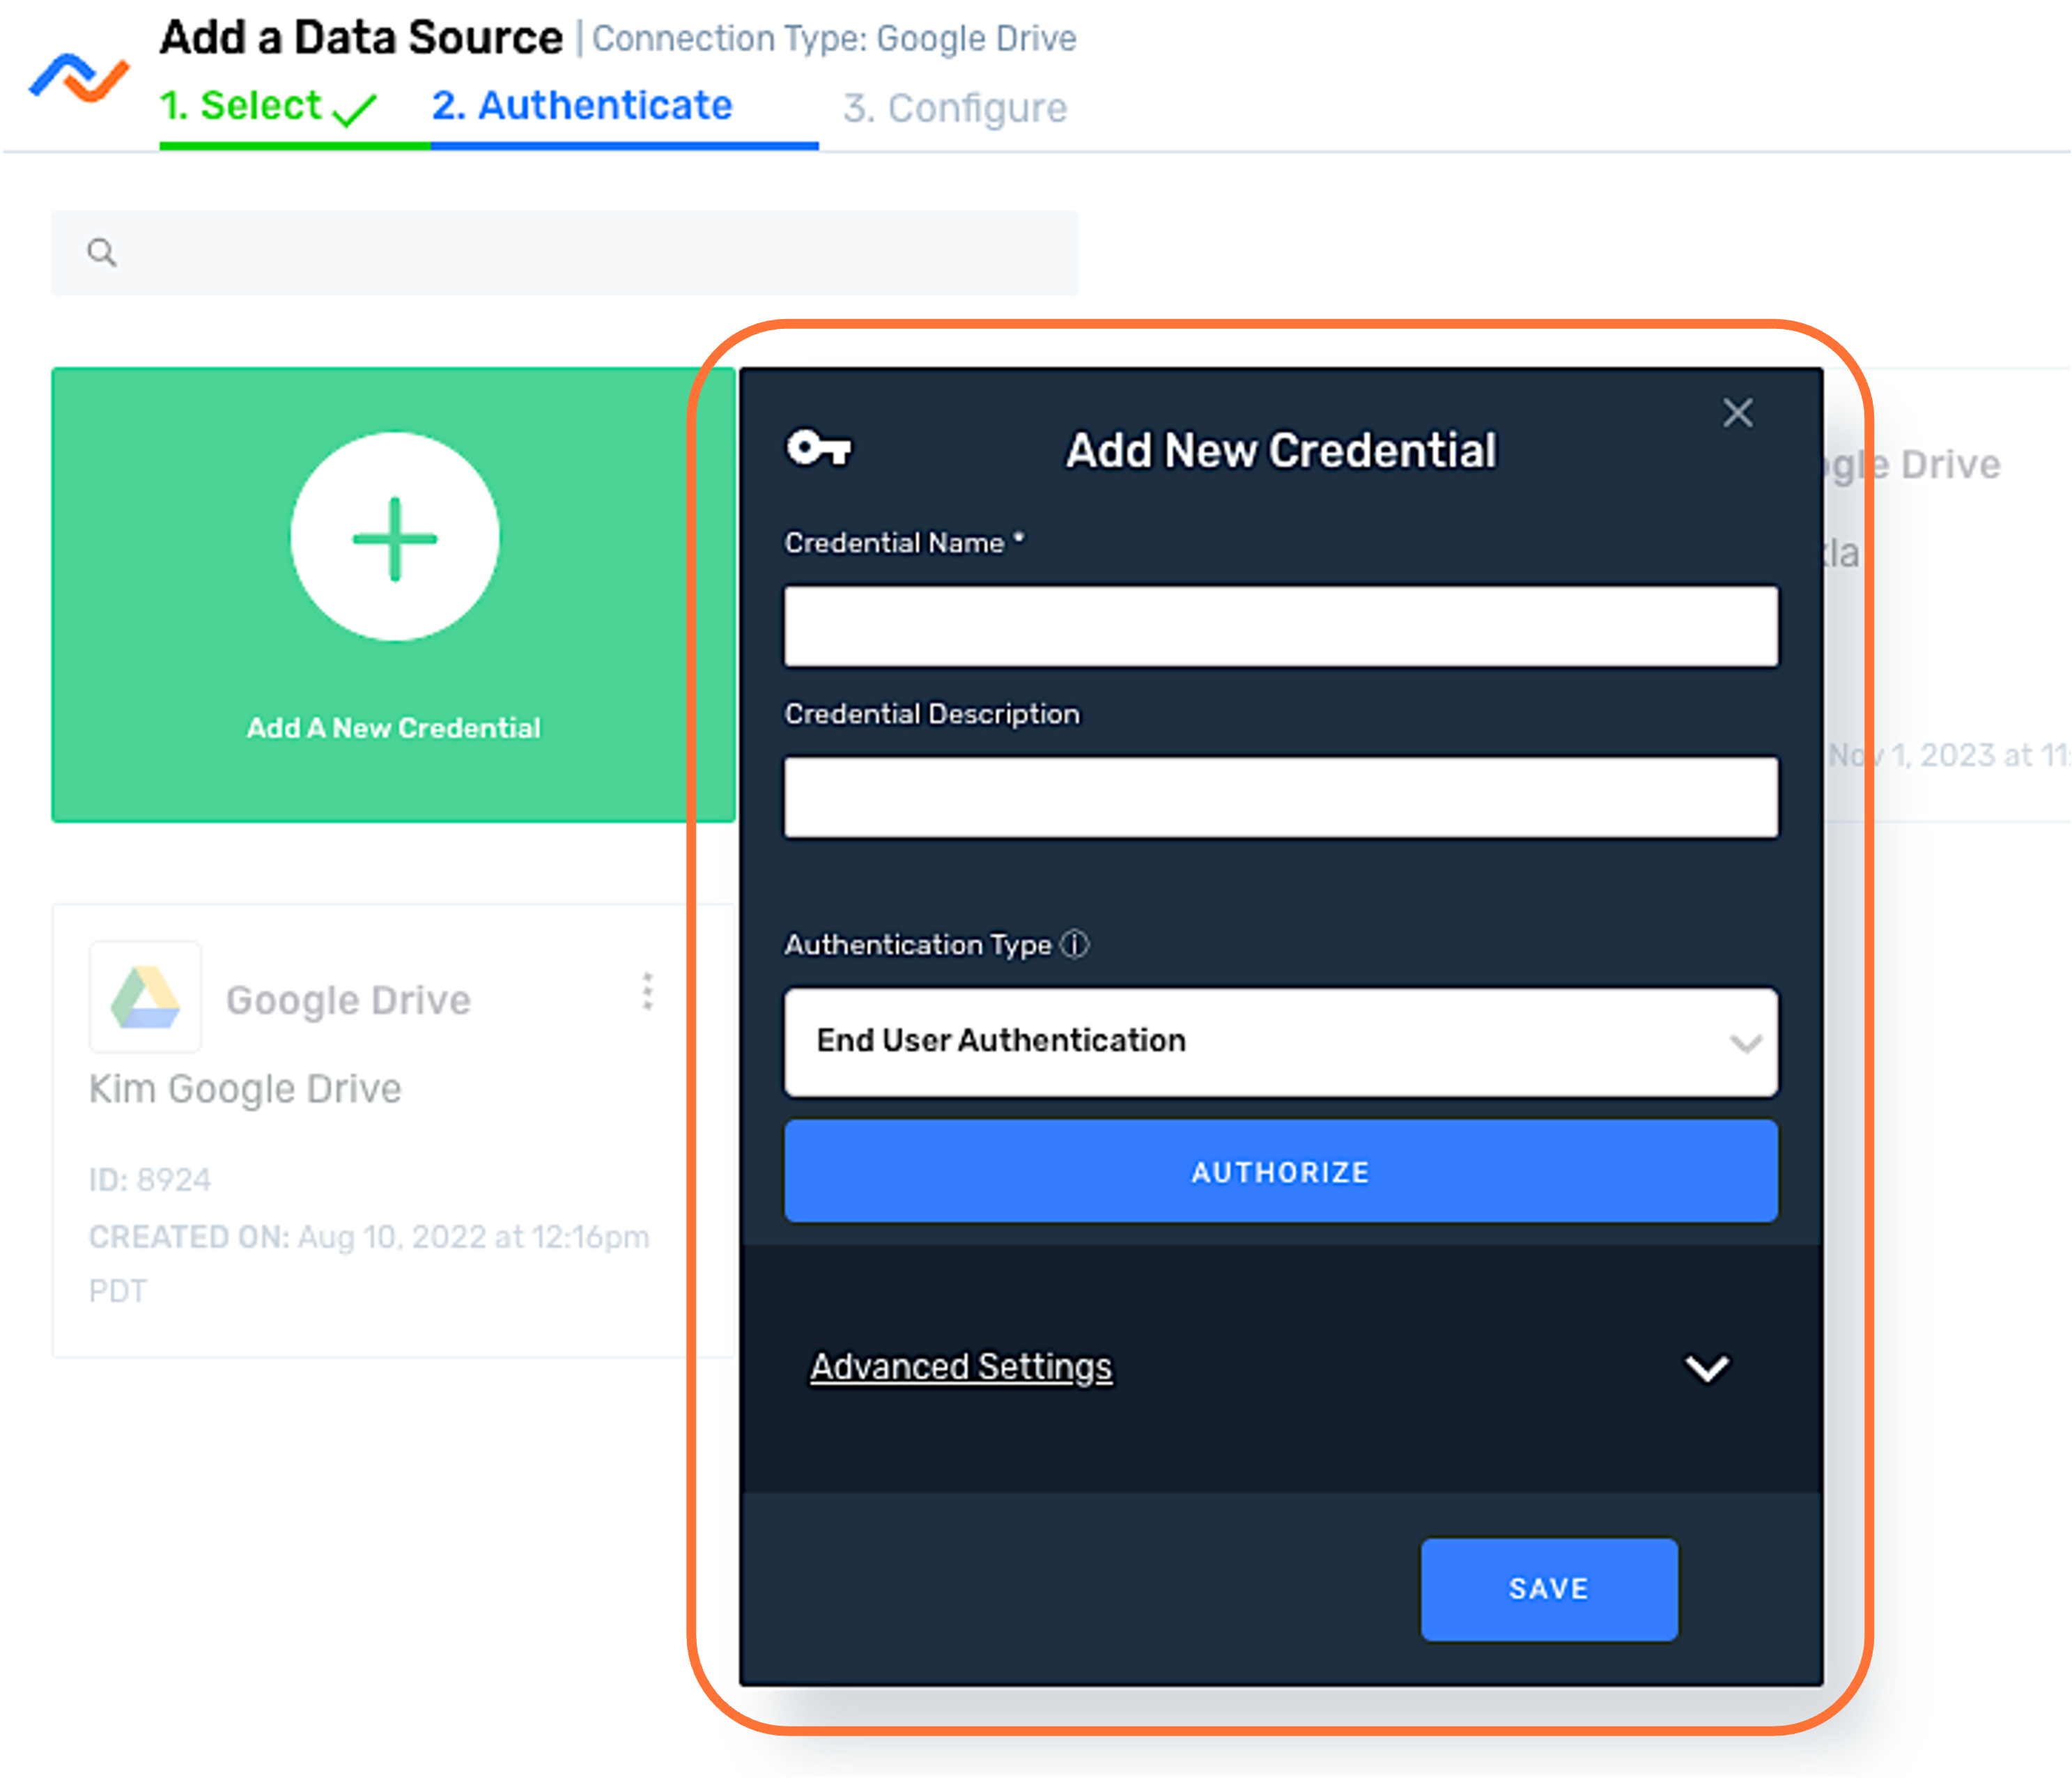
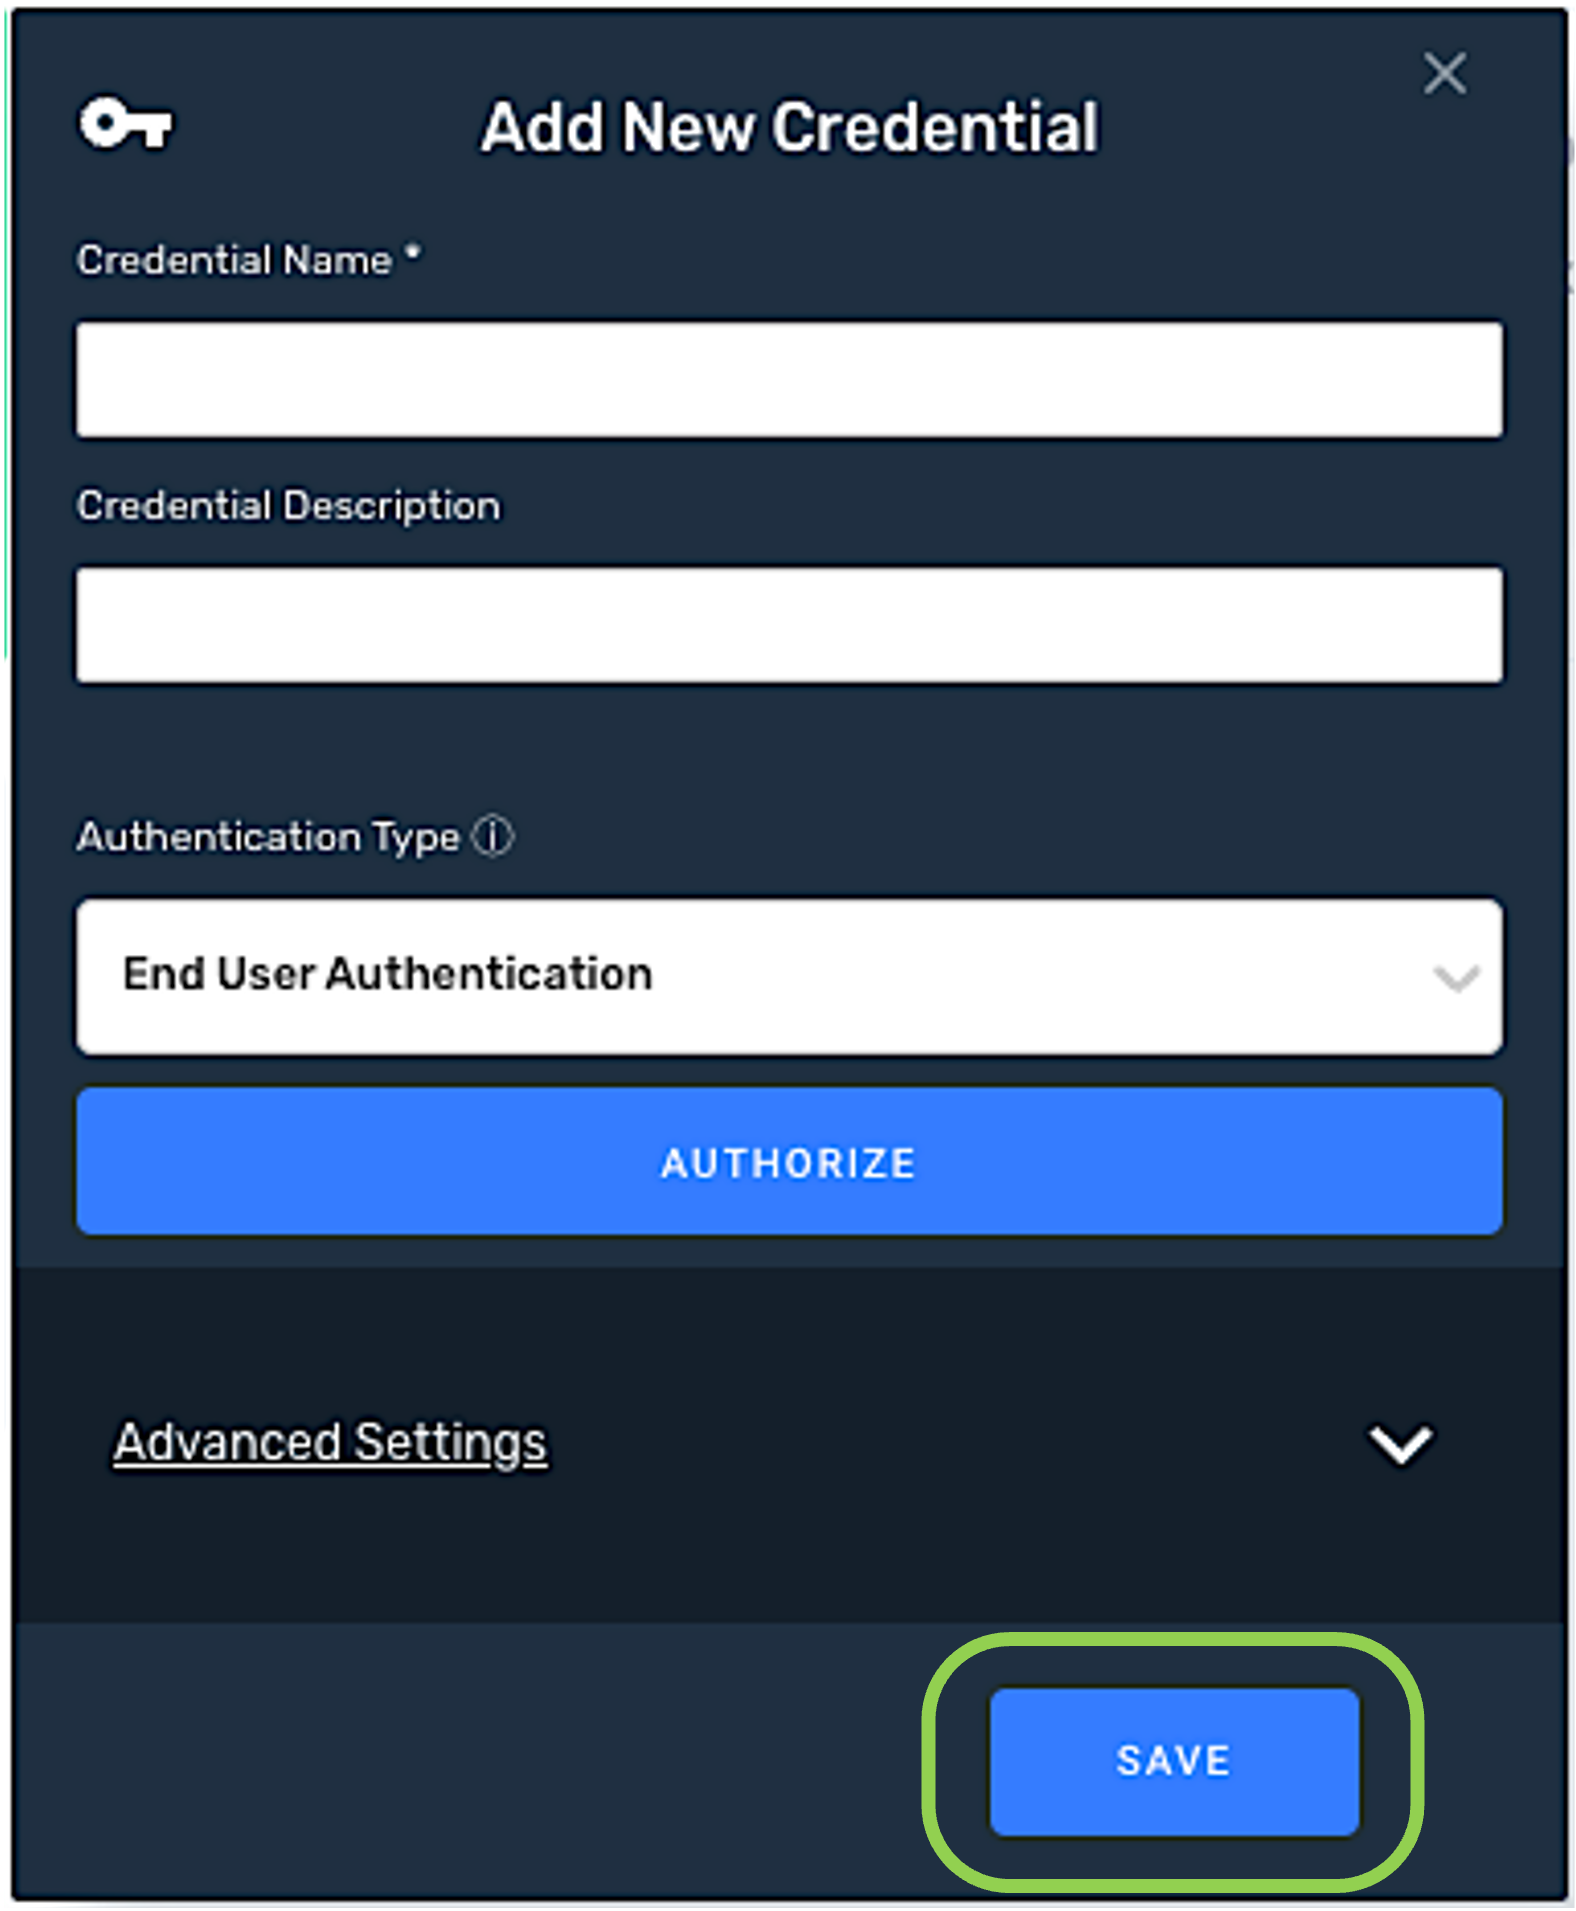
 . This will open the Add New Credential window.
-
Enter a name for the credential in the Credential Name field.

-
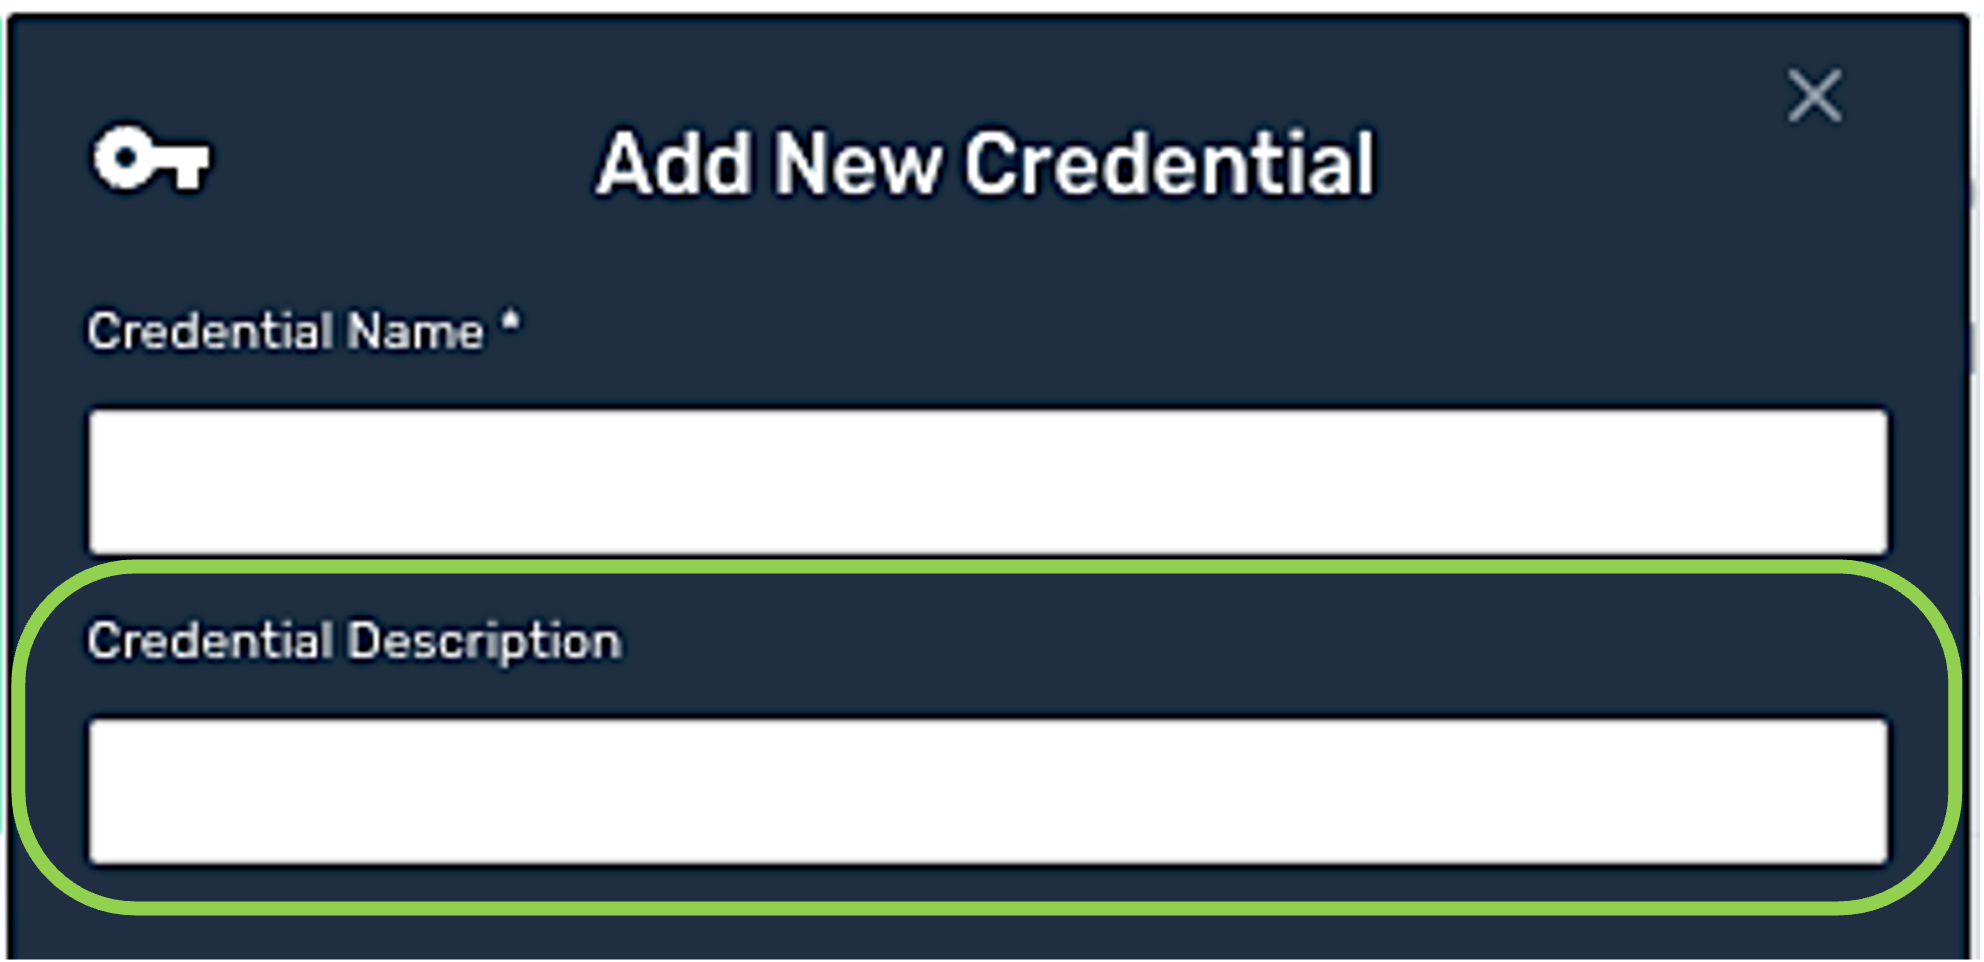
Optional: Enter a description for the credential in the Credential Description field.
-
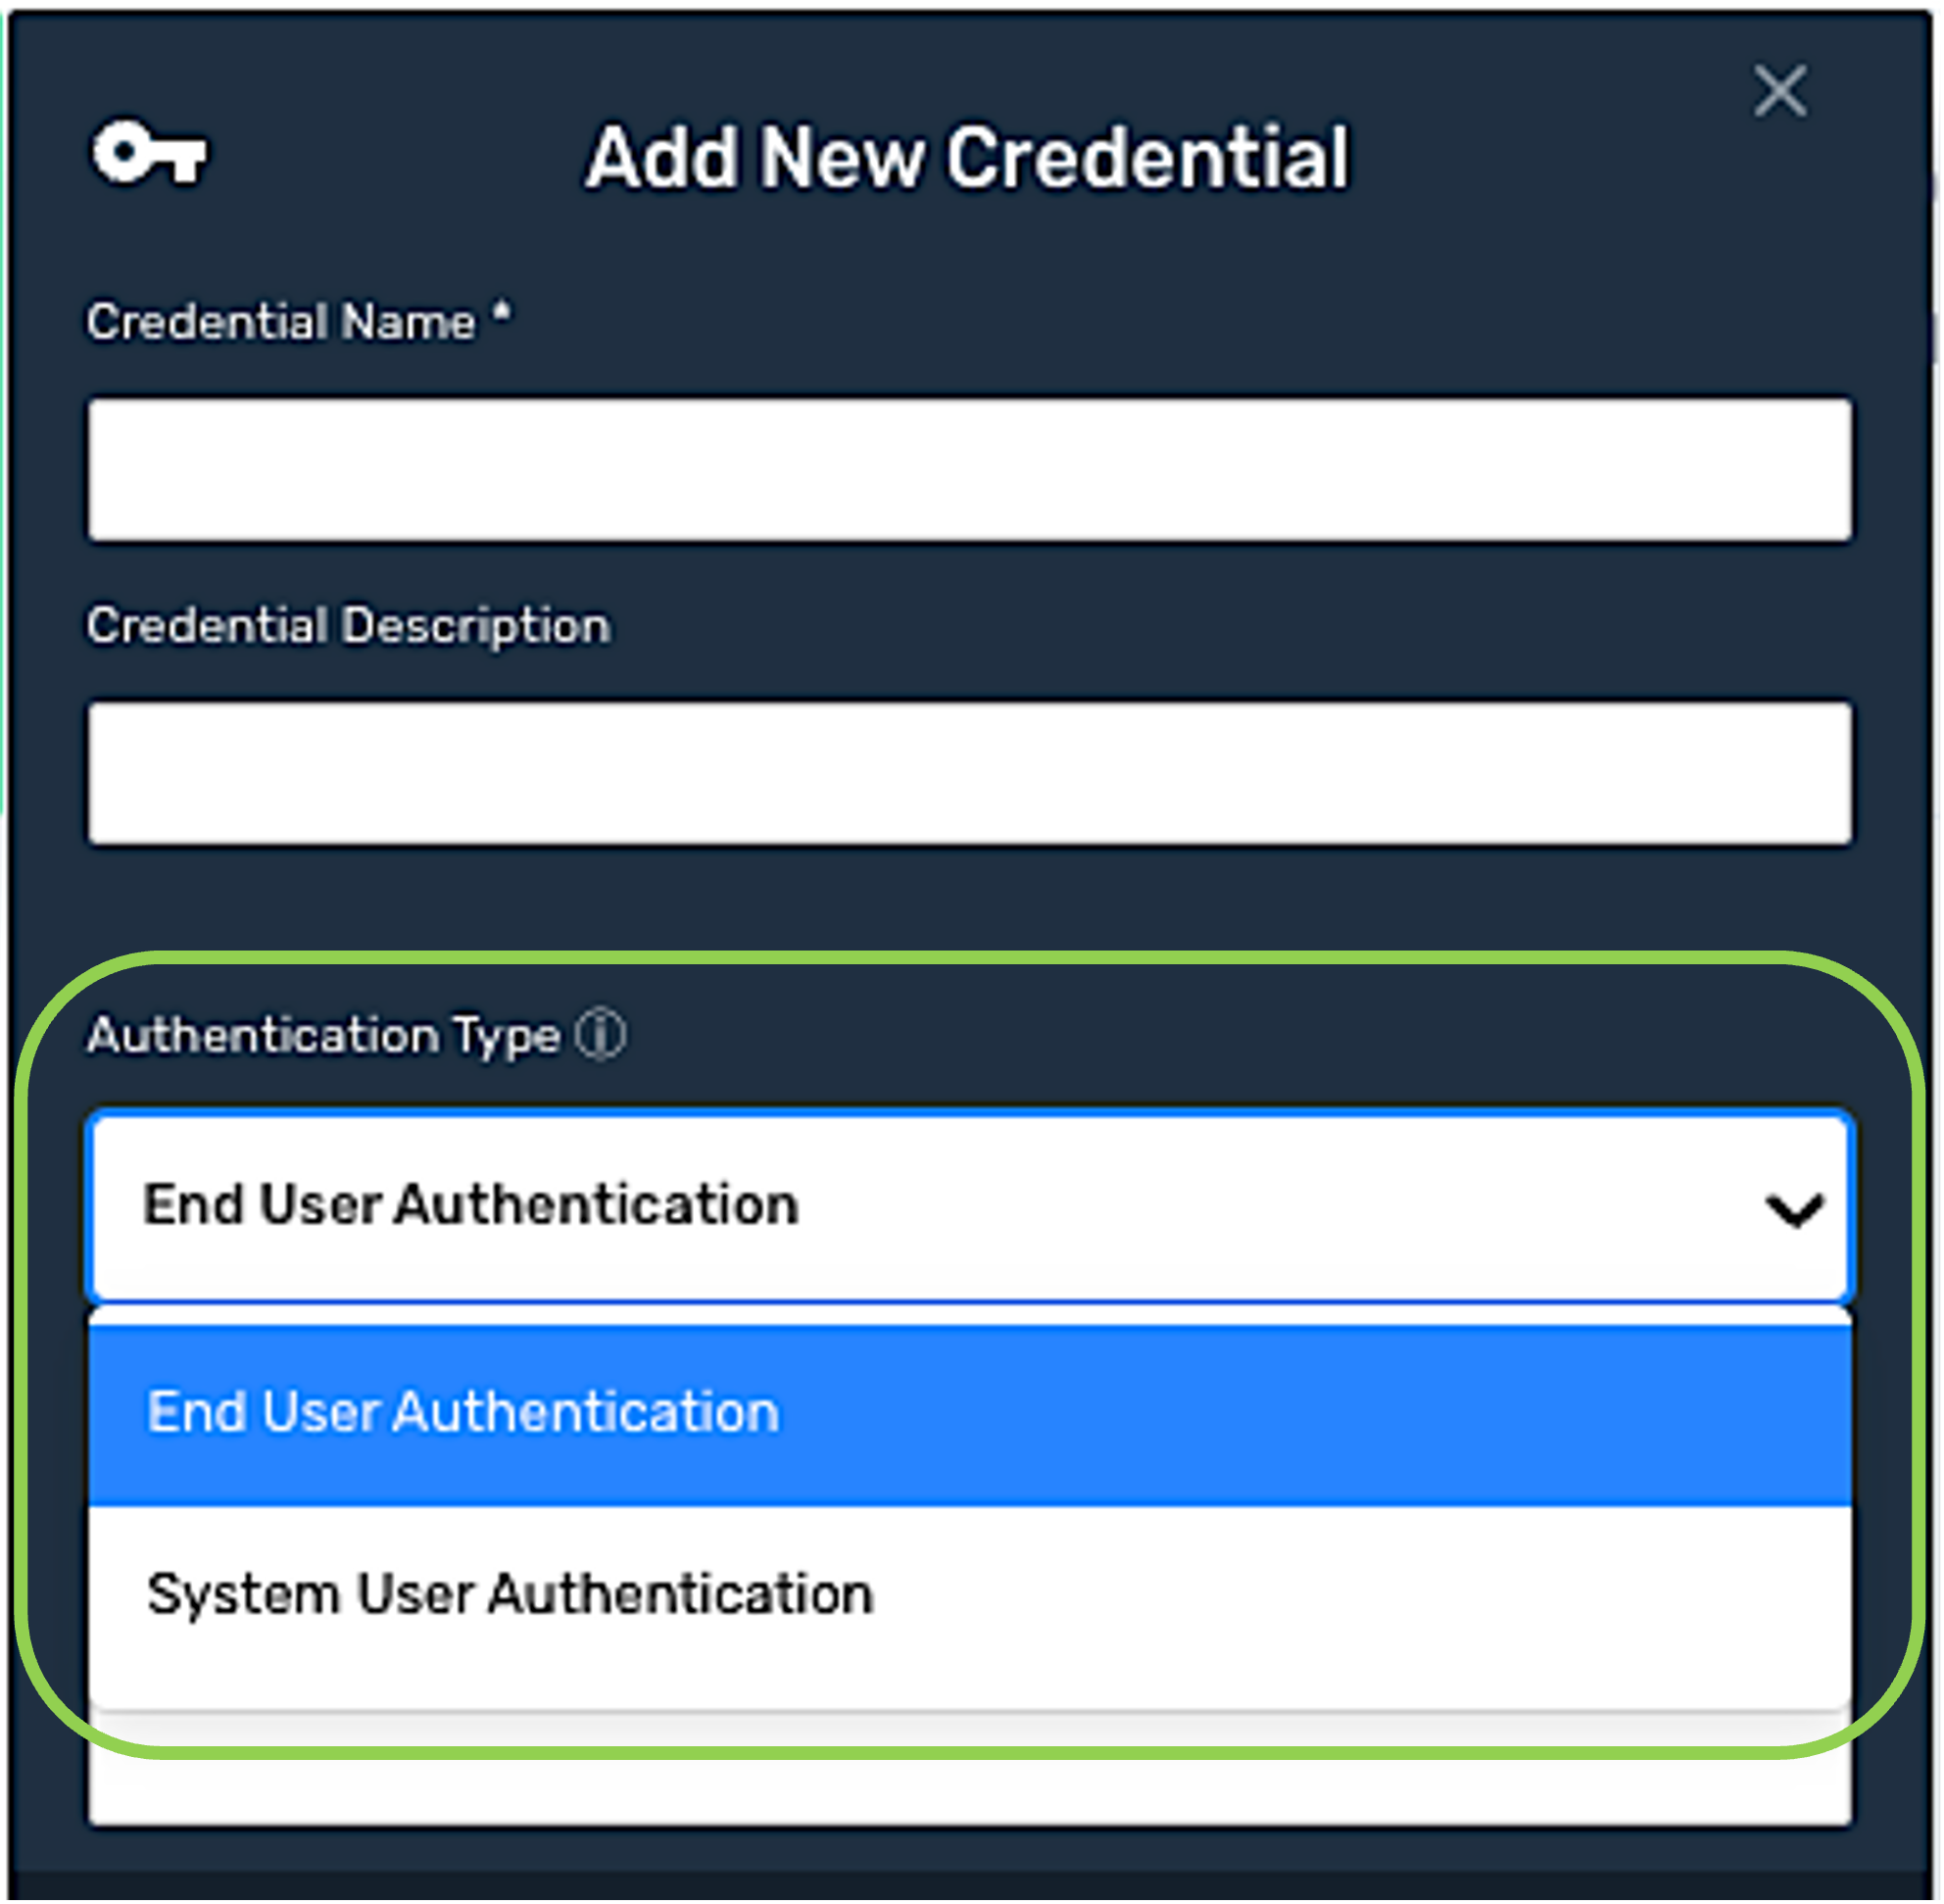
Select the method that Nexla should use to authenticate to the Google Drive account from the Authentication Type pulldown menu.
The System User Authentication method is recommended, as it is best-suited for accessing your own data. It is also tied to the service account instead of individual user accounts.
1.2 End User Authentication
-
Click
.
-
In the pop-up window that appears, select the Google account associated with the Google Drive account.
-
Click
to allow Nexla to access the account.
-
Section 1.4 provides information about advanced settings available for Google Drive credentials along with step-by-step instructions for configuring each setting.
-
To configure any desired additional advanced settings for this credential, continue to Section 1.4, and complete the relevant steps.
-
To create this credential without configuring any advanced settings, continue to Section 1.5.
-
1.3 System User Authentication
-
Click
.
-
Select and upload the service account credentials JSON file generated by Google Cloud IAM.
-
Section 1.4 provides information about advanced settings available for Google Drive credentials along with step-by-step instructions for configuring each setting.
-
To configure any desired additional advanced settings for this credential, continue to Section 1.4, and complete the relevant steps.
-
To create this credential without configuring any advanced settings, continue to Section 1.5.
-
1.4 Advanced settings
-
File Encryption/Decryption
Nexla can be configured to process encrypted files such that a data source connected to this credential will decrypt files before ingestion, and a data destination connected to this credential will encrypt generated files before uploading to the Google Drive storage location.
-
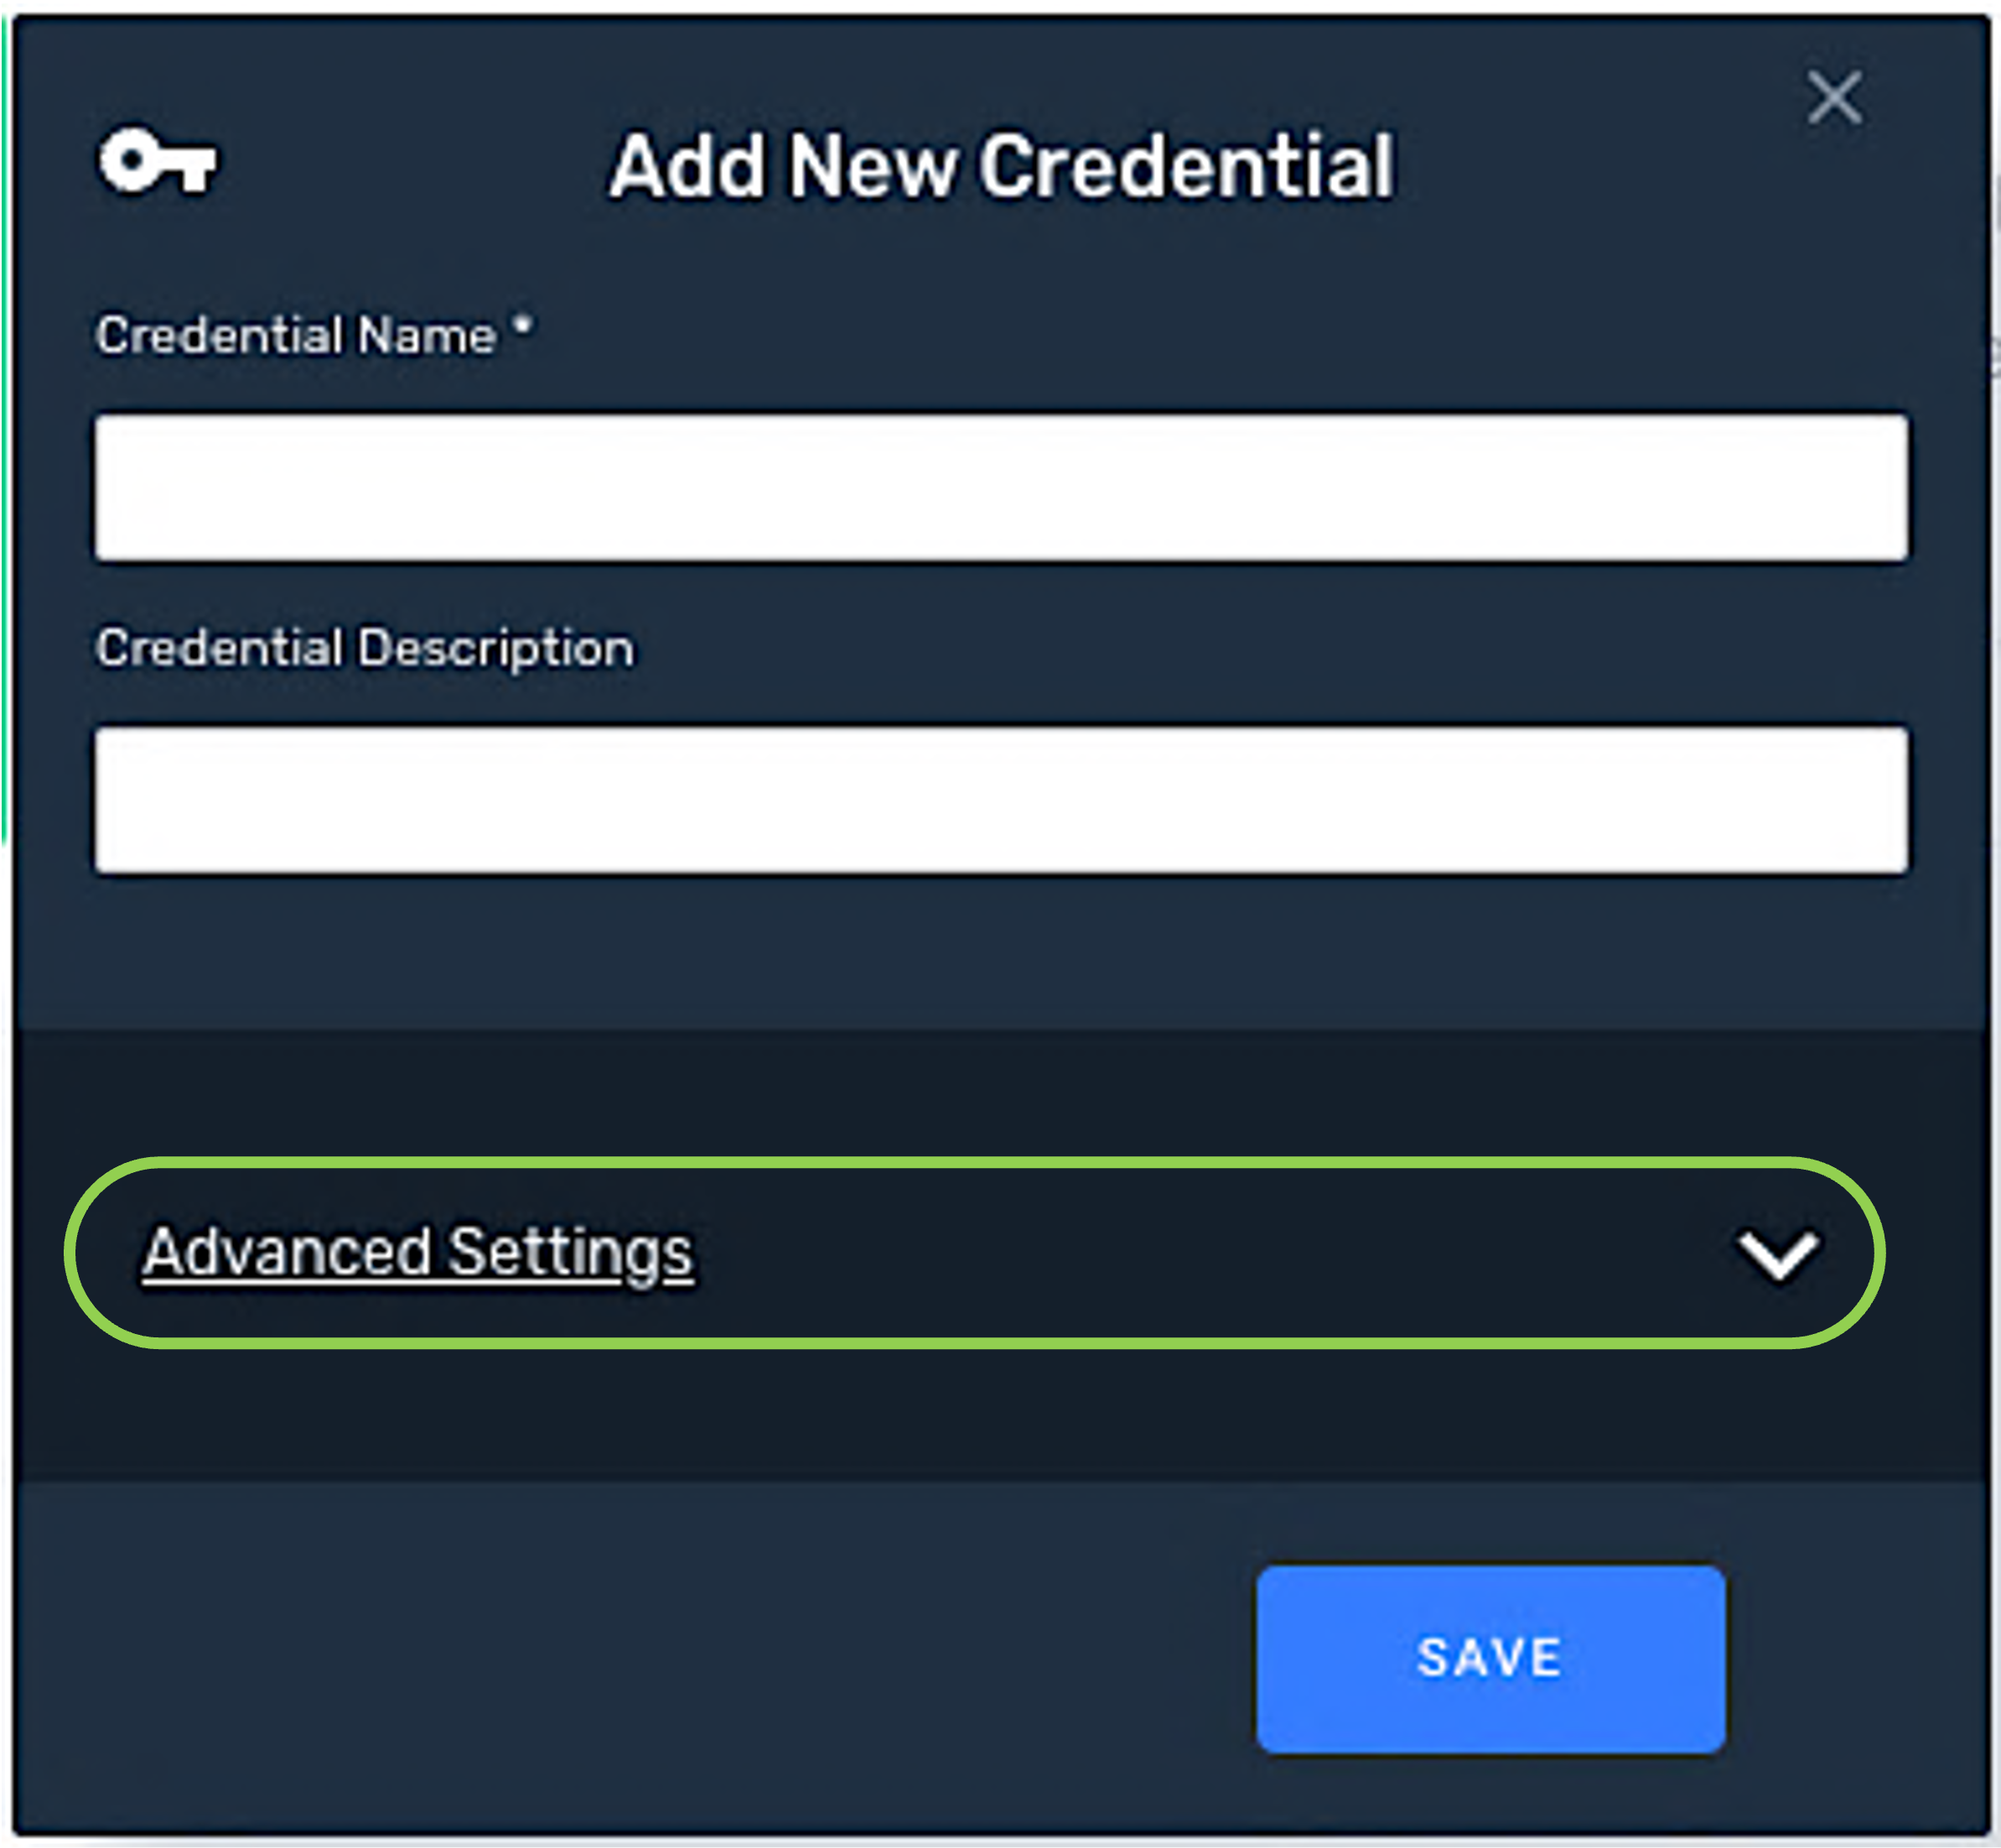
Click
to access additional available settings for the credential.
-
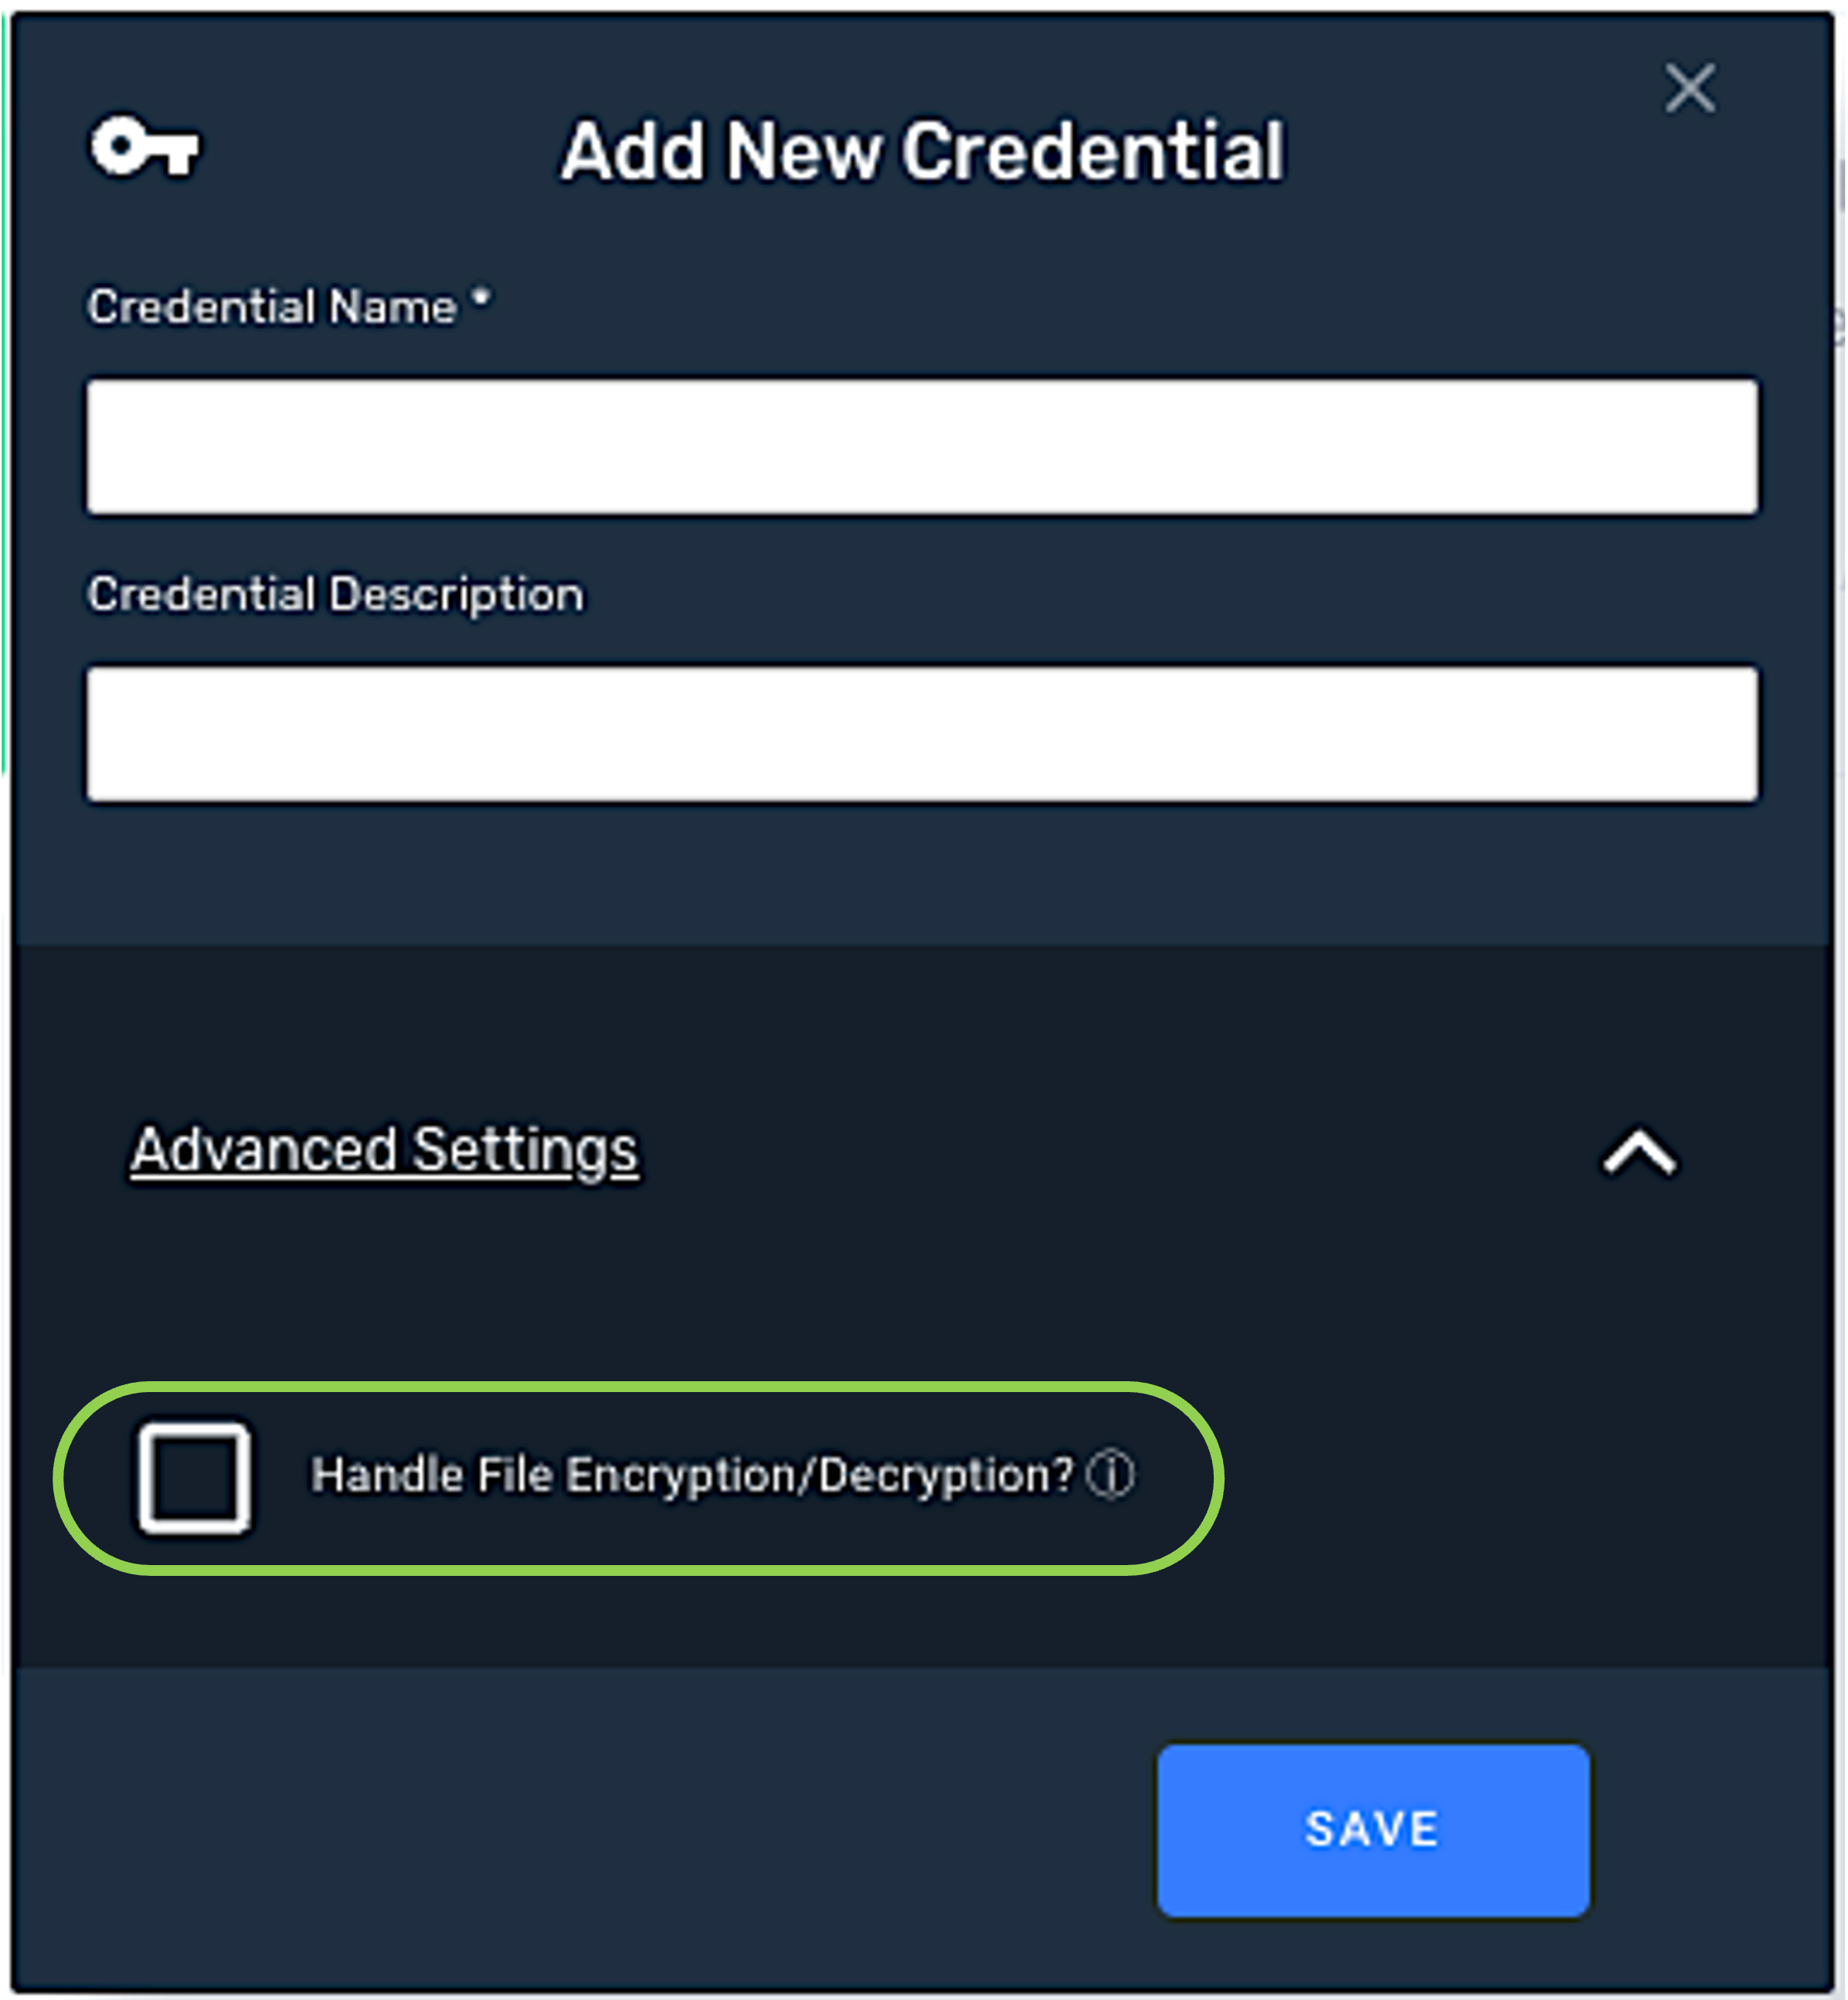
To configure Nexla to encrypt/decrypt files when accessing Google Drive via this credential, check the box next to "Handle File Encryption/Decryption?".
When this option is selected, for Dropbox data sources/destinations created using this credential, Nexla will decrypt files from the source before ingestion and will encrypt files before uploading them to the destination.
-
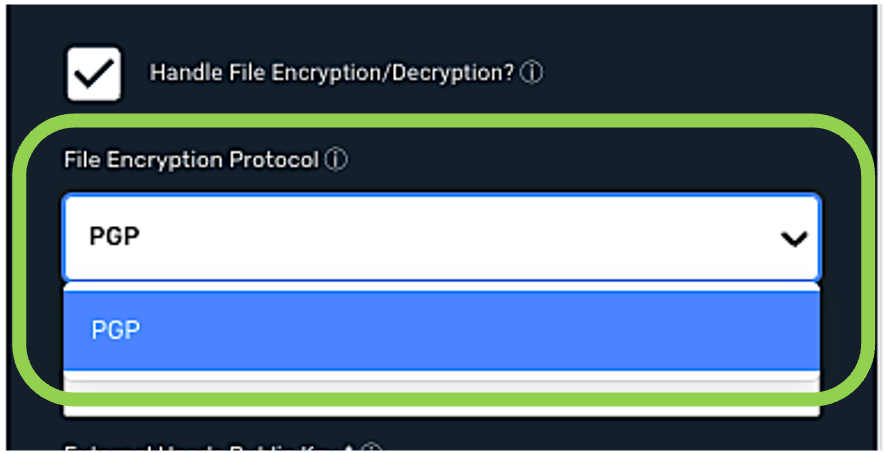
Select the type of file-encryption protocol that should be used to encrypt/decrypt files from the list of available protocols in the File Encryption Protocol pulldown menu.
-
PGP Encryption
-
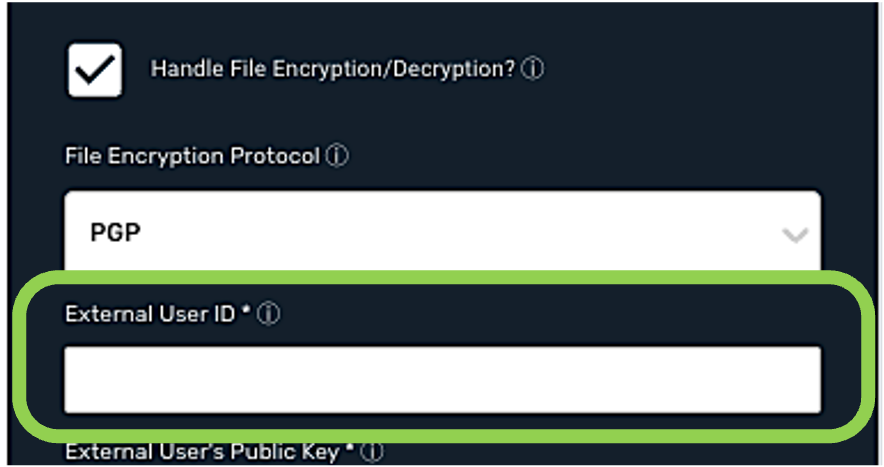
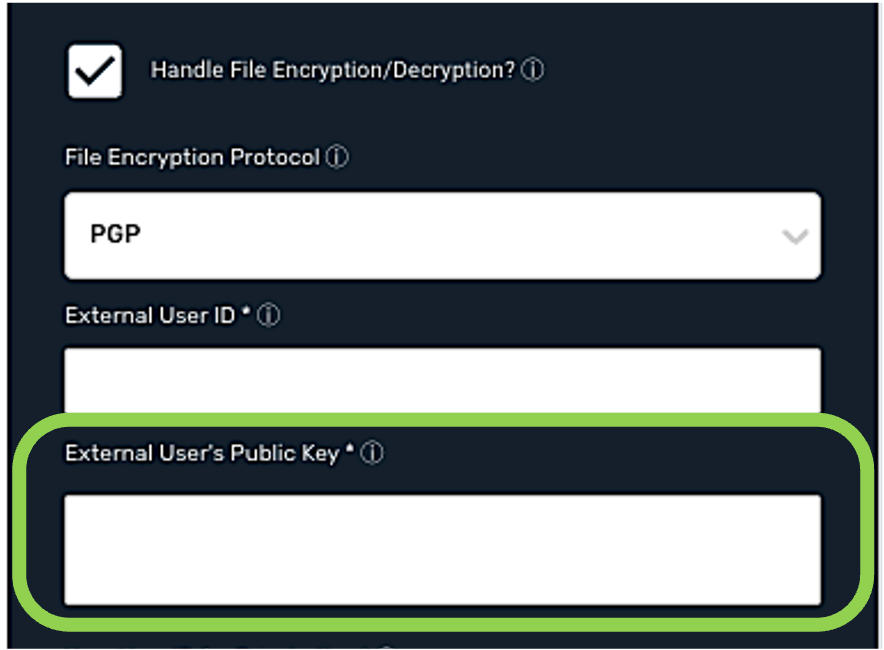
Enter the ID of the user whose public key will be used for file encryption/decryption in the External User ID field.
-
Enter the public key will be used for file encryption/decryption in the External User's Public Key field.
-
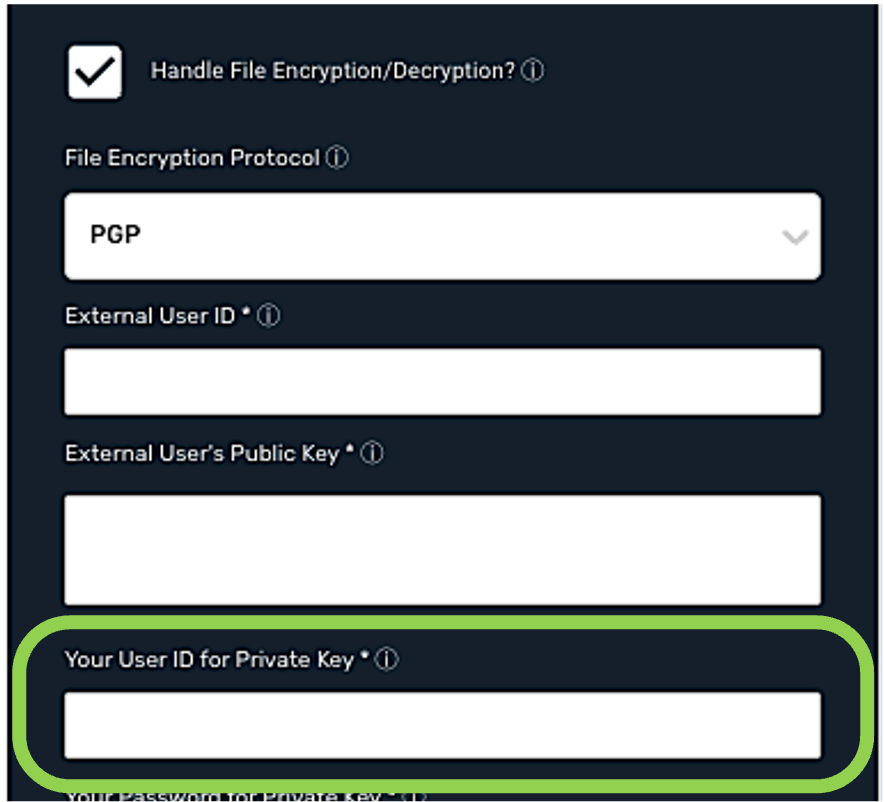
Enter the user ID that was used to generate the PGP private key in the Your User ID for Private Key field.
-
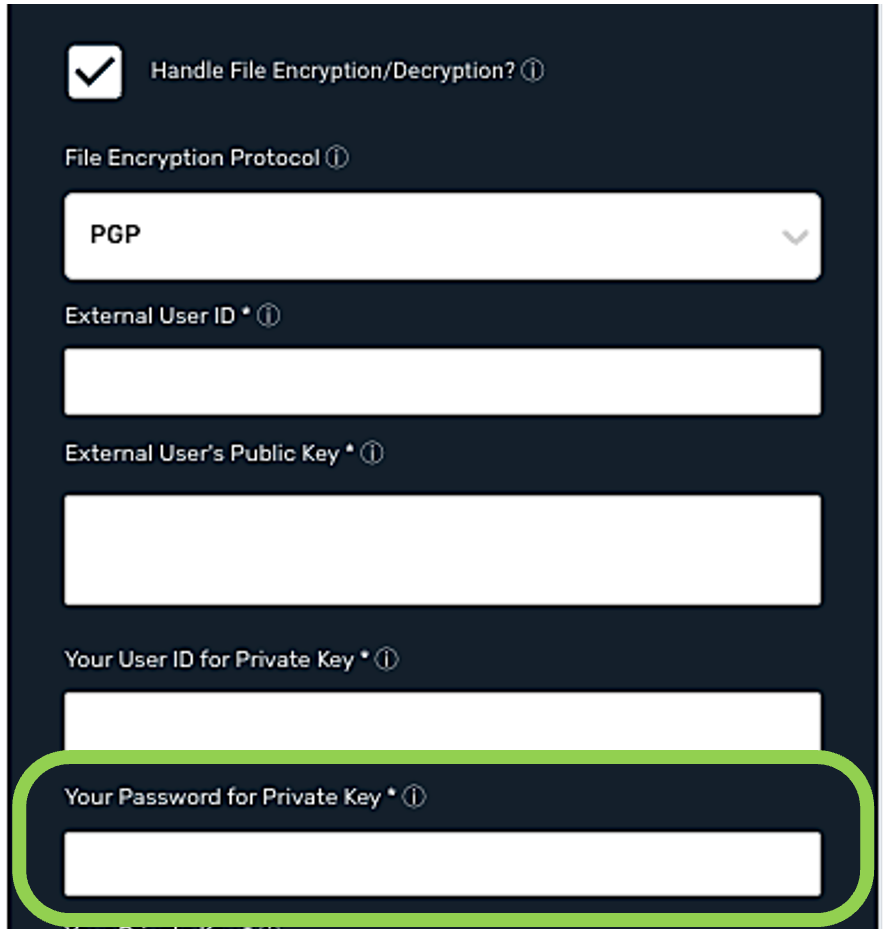
Enter the password for the user ID in Step 5 in the Your Password for Private Key field.
-
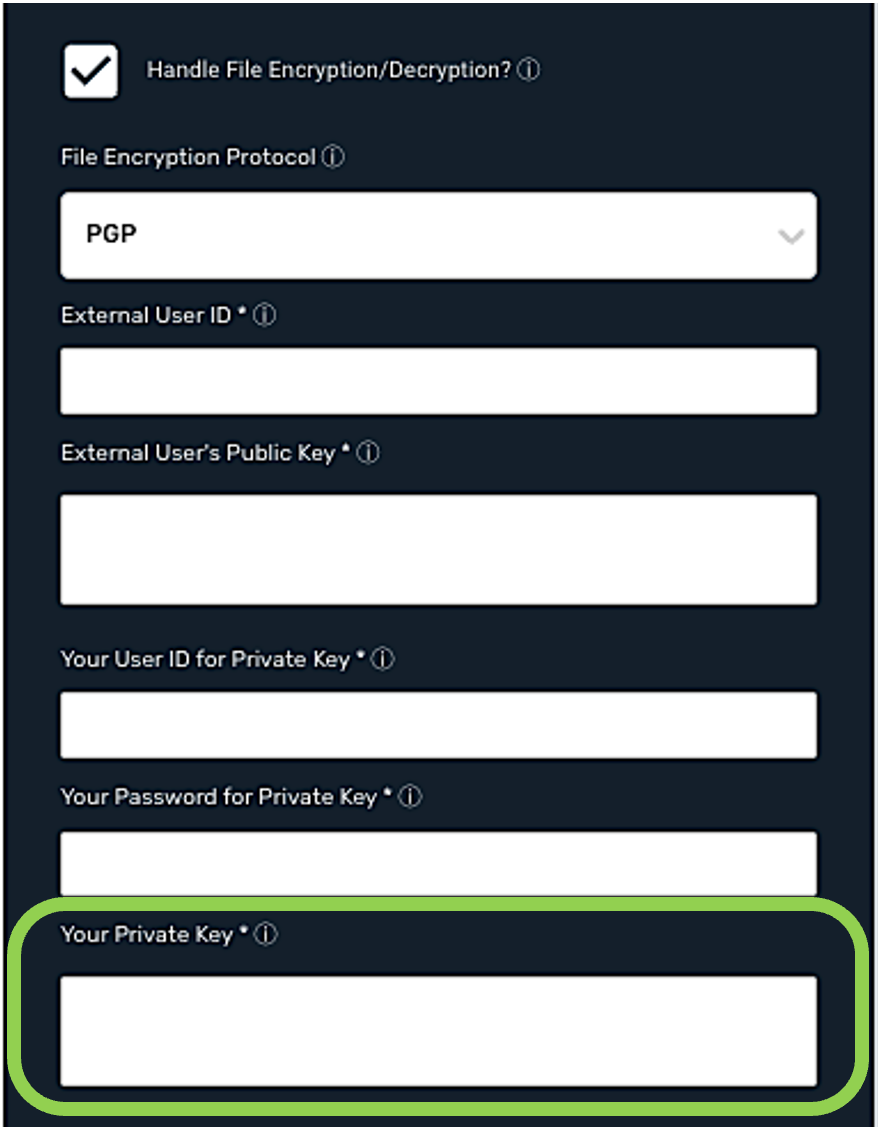
Enter the PGP private key that will be used to encrypt/decrypt files in the Your Private Key field.
-
-
-
Continue to Section 1.5.
-
1.5 Save and Create the Google Drive Credential
-
Once all of the relevant steps in the above sections have been completed, click
at the bottom of the Add New Credential screen to save the credential and all entered information.
-
The newly added credential will now appear in a tile on the
screen and can be selected for use with a new data source or destination.
2. Add a Google Drive Data Source
-
Log into Nexla with your provided credentials to view the Nexla Dashboard.
If you need credentials, contact support@nexla.com.
-
Select
 from the menu on the left.
 -
Click
 in the upper right corner to begin adding a new data source.
 -
Select
 , and click
 in the upper right corner of the screen to begin adding a Google Drive data source.
2.1 Connect to the Desired Folder(s)
-
To expand a file, click the
icon next to it.
-
To select a file, hover over it, and click the
button that appears.
The button should now display
.
-
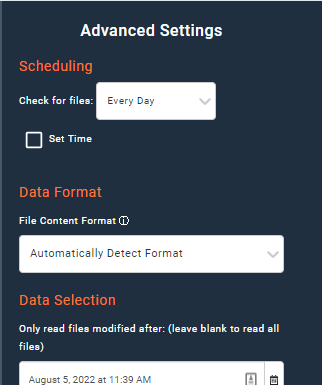
Optional: Use the Advanced Settings menu on the right to access additional settings for the source, including file scan scheduling and options related to text files and delimiter-separated values.
-
Once all needed files have been selected, click
in the upper right corner.
2.2 Confirmation
-
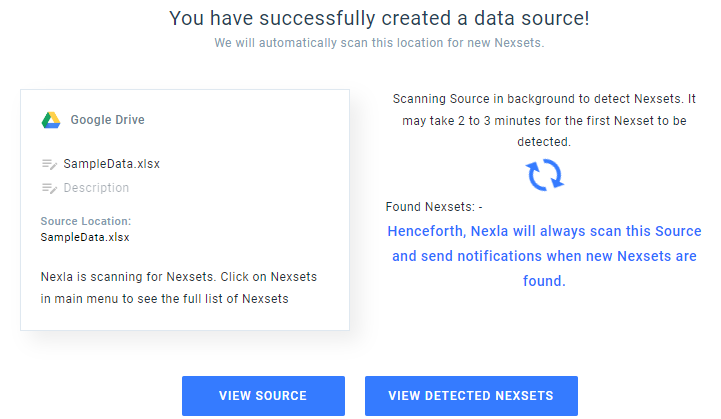
The confirmation page indicates that the Google Drive data source has been successfully added.
-
Optional: Edit the name of the data source by hovering over it (
) and entering the desired text.
-
Optional: Add a description of the data source by hovering over
below the source name and entering the desired text.
-
-
To return to My Data Sources, click
 in the upper right corner.
 -
To view the newly created data source, click
 .
. -
To view Nexsets detected in the newly added source, click
 .
.
-