Authorization
Convey
Prerequisites
Before creating a Convey credential, you need to obtain an API key from your Convey account. The API key is required to authenticate with the Convey API.
To obtain your API key, you need to have a Convey account with API access enabled. Once you have access to your account, you can generate an API key from your account settings. Convey uses Basic Authentication with the API key as the username and an empty password to authenticate API requests. The API key is sent in the Authorization header for all API requests to the Convey API. For detailed information about API key setup and authentication, refer to the Convey API documentation.
Create a Convey Credential
- To create a new Convey credential, after selecting the data source/destination type, click the Add Credential tile to open the Add New Credential overlay.
New Credential Overlay – Convey
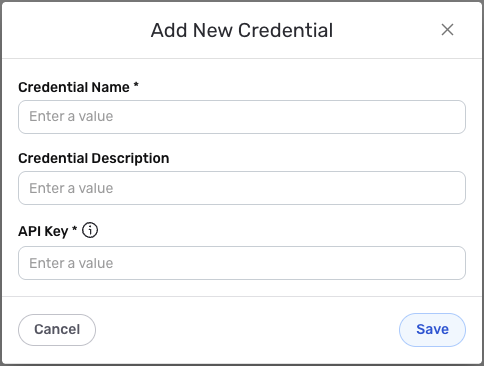
Credential Name & Description
-
Enter a name for the credential in the Credential Name field and a short, meaningful description in the Credential Description field.
Resource descriptions are recommended but are not required. They should be used provide information about the resource purpose, data freshness, etc. that can help the owner and other users efficiently understand and utilize the resource.
API Key Authentication
-
Enter your Convey API key in the API Key field. This is the API key you obtained from your Convey account settings. The API key is used as the username for Basic Authentication, with an empty password.
Keep your API key secure and do not share it publicly. The API key provides access to your Convey account and should be treated as sensitive information. Convey uses Basic Authentication with the API key as the username and an empty password. The API key is sent in the Authorization header for all API requests to the Convey API. For detailed information about obtaining and managing API keys, see the Convey API documentation.
Save the Credential
-
Once all of the relevant steps in the above sections have been completed, click the Save button at the bottom of the overlay to save the configured credential.
-
The newly added credential will now appear in a tile on the Authenticate screen during data source/destination creation and can be selected for use with a new data source or destination.