Authorization
Netskope
Prerequisites
Before creating a Netskope credential, you'll need to obtain an API key and Tenant ID from your Netskope account. Netskope provides API keys for programmatic access to their security platform through the Netskope admin console.
To obtain Netskope API credentials:
-
Log in to your Netskope admin console at
https://{tenant}.goskope.comor your organization's Netskope instance, where{tenant}is your tenant identifier. -
Navigate to Settings > Tools > REST API v2 or API section in the admin console.
-
In the REST API v2 section, locate the API key management area. Netskope uses API keys for authentication to the REST API.
-
If you don't have an existing API key, click Generate API Key or Create API Key to create a new API key for your application. You may need to provide a name or description for the API key.
-
Copy the API Key Value immediately after generation, as it may only be displayed once for security purposes. Store it securely, as you'll need it to authenticate API requests.
-
Note your Tenant ID. This is typically your tenant identifier that appears in your Netskope URL (e.g., if your URL is
https://example.goskope.com, your tenant ID isexample).
Netskope API keys are used in the Authorization header for all API requests. The API key is sensitive information and should be kept secure. If you've lost your API key, you'll need to generate a new one in your Netskope admin console. The Tenant ID is required to construct the correct API endpoint URLs.
For detailed information about Netskope API authentication and API key management, refer to the Netskope REST API v2 Documentation.
Create a Netskope Credential
- To create a new Netskope credential, after selecting the data source/destination type, click the Add Credential tile to open the Add New Credential overlay.
New Credential Overlay – Netskope
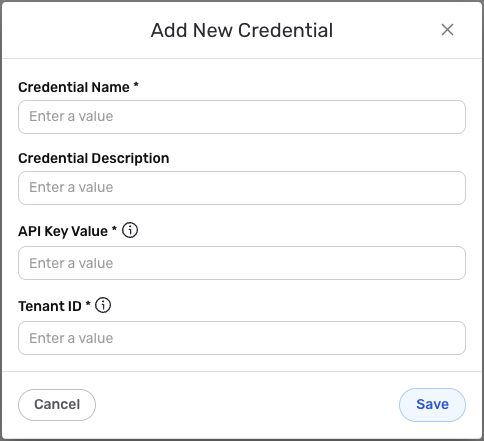
Credential Name & Description
-
Enter a name for the credential in the Credential Name field and a short, meaningful description in the Credential Description field.
Resource descriptions are recommended but are not required. They should be used provide information about the resource purpose, data freshness, etc. that can help the owner and other users efficiently understand and utilize the resource.
Credential Settings
-
In the API Key Value field, enter the API key that you obtained from your Netskope admin console. This is the secret API key used to authenticate requests to the Netskope API.
-
In the Tenant ID field, enter your Netskope tenant identifier. This is the tenant ID that appears in your Netskope URL (e.g., if your URL is
https://example.goskope.com, enterexample). The tenant ID is used to construct the correct API endpoint URLs.The API key is sensitive information and should be kept secure. If you've lost your API key, you'll need to generate a new one in your Netskope admin console. API keys are used in the Authorization header for all API requests.
Save the Credential
-
Once all of the relevant steps in the above sections have been completed, click the Save button at the bottom of the overlay to save the configured credential.
-
The newly added credential will now appear in a tile on the Authenticate screen during data source/destination creation and can be selected for use with a new data source or destination.