Authentication & Configuration
Register an SDK Application
Before using the React SDK, register an SDK Application in the Nexla UI. This is a one-time step per product surface.
- Go to Settings → SDK Applications
- Click Register Application
- Enter a name, optional description, and the origins where your app runs (e.g.
http://localhost:3000) - Click Register
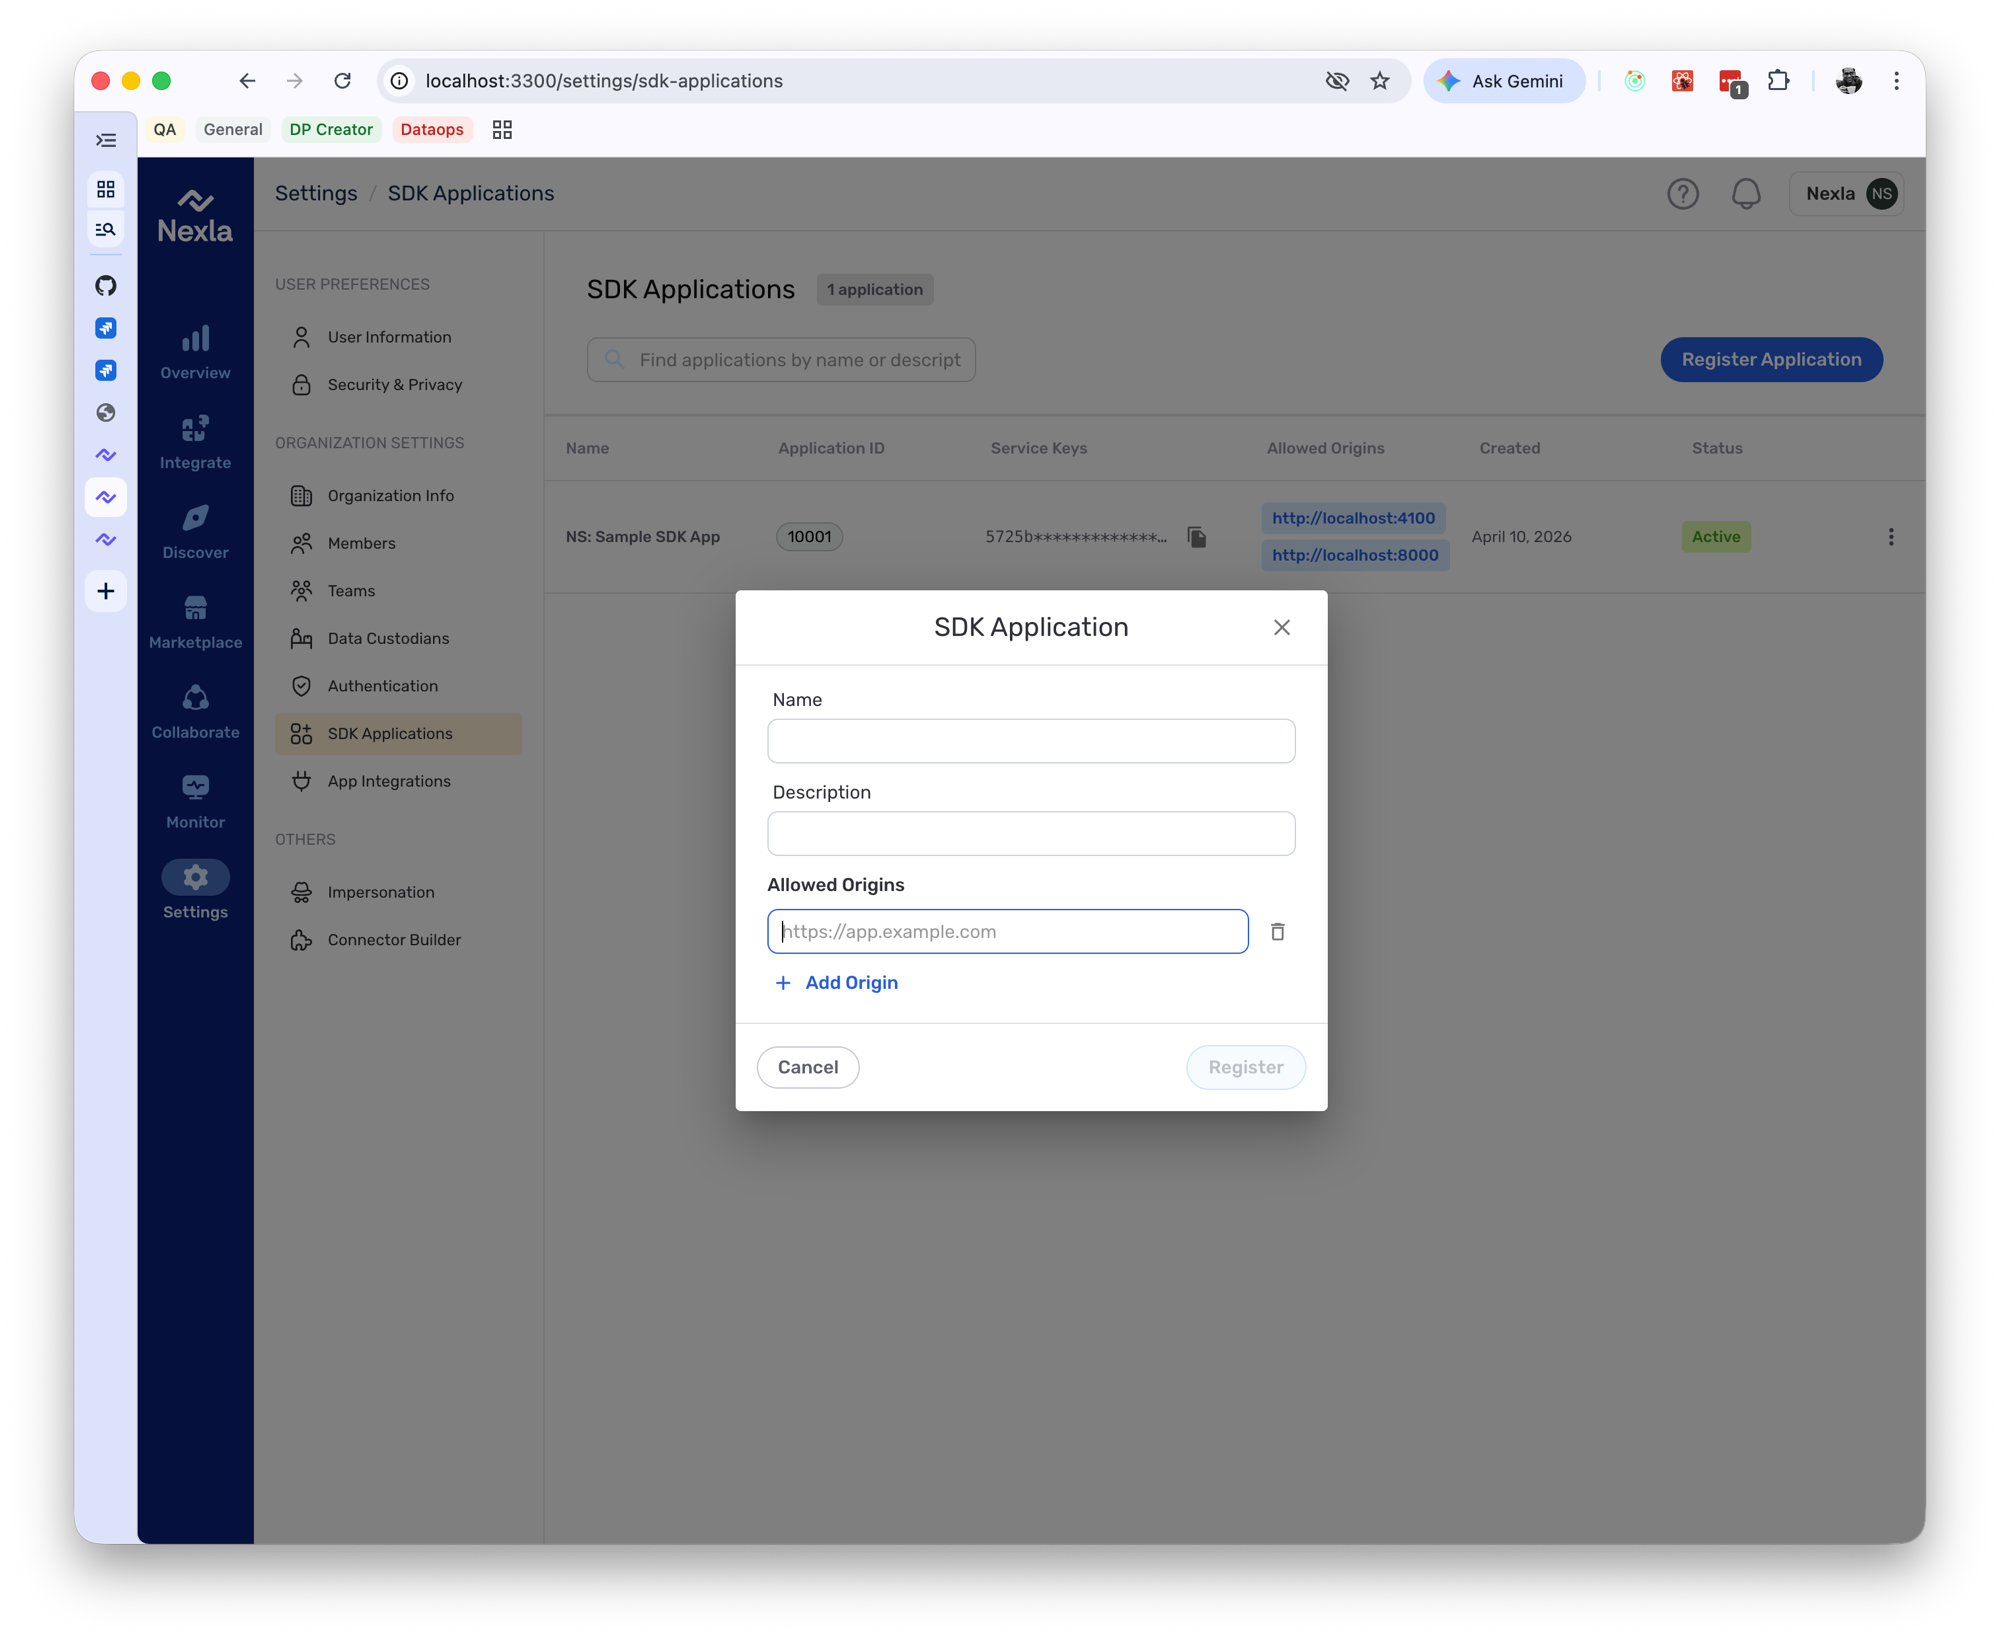
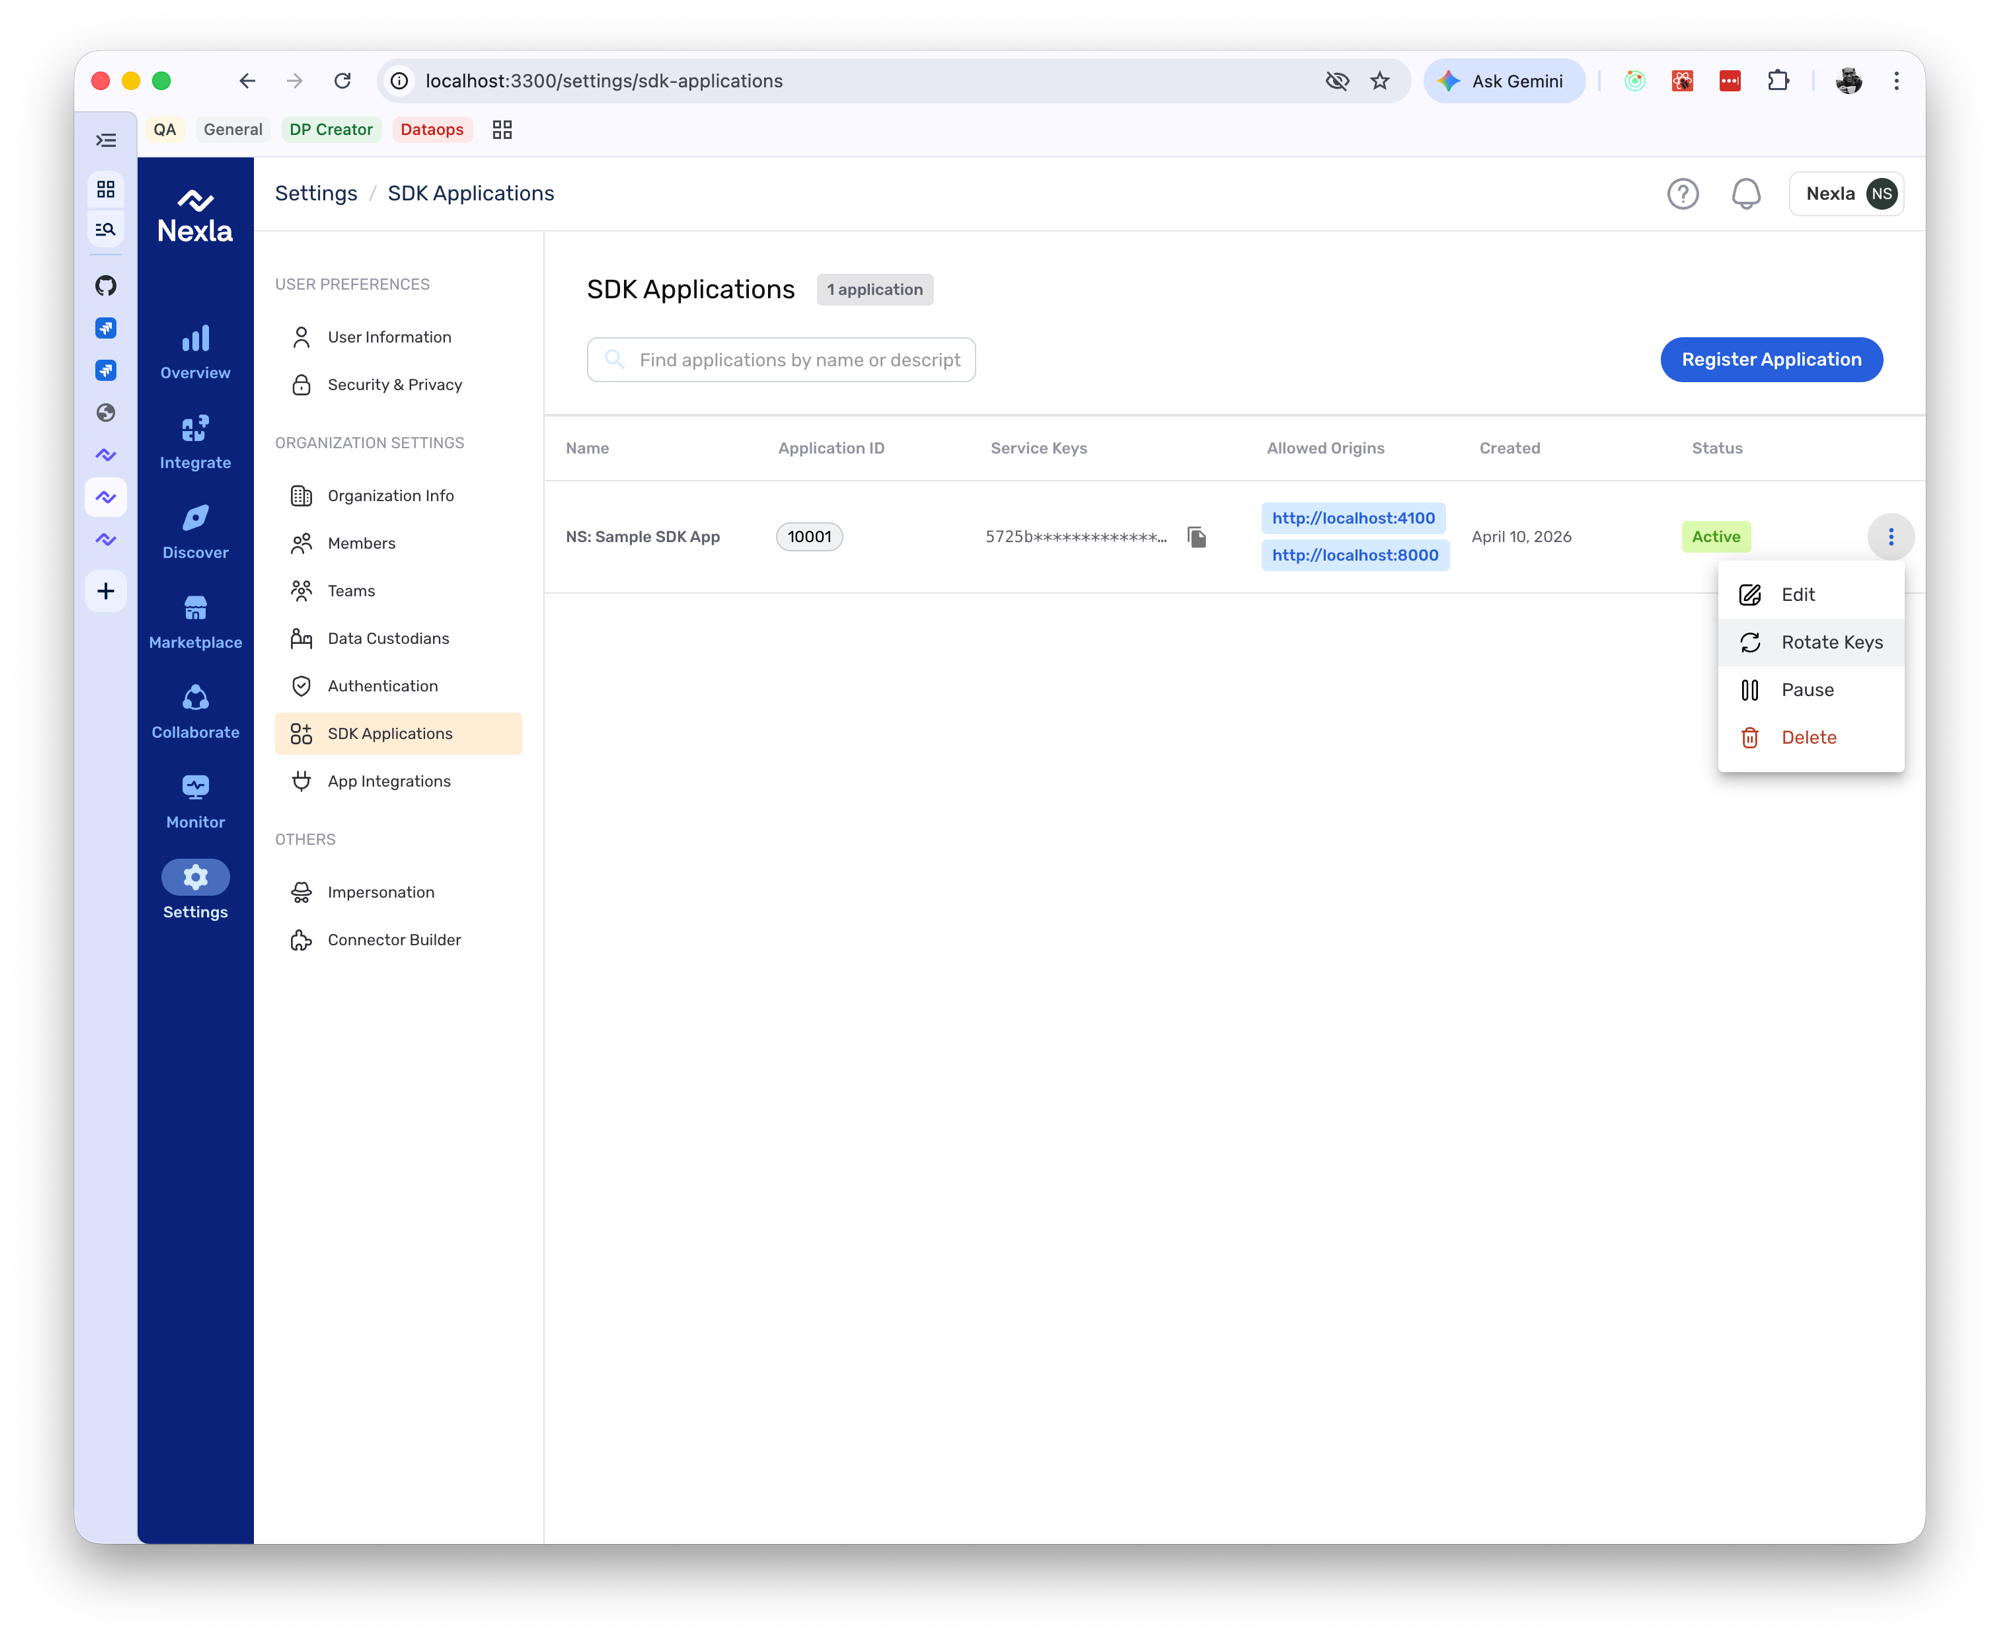
After registration, you'll see your Application ID and an auto-provisioned Service Key in the table:

You can manage your application later using the row actions menu (Edit, Rotate Keys, Pause, Delete).
Configure the Provider
Wrap your app in NexlaConnectProvider with the four required props:
<NexlaConnectProvider
  serviceKey="YOUR_SERVICE_KEY"
  connectors={['CONNECTOR_KEY_1', 'CONNECTOR_KEY_2']}
  applicationId="YOUR_APPLICATION_ID"
  endUserId="YOUR_END_USER_ID"
>
  {/* your app */}
</NexlaConnectProvider>
| Prop | Description |
|---|---|
serviceKey | The service key from your SDK Application |
connectors | Connector keys to enable |
applicationId | The Application ID from the registration step |
endUserId | Your logged-in user's ID — each user only sees their own credentials |
The provider handles session exchange, token refresh, and application ID validation automatically.
At startup, the provider validates that the service key belongs to the configured applicationId. If they don't match, it throws APPLICATION_MISMATCH. Make sure your service key was provisioned for the same SDK application you're referencing.
Connector keys match the name field returned by the Nexla API (GET /vendors). Each connector has a unique key (e.g. gdrive, asana_api). You can also inspect vendor.name on any Credential object returned by the SDK.
End-User Scoping
Both applicationId and endUserId are required. Together, they scope all credential operations to a specific user within your application. Changing either value automatically invalidates the cache and fetches fresh data for the new scope.
The backend enforces one credential per (application, end_user, connector_type). A second connect for the same connector by the same user returns a 400.
Optional Configuration
Theme
Pass a theme prop and wrap styled components in NexlaThemeProvider to control the visual style:
<NexlaConnectProvider
  theme={{ mode: 'dark', primaryColor: '#0066ff' }}
  // ...required props
>
  <NexlaThemeProvider mode="dark">
    {/* styled components */}
  </NexlaThemeProvider>
</NexlaConnectProvider>
Callbacks
Use onConnect and onError to react to SDK events:
<NexlaConnectProvider
  onConnect={(credential) => {
    console.log('Connected:', credential.vendor?.display_name, credential.id);
  }}
  onError={(error) => {
    if (error.code !== 'OAUTH_CANCELLED') {
      reportError(error);
    }
  }}
  // ...required props
>
See API Reference for the full list of provider props.
Next Steps
- Quick Start — Make your first connection
- Styled Components — Pre-built UI guide
- Headless Hooks — Custom UI guide